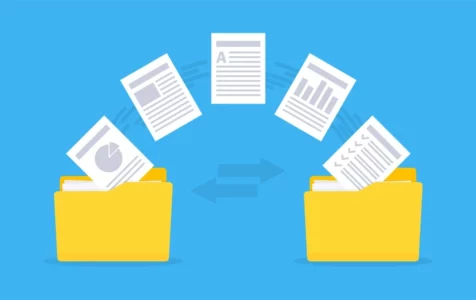
While attempting to copy files or folders from one location to another on your computer, you may encounter the error code 0x800701B1, causing the copying process to fail. This issue commonly occurs when transferring data between your computer and an external drive or USB device.
How do you resolve the 0x800701B1 copying error? There are different factors that trigger the appearance of this issue. Hence, different solutions should be accordingly.
If you are also looking for effective solutions, you have come to the right place. In this guide, we will show you how to deal with this problem effectively in different ways according to the various situations.
What Is Error Code 0x800701B1 on Windows 10/11?
Copy-pasting files or folders from one hard drive to another is usually an easy and error-free process in Windows 10/11. But several Windows 10/11 users are complaining about the 0x800701B1 error on their computer when they are doing a file/folder transfer, regardless of the size of data being copied.
Expert Tip: For smoother PC performance, consider using a PC optimization tool. It handles junk files, incorrect settings, and harmful apps. Make sure it's right for your system, and always check the EULA and Privacy Policy.
Special offer. About Outbyte, uninstall instructions, EULA, Privacy Policy.
The exact error message reads:
An unexpected error is keeping you from copying the file. If you continue to receive this error, you can use the error code to search for help with this problem.
Error 0x800701B1: A device which does not exist was specified
When users try to copy and paste the files or folders from one location to another, they are faced with an error message that says “A device which does not exist was specified.” This error usually happens when a set of .DLL files becomes unregistered from the computer. If you are getting this same kind of problem on your end, no need to worry because there are several fixes available. Doing them can easily solve this problem.
Error 0X800701B1 ‘A device which does not exist was specified‘ is a Windows 10/11 problem that indicates the drive you are trying to access or copy to is not present. It usually happens when your computer fails to copy-paste or transfer data to or from that drive. This means that either your external HDD is not working properly or your computer cannot recognize it. In some cases, this error also appears when trying to install Windows 10/11 on a hard disk drive (HDD) that is plugged into a USB port.
There might be several factors responsible for this error, but faulty USB port, incompatible or inconsistent driver, and insufficient PSU output are some of the most common triggers. In this article, we will outline various possible ways that can help you fix this error code.
What Causes Error Code 0x800701B1 on Windows 10/11
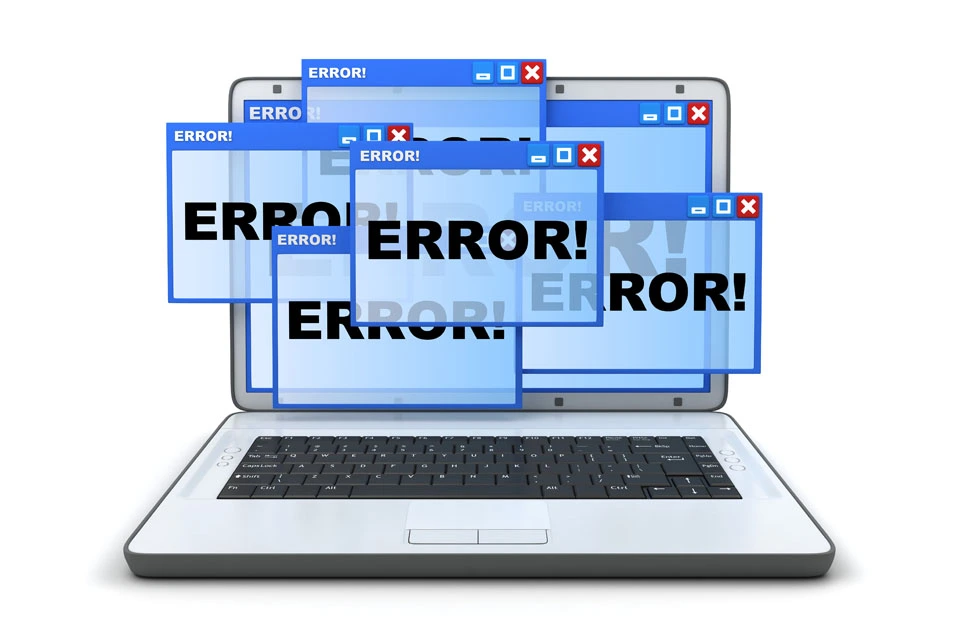
The error code 0x800701B1 can appear all of a sudden so most users are taken aback when the copying fails. There are actually several different causes that might end up throwing this particular error code. Here’s a shortlist of possible culprits that might be responsible for the occurrence of the 0x800701B1 error: A device which does not exist was specified.
- Insufficient USB port – Depending on the type of HDD or SSD drive you encountered this issue with, you may need to connect your external drive to a USB 3.0 port instead of a 2.0 to ensure that the port meets the required transfer speeds and power output.
- Inconsistent or Incompatible driver – Some affected users reported getting this error code when using a generic driver for the external drive connected to the PC. If this is the case, you might have a chance to resolve the problem by reinstalling the dedicated driver.
- Insufficient PSU output – If you’re using an average PSU and a lot of computer peripherals are currently drawing power from it, it is possible that your power source might not be enough to support every device. You can fix the issue by upgrading your PSU or by removing some non-essential peripherals.
- The copied files are too large – This is a common reason behind this error, especially if the copied files or folders are larger than 4GB and you are trying to copy them to a FAT32 partition. Whether you’re copying to a USB flash drive or an SD card, this error message will definitely create a hurdle in your process.
- The disk is write-protected – In many scenarios, the destination disk is write-protected or the drive is set to read-only. In this case, your copying process won’t progress and you’ll encounter the 0x800701B1 error.
- Not enough free space – In most scenarios, the destination disk has very little space, and your data has a large volume. If there is not enough free space, the process will not be completed successfully.
- Target disk is corrupted or the file is encrypted – Due to virus attacks, the target disk may get corrupted. If the disk is corrupted, the data will never be copied properly. In some cases, the files that are being transferred are encrypted, which also become the reason behind unspecified error when copying a file or folder on any of the latest operating systems.
- System limitations – In some rare cases, the system has few limitations which restrict the files and folders to be copied properly.
- File or folder ownership has changed – Modified ownership of any file or folder can also lead you to this situation where you are unable to copy them efficiently.
How to Fix Error Code 0x800701B1 on Windows 10/11
There are several ways to deal with this error. But before you try any of the methods below, try these workarounds first:
- Copy-paste another file or file type. If you can transfer this file without any issues, then there are some issues with the previous file itself. Otherwise, if you are experiencing the same kind of problem again, there are some software issues which are causing this problem.
- If you are experiencing this problem for the first time on your computer, a simple reboot can fix the issue for you. After rebooting, try to copy and paste files or folders and check if you are experiencing the same error again or not.
- Temporarily disable the antivirus on your computer. After disabling it, try to transfer the files again. Check if you are getting the same error again or not.
If any of these workarounds didn’t work out for you, give these fixes a try:
Step 1: Plug the HDD/SSD into a different USB port.

A lot of affected users have managed to avoid the 0x800701b1 error code by connecting the affected drive to a USB 3.0 port instead of the classic 2.0 port. This change will be effective in those instances where the problem is occurring due to insufficient power or insufficient transfer speed – USB 3.0 is capable of superior transfer speeds and it’s capable of supplying more power to connected devices.
If your computer has a USB port, go ahead and use it to connect the HDD or SSD that is triggering this particular error code. Once you have successfully made the change, repeat the operation that has previously caused the 0x800701b1 error code and see if the problem is now resolved. If the same problem is still occurring, move down to the next potential fix below.
Step 2: Perform a rescan of the disks.
The 0x800701B issue could be a result of a temporary glitch of the operating system and it can be cleared by performing a rescan of the disks in the Disk Management. To do this:
- Right-click Windows and select Disk Management.
- Now expand the Action menu and choose Rescan Disks.
Once the scan is complete, check if the system is clear of the previous error. If the issue reappears after a restart, repeat the above steps.
Step 3: Reinstall device drivers.
According to some affected users, this problem can also occur due to driver inconsistencies. This problem is typically reported to occur with external HDD and SSD and is typically the result of an incompatible generic driver. If this scenario is applicable, you should be able to fix this problem by using Device Manager to force your OS to install a compatible version for your external HDD or SSD.
Here’s are the step by step instructions on how to do this:
- Press Windows key + R to open up a Run dialog box. Next, type ‘devmgmt.msc’ inside the text box and press Enter to open up Device Manager.
- Once you’re inside Device Manager, expand the drop-down menu associated with Disk Drives and right-click on the drive that’s triggering the error code, and click on Uninstall Device.
- Confirm the uninstallation of your drive driver, then wait for the operation to complete. This will uninstall the current driver and make your Windows switch over to the generic driver the next time you restart your computer.
- Repeat the action that was causing the 0x800701b1 once the next startup is complete and see if the problem is fixed.
If the problem is fixed, you can either leave the generic driver or download the dedicated driver from your manufacturer website and install that instead. An easier way to update your drivers is to use Outbyte Driver Updater. This tool scans your computer for outdated drivers and automatically updates them in a single click.
If reinstalling the SSD/HHD driver didn’t fix the issue, move down to the next potential fix below.
Step 4: Upgrading your PSU for desktop computers.
If none of the methods above have worked for you, you might start investigating your PSU (Power Supply Unit). If you’re encountering this problem on a desktop device, the power that your PSU can supply might be insufficient to maintain the demands of all your PC components.
Keep in mind that an SSD will take around 3 watts, while normal 3.5 HDDs will take around 10 watts of power. Depending on the rest of your components (particularly if you have a demanding video card), your PSU might be unable to cover it.
If you have an extra peripheral currently connected, remove every non-essential one and see if the problem stops occurring.
In case the error code stops occurring while non-essential peripherals are disconnected, it’s clear that you’re dealing with a PSU issue – In this case, you need to go for a PSU of over 500W (real capacity). Here’s how to ensure that you end up getting a good PSU for your system.
Step 5: Take ownership of the problematic drive in the Security Settings.
The USB flash drive may show the device does not exist error if the security permissions of the drive do not allow you to access it. In this context, taking ownership of the problematic drive in its security settings may solve the problem (the Security tab might not show for some of the users).
- Right-click Windows and open File Explorer.
- Now, in the left pane, choose This PC and right-click on the USB drive in the right pane.
- Then choose Properties and head to the Security tab.
- Now click on the Advanced button near the bottom of the screen and click on Change in front of Owner.
- Then click on the Advanced button near the left bottom of the window and click on Find Now.
- Click on the Change in the Advanced Security Settings
- Now double-click on your user’s name and then click on OK.
- Then tick off the option of Replace All Child Object Permission Entries with Inheritable Permission Entries from This Object and apply your changes.
Once the permissions are applied, check if the USB flash drive is clear of the device not specified issue.
Step 6: Roll back the driver for the USB drive.
The USB flash drive may show the not specified error if the latest Windows driver is incompatible with the drive. In this case, using an older driver for the USB flash drive may solve the problem.
- Right-click Windows and choose Device Manager.
- Now, expand USB Serial Bus Controllers or Disk Drives and right-click on the USB drive.
- Then select Properties and head to the Driver tab.
- Now note down the driver currently being used and click on the Update Driver button.
- Then select Browse My Computer for Drives and open Let Me Pick from a List of Available Drivers on My Computer.
- Now click on the Next button and select any of the drivers but not the one currently installed.
- Then click on the Next button and let the driver installation complete.
Now check if the USB flash drive is working fine. If not, then you may try the drivers one by one, shown in step 6, uncheck the Show Compatible Hardware option and see if any of those drivers resolve the device not specified issue.
Step 7: Perform a CHKDSK of the USB drive.
The USB flash drive may show the device not specified error if the drive has logical file system errors. In this case, performing a Check Disk (CHKDSK) scan of the drive may solve the problem. Don’t worry because the commands are the same for Windows 10 and 11 devices.
Perform a CHKDSK scan of the drive and let the process complete, this may take some time to complete. Once the CHKDSK process is complete without any issues, check if the system is clear of the flash drive error.
If the issue persists, unplug the USB drive and shut down your system, not reboot. Then power on the system with the bare minimums and plug back the USB to check if the USB drive is functioning normally. If the issue persists, then check if the drive works fine on another system, preferably with a different OS. If so, then format it at that system and then try on your system. If the issue is still there, then you may try a 3rd party application to solve the problem or otherwise get the USB drive checked for hardware errors.
Step 8. Create a new local user account.
Often, your Windows 10/11 cannot read your local user profile properly, keeping you from accessing any data. In this case, you may have to create a new local user account to get rid of the problem.
Here’s a detailed guide on what to do:
- Go to the Microsoft Management Console. You can do this by clicking the Start button, and then typing mmc into the search field. Hit Enter.
- When prompted to confirm, provide your administrator password.
- Next, select Local User and Groups.
- Go to User > Action > New User.
- Provide the information needed and hit Create.
- Close the dialog box once the new local user account is created.
For Windows 11 users, here are the steps to create a new local account:
- Select Start > Settings > Accounts, followed by Family & other users. (In some Windows versions, Other users will appear.)
- Select “Add account” next to “Add another user.”
- Select “I don’t have this person’s sign-in information”, and then select “Add a user without a Microsoft account” on the next page.
- Enter a username, password, or password hint (or your preferred security questions), and then click Next.
Using your new account, plug in the external or USB drive and see if you are able to copy without the 0x800701B1 error.
Step 9: Scan for malware.
You might want to scan your PC for any malware entities. Viruses, malware, rootkits, and other kinds of threats can prevent you from dragging and dropping an entire folder from your PC to your external drive.
Make sure you use a trusted antivirus program to scan your PC. Download one from the official manufacturer’s website to ensure you are getting a genuine program. After downloading and installing the program, run a quick scan and let the program do its job. When the scan is completed, decide whether or not you want to delete any threats detected or have them quarantined.
Step 10: Change the destination format type.
If you are transferring the file/folder to another sd card/ external drive, then there is a possibility that the external drive or the sd card is of a different format than that of the source drive. Formatting it in NTFS format can solve the issue for you.
Important: Formatting the drive will erase all the files and folders permanently. If there is anything important in the drive, create a backup of the important files and store it in another drive of your choice.
- Press Windows key+E to open the File Explorer. Now, in the File Explorer window, go to This PC to see all the drives on your computer.
- Now, right click on the destination drive. Click on Format to start formatting the drive.
- Under File system option, select NTFS (Default).
- Click on Start to start the formatting process.
- After formatting, click on Close to finish the formatting process.
- Reboot your computer.
After rebooting, try to transfer the file/folder to this formatted destination directory. Your problem should be solved.
Step 11: Remove Read-only status from the destination driver.
If you are moving a file or folder to another drive which is a read-only drive in which you can’t make any changes, then you can face this unspecified error problem. Follow these steps to change the read-only status of the drive:
- Press Windows key+R to launch Run. Now, type cmd and press Ctrl+Shift+Enter.
- Click on Yes to permit the User Account Control. The Command Prompt window will be opened with administrative rights.
- In the Command Prompt window, type these commands one by one and hit Enter for each of them to execute them.
- diskpart
- list volume
- select volume X
- attributes disk clear readonly
Replace “X” with the drive letter of your write-protected hard drive. Now, reboot your computer to save the changes. After rebooting, try to transfer the files to the drive.
Step 12: Create a NTFS format partition.
If you are still in search of a solution for your problem, you might consider creating a new NTFS format partition of your hard drive.
Remember, cleaning or formatting the drive will erase all the files and folders permanently. If there is anything important in the drive, create a backup of the important files and store it in another drive of your computer. Here are the steps for Windows 10 users:
- Press Windows key+R to launch Run. Now, type cmd and press Ctrl+Shift+Enter.
- Click on Yes to permit the User Account Control. The Command Prompt window will be opened with administrative rights.
- In the Command Prompt window, type these commands one by one and hit Enter for each of them to execute them.
- diskpart
- list volume
- select volume X
- clean
- create partition primary
- Replace “X” with the drive letter of the destination drive.
- Select Disk 0.
- Again, type these commands one by one and press Enter after each of them to execute them one by one.
- list disk
- Select partition 1
- Active
- Replace the “1” with the disk “number” of the destination drive you want to transfer your files or folders to. You are getting the list of disks with ‘list disk’ command.
- Type this command and hit Enter, to format the destination drive in NTFS format, and label it as a name of your choice: format fs=ntfs label=Y
- Replace the “Y” as the disk label of your choice.
- In the final step of the process, assign the newly created partition a drive letter of your choice. It should be different from all the existing drive letters on your computer. You can check the existing drive letters in the File Explorer.
- Just copy-paste this command in Command Prompt window, and hit Enter to execute the command: assign letter=G
- Replace the “G” as the disk letter of your choice.
- Close Command Prompt window. Now, reboot your computer.
After rebooting, try transferring the files/folders to the new partition you have just created. There will be no further issues of error during the transfer of the file or folder.
For Windows 11 users, users can choose from three methods of creating an NTFS partition. Let’s look at them one by one:
Via Disk Management:
- To open Disk Management, right-click “My Computer/This PC” on the desktop and select Manage>Storage>Disk Management.
- To format an external hard drive, right-click it and select “Format…” from the drop-down menu.
- In the “File system” box, select “NTFS” and then check “Perform a quick format.”
- Click “OK” to format the drive and wait for it to complete.
Via Window File Explorer:
- To open File Explorer, double-click “My Computer/This PC.” Right-click the drive to be formatted and select “Format…”.
- Select “NTFS” under File System volume in the pop-out mini window. Select “Quick Format” and press “Start.”
Via Diskpart Command Line:
- Click the “Start” button, type “cmd” into the “Search” box, right-click the Command Prompt icon, and select “Run as administrator.”
- Enter each of the following commands in the order listed.
diskpart
list disk
select disk # (# represents the disk number)
list partition ( to get how many partitions on the chosen disk)
select partition # (# represents the partition number)
format fs=ntfs quick
- Then, to exit the Diskpart service, type “exit.”
Step 13: Disconnect other peripherals.
When your system is unable to provide enough power to the drive in question, the Error 0x800701b1 may appear. Remove all other devices from your system and check and try again to see if that is the case. If this resolves the issue, it indicates that your system is underpowered or that you have too many peripherals connected to your system.
Step 14: Copy files in batches.
If you only get the 0x800701b1 error code when trying to copy and paste very large files, say 5 Gigabytes or larger, you should reconsider it. Such large files can be difficult for some systems to handle, particularly if the system is not properly configured. Try to complete the task in a smaller size, especially if you know the storage device has been in use for a long time.
Step 15: Use another USB or external drive.
If none of the solutions above helped you resolve the error code 0x800701B1, you should try transferring files from your computer using another external hard drive. If the problem does appear, your external hard drive may have physical errors. You should also stop using the problematic drive.
Here are some suggestions for dealing with the problematic drive:
- If you have access to the drive, try moving your data on your own.
- If you can access important data on the problematic drive, you can try data recovery with a professional tool or seek professional assistance.
Summary
Error code 0x800701B1 can be annoying because you won’t be able to copy your files to another drive without it being resolved. Your only option is to upload the files to the cloud and copy it from there using another computer. But if you want to directly transfer the files from your computer to your external drive or USB, you can follow our 12-step guide above to deal with this error.