The Surface Pro 7 by Microsoft is a versatile tablet suitable for everyday use, supporting Windows 10/11 and other Windows versions. If you’re seeking a powerful device with flexibility, it’s worth considering.
Released by Microsoft, this gadget is ultra-light, and it incorporates new features, which makes it both modern and packed with the latest technology. Here are some of the laptop’s features:
Surface Pro 7 Features
Here are some of the features that Surface Pro 7 is known for:
12.3” Touchscreen

Expert Tip: For smoother PC performance, consider using a PC optimization tool. It handles junk files, incorrect settings, and harmful apps. Make sure it's right for your system, and always check the EULA and Privacy Policy.
Special offer. About Outbyte, uninstall instructions, EULA, Privacy Policy.
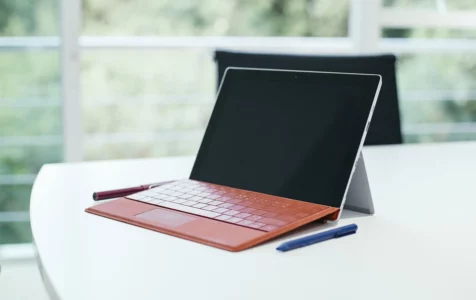
Like Surface Pro 4, Surface Pro 7 has a 12.3″ touchscreen that adjusts to different lighting automatically. You can also draw or write on the display using the Surface Pen that comes with the tablet.
Faster Processing Power

It has next-generation power that enables faster processing and multitasking across multiple tabs and apps, as well as improved graphics with a maximum capacity of 16 GB RAM.
Lightweight
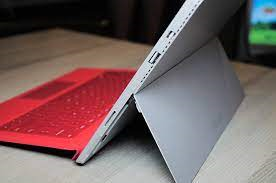 Weighing only 1.7 pounds, you can transform Surface Pro into a laptop using its inbuilt Kickstand. It also has a removable cover. This makes it an ideal tool for digital nomads alike.
USB-A and USB-C
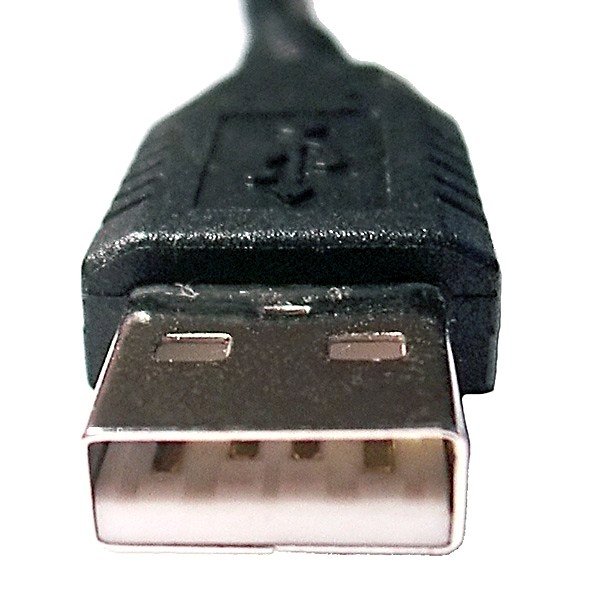 Surface Pro 7 has both USB-A and USB-C, which enables the tablet to connect to several docking stations and displays and charge your accessories and gadgets.
These are just some of the fantastic tech specs of the Surface Pro 7 tablet. Its versatility, long battery life, storage, and many other specs, are precisely what makes it appealing to many tech lovers.
2 Common Surface Pro 7 issues
Despite its many pros, some Windows 10/11 Surface Pro 7 buyers have been experiencing some minor issues with this gadget.
For instance, some say that the Surface Pro 7 screen brightness level does not change, even when you do adjust it. Here are some of the common issues that some Surface Pro 7 experience.
1. Unnoticeable Brightness Change
When you want to adjust screen brightness on Surface Pro using the keyboard, you don’t notice any visible change once you adjust it from 30% to 50%.
2. The Side Swipe Option Does Not Work When Adjusting Brightness
Brightness on Surface Pro 7 not changing when using the side swipe option to adjust brightness.
How to Resolve Common Surface Pro 7 Brightness Issues
These screen brightness issues can be easily resolved using a few different methods. Here are some ways to solve the problem regarding Surface Pro 7 brightness not changing.
Fix #1: Using the Power Option
If the brightness does not adjust on Surface Pro 7, it may be a result of a bug in your brightness settings. This issue can quickly be resolved by changing some of the Power settings on your tablet. This can be done following the following steps:
- Press the Windows key + R to open the Run box.
- Type “powercfg.cpl” then hit Enter. This will open Power Options.
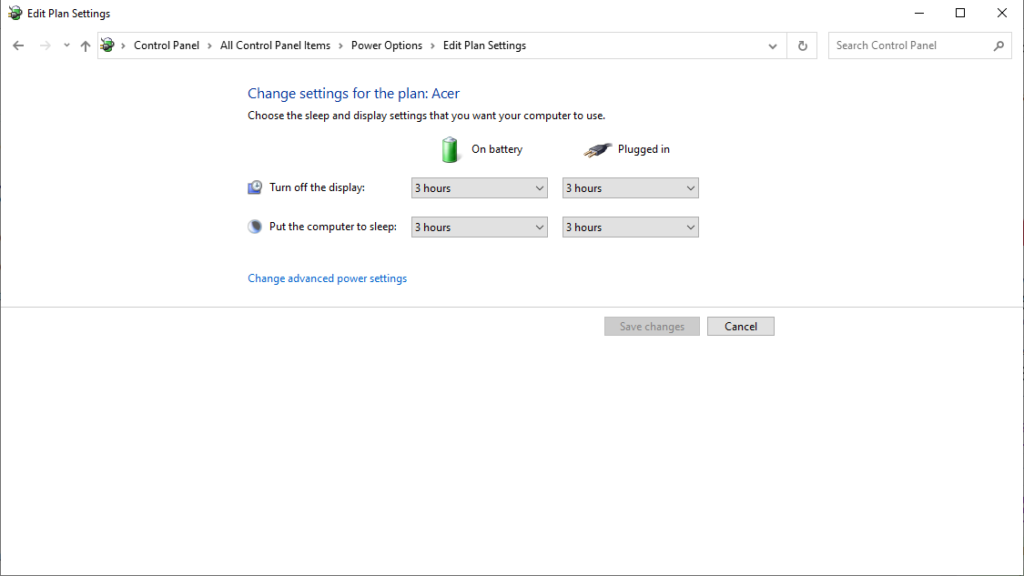
- Click Change plan settings inside the Power Options, followed by clicking on the Change advanced power setting.
- In this window, scroll to Display, then hit “+” to expand this drop-down menu.
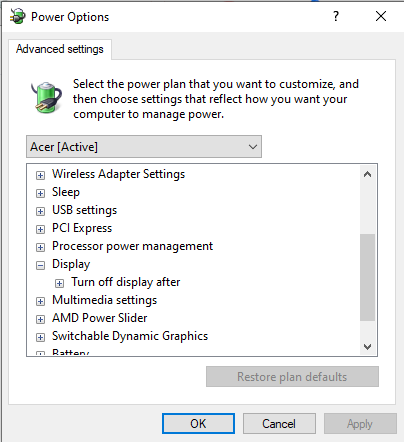
- Expand your Display brightness menu, and follow it up with manually adjusting the brightness to your preference.
- Repeat the last step. This time, use Dimmed display brightness. Ensure that you turn off the Enable adaptive brightness setting.
Once you set everything to your preference, click on the Apply button. This should adjust screen brightness on Surface Pro.
Fix #2: Using the Graphics Properties Menu
Another way to adjust screen brightness on Surface Pro is by using your Graphics Properties menu. Graphics Properties is controlled by the Graphic card driver on your Surface Pro 7. This method is not complicated. The steps are as follows:
- Right-click on any part of your display and select Graphics Properties.
- Click Advanced Mode, then select Ok.
- Expand your Display menu, and then click on Color Enhancement.
- Use your Brightness slider, moving it from your right to change your brightness until it suits your preference.
- Select Apply, then save your selected brightness setting.
Fix #3: Re-enable your generic PnP monitor
Sometimes, the brightness bug occurs as soon as your graphic driver is installed automatically. The issue with brightness may occur disabling your generic PnP monitor, and ultimately your brightness adjustment features.
However, you can promptly remedy this issue by applying the following steps:

- Press Windows + R to open the Run dialog box.
- Type “devmgmt.msc” then press Enter to open up Device Manager.
- Expand the Monitors drop-down menu.

- Right-click on the PnP option, then select Enable Device.
- Reboot your Surface Pro 7’s system once more to see if this issue has been resolved; and if you are now able to change your brightness.
Fix #4: Check for Updates
It is obvious why there is a need to check for updates. Microsoft regularly releases these updates to resolve any previously reported bugs or introduce new features.
To check if there are available Windows Updates, do the following:

- Go to Settings and select Updates and Security.
- After that, click the Check for Updates button.
- If an update is available, install it right away.
- Wait for the installation of the update to be completed.
- Check if the screen brightness issue is fixed.
Fix #5: Install an Updated Graphics Driver
If you suspect that the brightness issue is caused by an outdated graphics card driver, then update it. To do so, here’s what you should do:
- Go to Device Manager by clicking the search field and entering Device Manager. Hit Enter.
- Click on the most relevant search result.
- In the window that opens, click the Search automatically for the updated driver software option.
- Hit the Update Driver button.
- If Windows cannot find new drivers, look for it on the device manufacturer’s website.
- Once the device drivers are updated, check if the screen brightness problem persists.
Now, if you think that the steps are too overwhelming, you can also use a third-party driver updater tool. This way, you will no longer have to worry about compatibility issues.
Be careful when downloading driver updater tools, though. Some of them may contain malware entities, which only do more harm than good. Install a driver updater tool from legit sources only.
Fix #6: Roll Back to a Previous Windows 10/11 Version
If you have just installed a Windows update before you experienced the screen brightness issue, then it is likely that you have installed a faulty update. In this case, we suggest reverting to a previous Windows 10 version.
Here’s how to do it:
- Launch the Settings app on your Windows 10/11 device by clicking the Windows + I keys.
- And then, select Updates and Security.
- Click Windows Update.
- Go to the Update History section and click Uninstall Updates.
- Find the update that you have recently installed and remove it.
- After that, restart your computer and check if the issue is resolved.
Fix #7: Change the Refresh Rate
Another fix that you can try for your Surface Pro’s screen brightness problem is to change the display refresh rate. Though this really does not affect the display, it’s something that is worth trying as it worked for some users. And also, trying this won’t cause you to lose anything.
Here’s how to change Surface Pro 7’s display refresh rate on Windows 10/11:
- Go to Settings.
- Navigate to System and select Display.
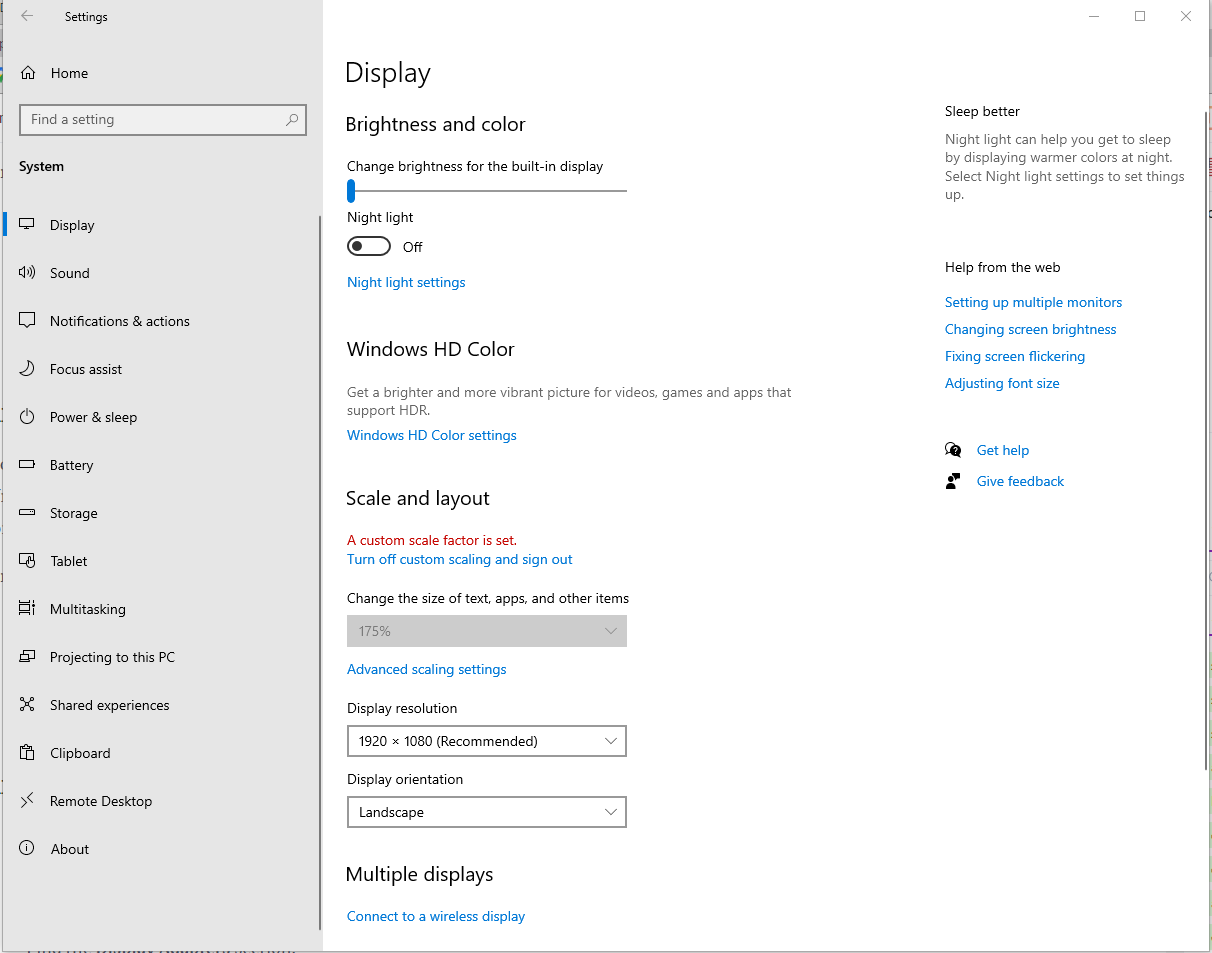
- Next, select Display Adapter Properties.
- Go to the Monitor tab. Here, check if the Screen Refresh Rate is set to 60 Hz.
- Restart your computer.
Fix #8: Use the Microsoft Basic Display Adapter
To resolve your screen brightness issue, you can use the Microsoft Basic Display Adapter. Here’s how:
- Press the I + Windows key simultaneously.
- Select Device Manager from the search results. This will launch the Device Manager window. Find the Display Adapters section.
- Expand Display Adapters.
- Click Intel(R) HD Graphics or whatever basic graphics settings is available.
- Right-click on the Update Driver option.
- If you see the question, How do you want to search for drivers, select Browse my computer for driver software.
- After that, choose the Let me pick from a list of available drivers on my computer option.
- Here, you will find several graphics drivers. Select Microsoft Basic Display Adapter.
- Hit Next to proceed.
- Reboot your computer.
Try out any one of these methods to resolve the problem with Surface Pro’s adaptive brightness.
Wrapping Up
The Surface Pro 7 is indeed a powerful computer that is ideal for everyday use. It comes equipped with many amazing features like a 12.3″ touchscreen, a fast processor and USB-A and USB-C ports. Not to mention, it is incredibly lightweight at only 1.7 pounds.
Then again, no matter how flawless this device may seem, it’s no stranger to issues. Some users are reporting that they are experiencing screen brightness problems with it.
Well, these issues have many fixes. You can use the Power options to adjust the brightness, access the Graphics Properties menu to check the graphics card driver, make tweaks in the Display Adapter settings, use the Device Manager, or simply re-enable the generic PnP monitor.
Now, if you think you cannot do the troubleshooting by yourself, then you can ask for help from professionals. You can even take your computer back to where you bought it if it’s still under warranty.
Let us know how you resolved the screen brightness problem on your Surface Pro 7 by leaving a comment below!