
There are times when you start your Mac and the screen turns white. Yes, it’s an unlucky day. You are greeted by the dreaded white screen of death.
When your screen turns white, you may think that your Mac is broken. The truth is, it’s not. In fact, it can be remedied without having to purchase a new computer or going to the Apple Store.
In this article, we will discuss everything you should know about this white screen on Macs, including what it is, why it happens, and how to fix the white screen on Macs.
What Is This Mac White Screen of Death?
The white screen on your Mac is a clear indication that something is wrong with your device. When this occurs, you cannot use your Mac. But what triggers it to appear?
Pro Tip: Scan your Mac for performance issues, junk files, harmful apps, and security threats
that can cause system issues or slow performance.
Special offer. About Outbyte, uninstall instructions, EULA, Privacy Policy.
Most of the time, the white screen shows after installing a macOS update that you are unaware of. It may also surface when you install an incompatible driver on your Mac or if an app has encountered problems while updating.
Does a white screen mean that you need to get a new Mac? No. It is your Mac’s way of telling you that a process is ongoing and it wants to complete it first.
How to Fix a White Screen on a Mac
So, you encountered a Mac white screen on startup. What do you do next? Instead of panicking, try the methods we have presented below. One of them should resolve the Mac white screen on boot issue for you.
Fix #1: Check the External Peripherals
Sometimes, the cause of the white screen problem may not be your computer. It can be an external drive or device connected to your Mac.
Some affected users reported that this situation commonly occurs after Mac updates or when an external drive is connected. During these instances, your Mac may get confused while trying to apply the necessary updates.
It is also possible that other peripherals like printers are causing the problem. Perhaps their connections are at fault or there are compatibility issues that triggered the white screen.
Regardless of what external peripheral is at fault, the first thing you need to do is unplug all external components connected to your Mac. But don’t include the power source. After that, shut down your Mac. Wait for a few seconds before rebooting it.
Now, if it starts normally, you know that an external device has caused the issue. To identify the culprit, plug the devices one at a time.
Another possibility is that an app or an external peripheral is updating while your Mac ran out of power. In such a case, a white screen may surface. And to prevent these scenarios, you need apps that will allow you to keep track of your battery usage, notifying you ahead if your battery is running low or you need to go to a low power mode.
Fix #2: Enter Safe Mode and Clean Your Mac
Safe Mode is often referred to as a lifesaver. In this mode, your Mac boots with only the essential applications and processes. It is widely used when performing system checks and preventing some software programs from launching at startup.
The goal here is to get your Mac to start without unnecessary components like printers, which may interrupt the startup process.
To boot in Safe Mode, here’s what you should do:
- Shut down your Mac.
- Press the Power button to switch it on.
- Press and hold the Shift key right away.
- Once the Apple logo appears, release the Shift key.
- Your Mac should now be in Safe Mode.
After booting your Mac in Safe Mode, you might consider using a third-party tool to clean unnecessary files. Outbyte macAries is one such tool that claims to assist in this task. Ensure that the tool is appropriate for your specific needs.
Fix #3: Reset the PRAM/NVRAM
Often, your Mac’s settings are to blame for the white screen you are seeing. These settings are stored on the PRAM/NVRAM partition of your device’s memory. While this partition is a relatively small section of the memory, it plays an important role in your Mac. It allows you to easily and conveniently access settings for startup services and other apps.
In the event that an app gets corrupted or a process is interrupted during an update, it is likely that the concerned settings are altered, too.
So, to rule out the idea of a problematic PRAM or NVRAM, reset it. Here’s how to do it:
- Shut down your Mac.
- Hit the Power button to switch it back on.
- Press and hold the CMD + Option + P + R keys.
- The moment you hear the Mac’s startup sound, you can release the keys.
- Your Mac’s PRAM/NRAM should now be successfully reset.
Fix #4: Monitor Your CPU Usage
Here’s a fact that may surprise you: your Mac is actually giving you hints that a white screen is bound to appear. Sometimes, your Mac encounters difficulties accessing files, apps, or settings. And if that happens, the CPU tends to work even harder. This also means your fans will double their effort.
Sure, you may not see anything wrong in such a situation. However, you have to take a closer look. When your CPU and fans work more than usual, then white screens are bound to happen.
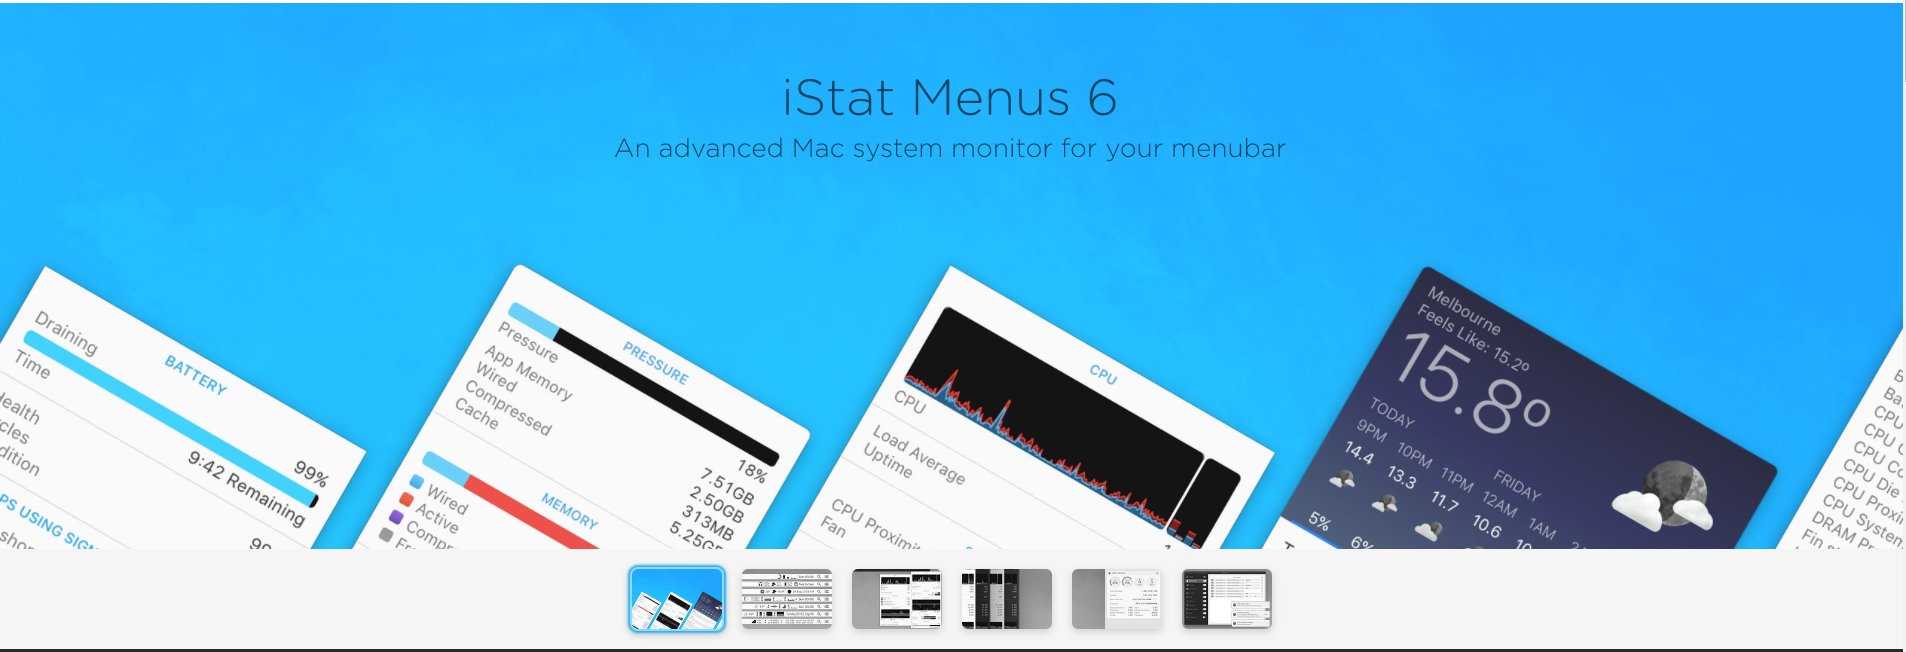
Avoid such situations by using applications that monitor your CPU usage. Use them to monitor your CPU and memory usage. Other apps are even designed with added features, which you can take advantage of, such as weather forecasts.
With one click, you can get all the information you need. And if you dig deeper into each section, you get more information. So, install these apps so you have a better idea of what component is at risk of failing.
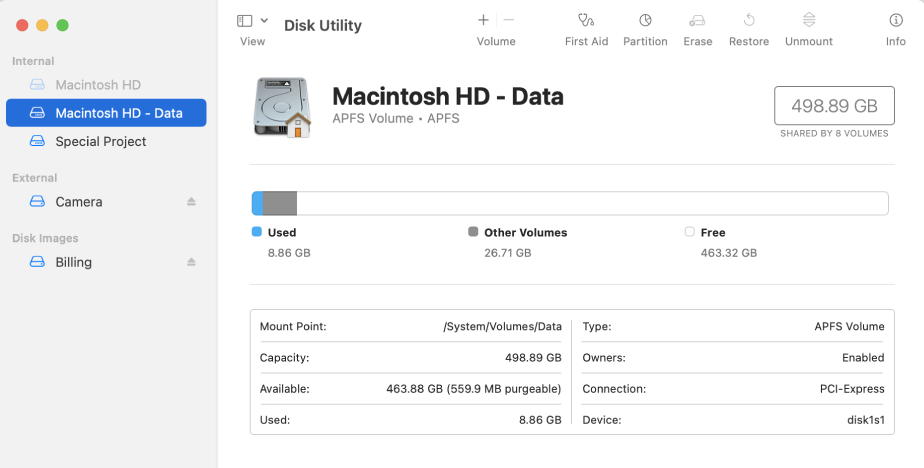
Fix #5: Use Disk Utility
Restarting your Mac and using Disk Utility can fix problematic disks. Hence, don’t miss this fix if you encounter the white screen of death. Don’t worry if the process takes a while; it’s totally worth it.
Here’s how to use Disk Utility to repair faulty disks:
- Shut down your Mac.
- Press the Power button to turn it on.
- Press and hold the Command + R keys.
- Release the keys once the Apple logo appears.
- When options are shown, select Disk Utility.
- Hit Continue.
- Select the disk that needs to be repaired.
- Click the First Aid button.
- Wait for the process to complete.
- Restart your Mac once again to see if the problem is fixed.
It is worth noting that Disk Utility may not always repair a problematic disk. However, it does a pretty good job of telling you if a disk is set to fail. So, if you get warned, you can plan and save ahead.
Fix #6: Check Your Mac’s GPU
There are instances when your Mac gets stuck on a white screen upon startup. When that happens, you can’t always access Apple Diagnostics. We know how disappointing it is, but there is hope. You can check your Mac’s GPU manually.
The majority of Mac models have two graphics processors: a discrete one and an integrated one. The discrete GPU provides the best graphics performance. But it consumes more energy. The integrated GPU, on the other hand, uses lesser resources.
Between the two, the discrete GPU is usually set as the default option. Therefore, if you want to boot using the integrated GPU, you have to force your Mac to do so. But before you do so, we suggest you seek expert assistance as the steps can be a bit tricky. Either way, as long as you follow the steps one at a time, then there should be no problem.
To disable the default GPU on your Mac, here are the steps to take:
- Boot into the macOS Recovery mode.
- Go to Utilities and select Terminal.
- Into the command line, input this command: nvram fa4ce28d-b62f-4c99-9cc3-6815686e30f9:gpu-power-prefs=%01%00%00%00. This will disable the discrete GPU.
- After that, input this command: xnvram boot-args=”-v”. This will enable the verbose boot mode to give you a detailed report at startup.
- Next, reboot Mac into Single User mode by pressing and holding the Command + S keys.
- Type the /sbin/mount -uw / command to mount the root partition as writeable.
- Create a kext-backup directory using the mkdir -p /System/Library/Extensions-off command.
- Input the mv /System/Library/Extensions/AMDRadeonX3000.kext /System/Library/Extensions-off/ command in Terminal.
- Now, inform macOS to update its kextcache using the touch /System/Library/Extensions/ command.
- Your Mac will now restart and upon reboot, you will notice a significant boost in your display’s performance.
Fix #7: Reinstall Your macOS
Lastly, try to reinstall macOS. Okay, you are scared about losing files and apps, but it doesn’t work that way. You simply need to reinstall macOS.
Here’s how to reinstall the most recent macOS version:
- Shut down your Mac.
- Press the Power button to turn it on.
- Press and hold the CMD + Option + R keys.
- Once the Apple logo appears, release the keys.
- The Utilities window should appear now. Select Reinstall macOS.
- Hit Continue to proceed with the reinstallation.
- Follow the instructions on your screen to completely reinstall macOS.
Wrapping Up
Like other common issues in Mac Catalina and other macOS versions, the white screen of death isn’t as scary as it seems. Even so, you have to be proactive and constantly monitor your Mac’s health to avoid issues.
Now, if you find yourself on a white screen of death, keep your calm and pull up this article. We have provided some easy fixes, which you can do without the help of professionals. Try them to find one that works for you.
You may start with the easiest fix, which involves checking the external peripherals. If it doesn’t work, enter Safe Mode and clean your Mac, reset the PRAM/NVRAM, or constantly monitor your CPU’s usage. You can even use Disk Utility to check if a faulty disk is the culprit. And if all else fails, reinstall your Mac completely.
Let us know your thoughts about this article. Comment below!
Cheers Vlad,
A lot of problems with external peripherals and macOS updates it appears to be. I prefer to use Mac because of simple effective update processes and lack of issues, but this changing lately.
Same goes for the peripherals. Firstly maximum 4 slots. This sucks but this is why everyone went out and bought docks at Exuberant prices. Now the CPU is getting tripped out and this there’s some serious temperature issues.
This will all be patched in the future update. Just make sure to disable auto update so your computer doesn’t crash. Or was that a pun.