Errors are a common occurrence in Windows devices. While some issues can be resolved with a simple restart, others are cryptic, lacking sufficient information to understand their underlying cause.
But fret not. In this article, we will discuss one error message that may occur in Windows devices: the “Igfxem.exe Application Error: The Memory Could Not Be Read” error.
For us to better understand the “Igfxem.exe Application Error: The Memory Could Not Be Read” error in Windows, let’s first know what the Igfxem.exe file is and what is it programmed to do?
What Is Igfxem.exe?
The Intel Graphics Executable Main Module or the Igfxem.exe file module is a component of the Intel Common User Interface. This means it is not related to the core processes of the Windows operating system. It is commonly used in portable devices like laptops and it acts as a display resolution persistent.
Expert Tip: For smoother PC performance, consider using a PC optimization tool. It handles junk files, incorrect settings, and harmful apps. Make sure it's right for your system, and always check the EULA and Privacy Policy.
Special offer. About Outbyte, uninstall instructions, EULA, Privacy Policy.
Like other EXE files, the Igfxem.exe file can be used to hide or disguise malicious entities. As a result, antivirus solutions flag the file as a security risk. Error messages like “Igfxem.exe Application Error: The Memory Could Not Be Read” may also be thrown.
Is the Igfxem.exe File a Potential Security Threat?
Although there is no specific case or study that have proven that the Igfxem.exe file is a malware entity, cybersecurity experts always advise Windows users to take caution because cybercriminals specifically target executable files to avoid their malicious apps from being flagged as a threat by security scanners.
One way to ensure that you are dealing with a legit Igfxem.exe file is to check its location. To do so, open the Task Manager by pressing the Ctrl + Shift + ESC keys, navigate to the Processes tab, and find the Igfxem.exe process. After that, right-click on it and select Open File Location.
If you are taken to a location that is different from C:\Windows\System32\Igfxem.exe, then it is likely that you are dealing with a malware entity.
Well, aside from malicious entities, there are many other reasons why a Windows user would encounter problems like the “Igfxem.exe Application Error: The Memory Could Not Be Read” error. We’ll share them with you below.
What Causes the “Igfxem.exe Application Error: The Memory Could Not Be Read” Error?
The “Igfxem.exe Application Error: The Memory Could Not Be Read” error message may not be common, but we’ve managed to compile a list of possible triggers to this error.
- An Outdated Graphics Card Driver – One possible culprit that triggers this error is an outdated graphics card driver. Obviously, the best fix for this case is to simply update your driver to the most recent version.
- An Unstable Graphics Card Driver – Another culprit that can trigger this error is an unstable graphics card driver. For this, you just need to roll back your device driver to a previously working state, and the error should be gone.
- A Virus Infection – Like other EXE files, the Igfxem.exe file could be used by cybercriminals to disguise malware entities and viruses. And when that happens, the unknowing user may encounter the “Igfxem.exe Application Error: The Memory Could Not Be Read” error message. To resolve this, download, install, and run a malware scan.
5 Ways to Resolve the “Igfxem.exe Application Error: The Memory Could Not Be Read” Error Message
Now that you know what triggers the error message to appear, what do you think is the best course of action to get rid of it. To find out the answer, go through our suggested solutions below:
Solution #1: Update Your Graphics Card Driver via Device Manager.
As mentioned above, this error message may be caused by an outdated graphics device driver. So, to rule out this possibility, try updating your graphics driver by following these steps:
- Navigate to your desktop.
- Right-click on This PC.
- Select the Manage option.
- From the list of options that appears, select Device Manager.
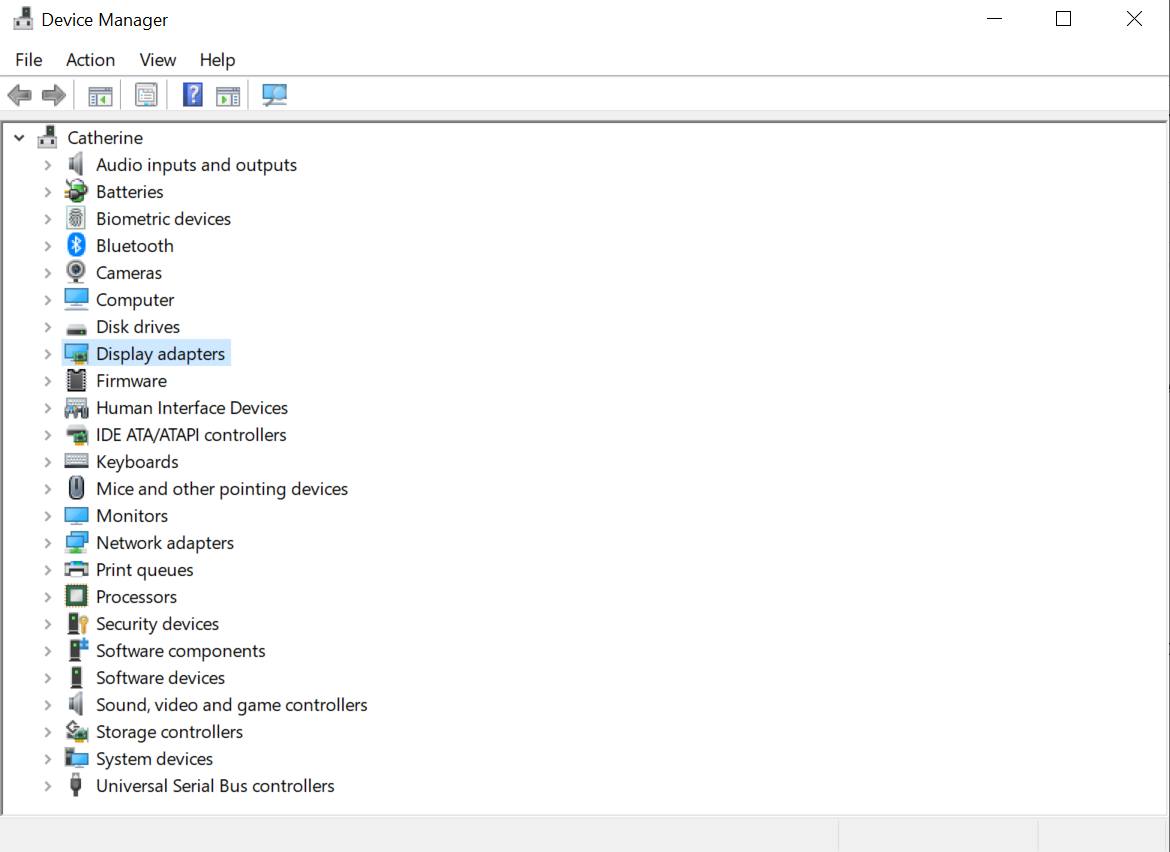
- Choose Display Adapters.
- Right-click on your Intel graphics card and choose Update Driver.
- And then, select the Search automatically for updated driver software option.
- If an update is available, it will be shown on the window. Click on it and follow the onscreen prompts.
- Wait for the update process to complete.
- Restart your computer and check if the error message no longer appears.
Solution #2: Update Your Device Driver Using a Third-Party Driver Updater Tool.
If you are not that confident with your technical skills and you wish to update your device driver, then this solution is best for you. All you have to do is install a trusted device driver updater tool and let it do its job for you.
One device driver updater tool we recommend is Auslogics Driver Updater. This safe, intuitive, and fast tool can update your PC drivers in just one click. Plus, it prevents compatibility issues and guarantees a smooth hardware operation. Once you install it into your device, it will scan your computer for potential driver issues. After that, it will generate a report that includes a list of missing or outdated drivers. Finally, it will give you the option to update the flagged drivers to the latest manufacturer-recommended versions.
Solution #3: Install the Device Driver Manually.
Another possible solution to the “Igfxem.exe Application Error: The Memory Could Not Be Read” error message is to install the graphics driver manually. To do this, you need to check your Intel graphics card model and find that driver on Intel’s official website. But before you go to the site, be sure that you have uninstalled your graphics card while your internet is disabled. Also, ensure that you have already rebooted your device after doing so.
Once you have confirmed that you have done both, proceed with the manual installation of the driver:

- Check your graphics card model. Do this by pressing the Windows + R And then, in the Run utility, input dxdiag. Hit Enter. Navigate to the Display tab and check your graphics card model.
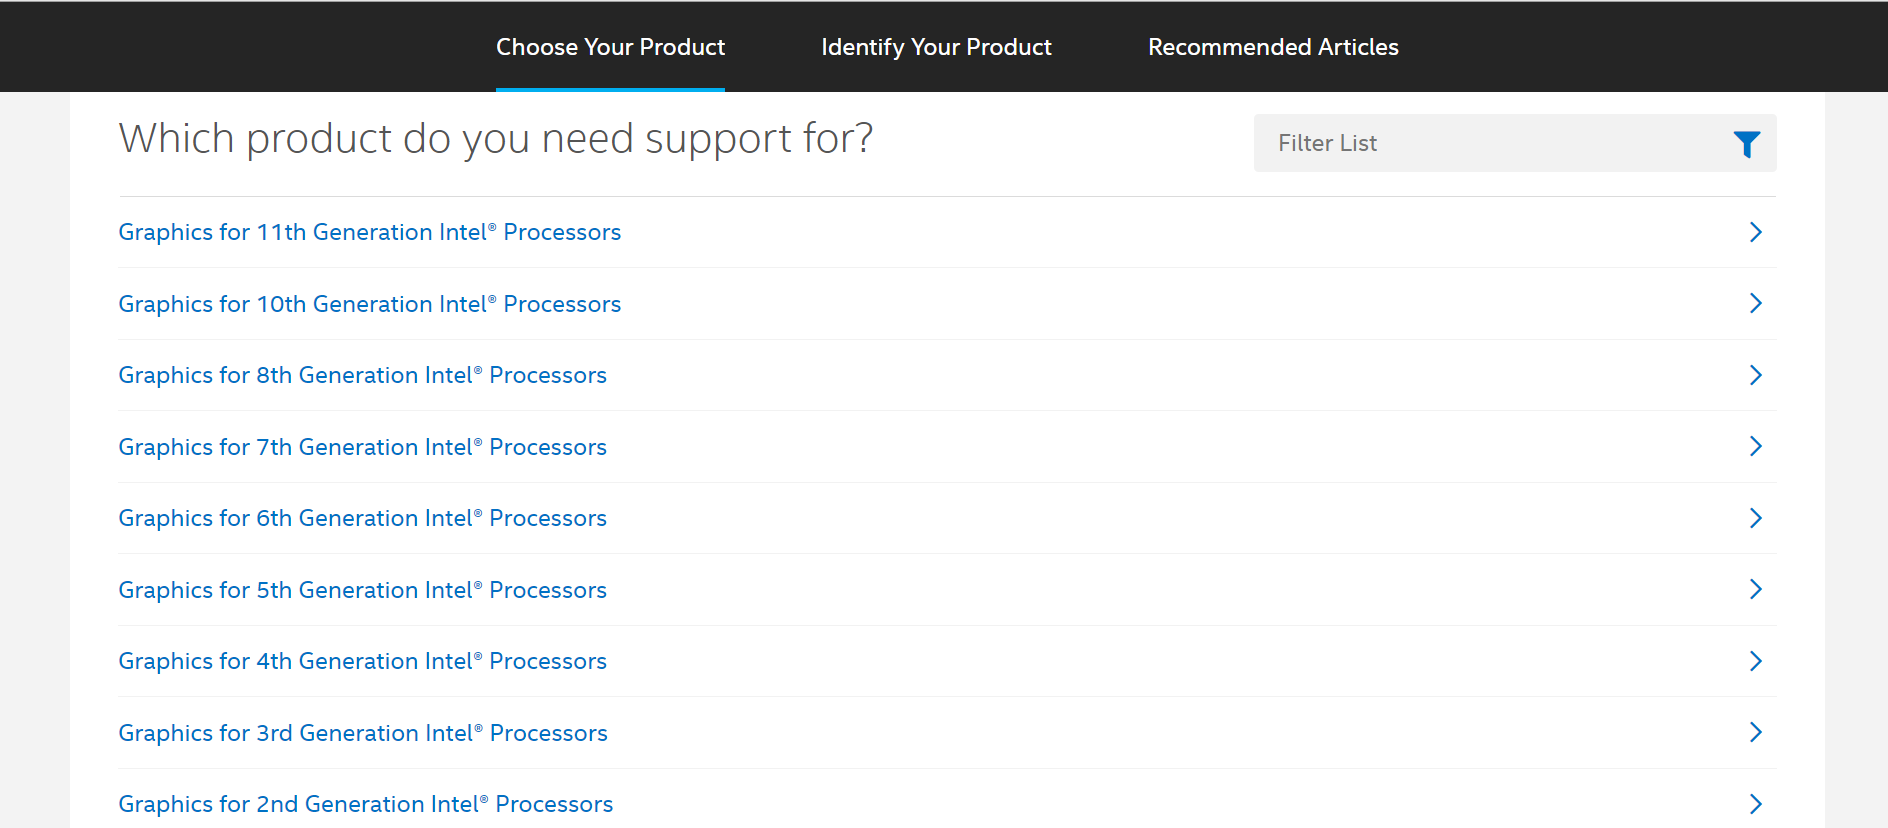
- After you have taken note of your graphics card model, launch your favorite web browser and go to Intel’s official website.
- Click the Support menu.
- Select Download Drivers and Software.
- Find your graphics card driver model.
- Download the driver that is compatible with your Windows version.
- Install it and restart your computer.
- Check if the error still appears.
Solution #4: Roll Back Your Device Driver.
Sometimes, Intel rolls out device driver updates that are still unstable, meaning they still have bugs and issues that need to be fixed. If you happen to install an unstable driver version, then you are likely to encounter the error.
To fix this, try rolling back your graphics card driver to a more stable version. Just follow the steps below:
- Go to the desktop and right-click on This PC.
- Select Manage.
- Click Device Manager.
- Expand the Display Adapters section and right-click on your Intel graphics card model.
- Choose Properties.
- Navigate to the Driver tab and hit the Roll Back Driver button.
- A list will now appear. Select the most appropriate option.
- Hit Yes.
- Wait for the process to complete before restarting your computer.
Solution #5: Run an Antivirus Scan.
Finally, you may perform an antivirus scan to rule out the possibility that a virus or a malware entity is causing the error message to appear.
You have two ways to run an antivirus scan: manual or automatic. The manual method involves the use of the inbuilt security suite on Windows devices: Windows Defender. The automatic method, on the other hand, involves the use of another antivirus solution. Although you can choose any of the two, we suggest performing both for the best results.
To run an antivirus scan using Windows Defender, do this:
- In the Settings utility, select Update and Security.
- Click Windows Defender.
- In the dialog box that appears, select the Open Windows Defender Security Center
- Hit the Virus and Threat Protection
- Now, select Quick Scan. This will tell Windows Defender to start scanning your computer. Once done, it will report any threats it finds.
- You may also choose Advanced Scan. This will tell Windows Defender to scan your device based on your preferences. And like the Quick Scan option, it will also report any threats it finds.
Should you prefer using another antivirus program, the process is more or less the same. It’s just that you need to download and install a third-party antivirus solution first before you can perform a scan.
Summary
That’s it! We have shared five ways to resolve the “Igfxem.exe Application Error: The Memory Could Not Be Read” error message. Hope one of them has helped. If, at this point, the error still appears, do not hesitate to seek help from Intel’s support team. They should be able to provide you with a solution that is more specific to your case.
You may also bring your laptop to an authorized service center, especially if it’s still under warranty. The technicians can check your device and fix them for you.
Feel free to comment below if you want to know more or if you still have questions!
