Have you ever encountered the frustrating situation where a Windows update gets stuck at 1% and eventually fails, accompanied by the error code 0x80240034? This error indicates that the installation of an update was unsuccessful.
But what is the 0x80240034 error all about? Why does it cause the update installation to fail? Let’s find out about that and more below.
What Is the Error Code 0x80240034?
As mentioned above, the Windows 10/11 0x80240034 error tells you that an update failed to install. It isn’t specific to a certain Windows operating system version. Many Windows users reportedly experienced this problem while trying to install different builds. This error usually comes with the following codes: 0x80240034 1903 and 0x80240034 1803.
Although the exact cause of the Windows Update 0x80240034 error is not known, experts suggest that it is related to corrupted update files. That is why the most common fix for the problem involves resetting the Windows Update cache.
Expert Tip: For smoother PC performance, consider using a PC optimization tool. It handles junk files, incorrect settings, and harmful apps. Make sure it's right for your system, and always check the EULA and Privacy Policy.
Special offer. About Outbyte, uninstall instructions, EULA, Privacy Policy.
Other affected users, however, tried resolving the Windows error 0x80240034 by using an ISO file and checking the “Do not keep the previous settings during the update” option.
Are you already confused about what fixes to try? Relax. You have plenty of options, and we don’t suggest trying each one of them. We’ll discuss the most effective solutions below.
Ways to Resolve the Windows Error 0x80240034
Let’s get down to the working solutions. Go over them one by one until you find one that works best for your situation.
Solution #1: Use the Windows Update Troubleshooter
If you are facing a lot of issues while installing Windows updates, you may want to use the Windows Update Troubleshooter by Microsoft. It is designed to identify and troubleshoot any problem that is keeping you from installing or downloading Windows updates.
In addition, it will clear any temporary files related to the Windows Update tool. It also deletes the contents of the SoftwareDistribution folder and repairs faulty Windows Update components.
To use the troubleshooter, perform these steps:
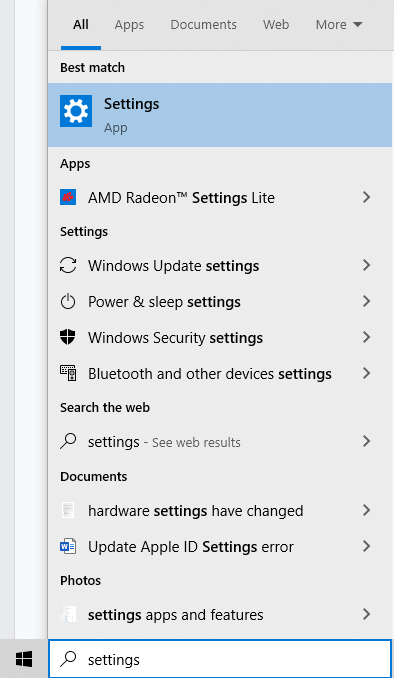
- Go to the Start menu and type settings into the search field. Hit the Enter key to start the search.

- The Settings window will now launch. Go to Update and Security and select Troubleshoot.
- Locate Windows Update and click the Run the Troubleshooter button.
- Follow the on-screen prompts.
- Restart your computer for all the changes to be applied. Check if the error is gone.
Solution #2: Run an SFC Scan
An SFC scan inspects all your important Windows files, including DLL files. If a problem is detected, the System File Checker tool will resolve it by replacing the affected file.
To run an SFC scan, follow these easy steps:
- Press the Win + Q shortcut and input cmd.
- Right-click on Command Prompt and select Run as Administrator.
- The Command Prompt window should now appear.
- Type the sfc /scannow command and hit the Enter key.
- Wait for the scan to be completed.
- After the scan, restart your device and see if it has resolved the error.
Solution #3: Run a DISM Scan
The Deployment Image Servicing and Management, or DISM, utility is a command-line tool that is used by many administrators to modify and repair problematic system images, including the Windows Setup, Windows Recovery Environment, and Windows PE.
Here’s a guide on how to run a DISM scan:
- Press the Win + X shortcut to launch the Command Prompt with administrator rights.
- Type this command: dism.exe /Online /Cleanup-image /Restorehealth. Hit the Enter key.

- If the DISM utility fails to obtain replacements for the problematic files, use your installation media instead. Connect it to your device and type this command into the Command Prompt window: dism.exe /Online /Cleanup-Image /RestoreHealth /Source:C:/Repair/Source/Windows /LimitAccess.
- Make sure that you replace the value of C:/Repair/Source/Windows with the actual location of your installation media.
- Hit Enter to execute the command.
Solution #4: Download the Update Manually
If the automatic methods fail, you can download the Windows update manually instead. It may be a bit tricky, but it’s definitely worth the shot.
Here’s what you should do:
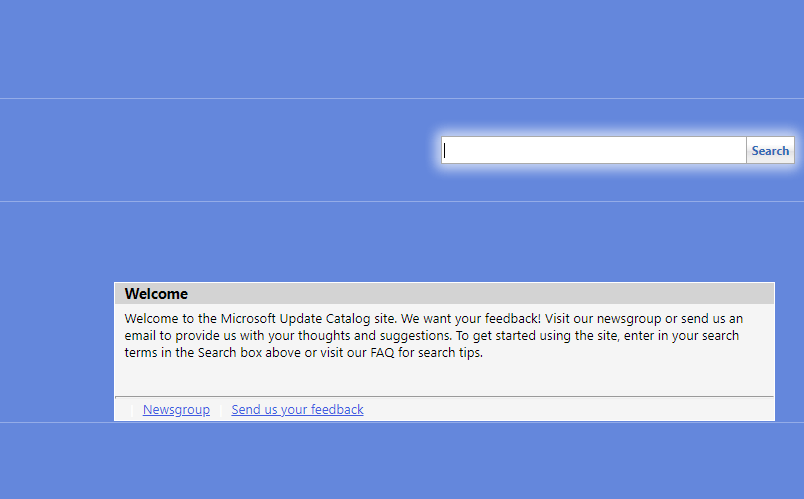
- Open your preferred browser and visit the official Microsoft Update Catalog website.
- Use the search field to find the update version you are trying to install. Hit Enter to begin the search.

- You should see a list of matching updates. Find the specific update that is compatible with your system’s architecture.
- Click the Download button next to it.
- Once the download is complete, run the setup file and follow the on-screen instructions.
- Restart your Windows computer.
Solution #5: Run a Complete System Scan
Though it rarely happens, malware can also trigger the Windows Update 0x80240034 error to appear. To resolve this, simply perform a complete system scan using your preferred antivirus software.
Malicious entities are notorious for causing Windows Update errors. By using an antivirus software program, you can detect and get rid of viruses and other types of malware, such as adware, Trojans, worms, and more.
Antivirus programs also ensure your computer has the most up-to-date software protection. This is because new threats are being developed every minute, and the developers of antivirus software know about that, which is why they continuously update their virus databases and tools to deal with all these threats.
If you don’t have an antivirus program installed, we suggest that you find a reliable one. Make sure that you download a tool that doesn’t conflict with your system processes in any way. Also, download antivirus software from trusted sources only. If possible, visit the website of your preferred tool’s manufacturer and get the software there. This is to avoid further infection that may result in more error codes.
Solution #6: Use a PC Repair Tool
Aside from performing a complete virus scan, running a PC repair tool such as Outbyte PC Repair is worth trying. This tool is designed to eliminate unneeded files that eat up a significant amount of your system space. It can also get rid of system malfunctions and performance-related issues on your PC.
With all the unwanted files eliminated, your computer is optimized, which means it will run smoothly and error-free.
Solution #7: Reset Some Windows Update Components
Windows Update is an important Windows 10/11 component that allows you to install updates, which come with the latest security patches and bug fixes. However, there are instances when it fails to do its job because of errors. To resolve this, you may have to reset its components.
Here’s how:
- Press the Win + X shortcut and choose Command Prompt (Admin).
- Into the Command Prompt window, input the following commands:
- net stop wuauserv
- net stop cryptSvc
- net stop bits
- net stop msiserver
- rmdir %windir%SoftwareDistribution /S /Q
- net start wuauserv
- net start cryptSvc
- net start bits
- net start msiserver
- Make sure you press Enter after each command.
- After that, check if the problem has been fixed.
Solution #8: Clear the SoftwareDistribution Folder
For some affected users, clearing the Windows Update cache has resolved the error. You can easily clear the cache by deleting everything in the Windows SoftwareDistribution folder.
Unfortunately, Windows cannot clear the contents of this folder once they are corrupted. But clearing it will force Windows to redownload the contents and possibly fix the Windows Update error 0x80240034.
Follow this step-by-step guide to clear the SoftwareDistribution folder:
- Press the Win + S shortcut.
- Into the search field, type command prompt.
- Right-click on the top result and choose Run as Administrator.
- Type the net stop wuauserv command and hit Enter.
- Next, input the rmdir %windir%\SoftwareDistribution /S /Q command and hit the Enter key.
- Now, type the net start wuauserv command and hit Enter.
- Once done, restart Windows and the error should be gone.
Solution #9: Update Windows Using an ISO File
If none of the solutions has worked so far, then you can use Windows installation media to install the latest Windows 10 version. Many users have found success in resolving the error by using this solution.
The reason it works is that the issue has something to do with the Windows Update utility. Any new update is generally downloaded via the Windows Update client, but if you install the update you need via an ISO file, you can avoid problems that are associated with the client itself.
Take note, though, that when you use installation media, you will be asked to decide what you wish to do with your previous apps and settings. Many would prefer not to keep the old settings, but we suggest keeping them until the update is successfully downloaded. If it works, then good for you. Otherwise, you can choose whether or not to proceed with the installation of the latest Windows version.
Now, here’s how to install updates using Windows installation media:
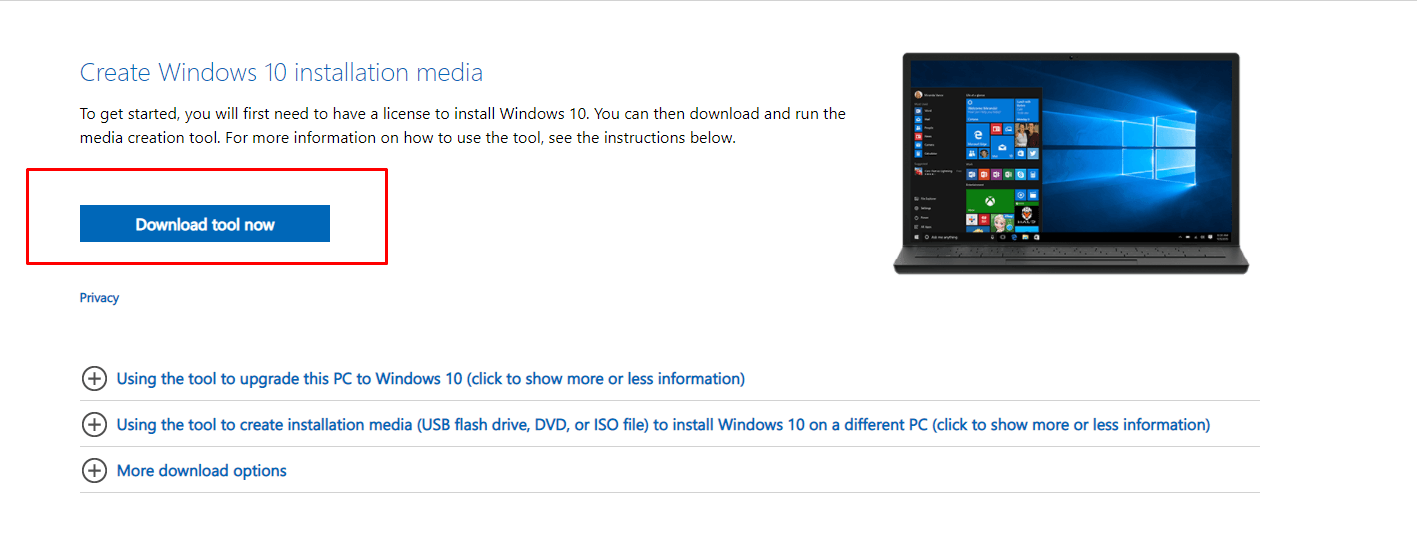
- Go to this address https://www.microsoft.com/en-us/software-download/windows10.
- Click the Download Tool Now button.

- Select the Use the tool to create installation media option and follow the steps provided.
- Once done, go to the location where the ISO file is saved.
- Right-click on it and choose the Open with option.
- Click File Explorer.
- Next, double-click on the setup.exe file.
- Follow the on-screen prompts to complete setting up the installation media.
- You will be asked whether to perform a clean install or keep your personal files. Do not keep your personal files.
- Proceed with the rest of the steps and choose the options that suit you.
Conclusion
The error code 0x80240034 may show at any time while trying to install a new Windows 10 version via the Windows Update tool. While the exact culprit behind this error remains unknown, experts think that corrupted update files are to blame.
Regardless of what’s causing it, there are different ways to resolve the error, and most of them have worked for many users. First, you can use the Windows Update Troubleshooter to fix any error with the Windows Update client. You can also perform SFC and DISM scans to repair problematic system files and images.
If the three methods don’t work, download the update manually by getting it from the official Microsoft Update Catalog website. You should also perform a malware scan as the error 0x80240034 may also be caused by a malware infection.
Other technical fixes you may try include clearing the contents of the SoftwareDistribution folder and using Windows installation media.
Now, if you have exhausted all the possible methods you know but the error 0x80240034 still shows, then do not hesitate to ask for help from Microsoft’s support team. Better yet, take your device to an authorized service center. It could be the case of a hardware-level issue, and one of your hardware components may need to be repaired or replaced.
Let us know which of the solutions above has worked for you by commenting below.


