
Hibernation is a valuable feature that provides a convenient solution for those who want to conserve their work progress, power down their computer, and pick up right where they left off at a later time.
This function is especially useful in Windows 11, as it enables users to save not only their work but also the current state of all open applications. By storing this information on the hard drive, hibernation ensures a seamless transition between shutting down and resuming work. In this article, we will delve into the benefits of hibernation and guide you through the process of enabling and utilizing this helpful tool in Windows 11.
The Difference Between Hibernate and Sleep
Sleep is like taking a quick nap. You’re not completely asleep, but you’re not exactly awake either. Your computer is still on, but it’s in a low-power state. When you wake it up, it’s ready to go.
In Windows 11, sleep mode doesn’t typically result in lost work progress. When your computer enters sleep mode, it saves your current work and open applications in RAM (Random Access Memory) while using minimal power. This allows for a faster wake-up and resumption of work compared to a full shutdown or hibernation.
Expert Tip: For smoother PC performance, consider using a PC optimization tool. It handles junk files, incorrect settings, and harmful apps. Make sure it's right for your system, and always check the EULA and Privacy Policy.
Special offer. About Outbyte, uninstall instructions, EULA, Privacy Policy.
However, sleep mode relies on power to maintain data in RAM. In case of a power outage or battery depletion, the unsaved data in RAM could be lost. Hibernation, on the other hand, saves your work to the hard drive, providing a more secure option for retaining your progress even in the event of power loss.
Hibernate, on the other hand, is like taking a nice long nap. Your computer saves all your work and running programs to the hard drive and shuts down completely. When you wake it up, it’s exactly where you left off, like it never even took a nap.
| Features | Sleep Mode | Hibernate Mode |
|---|---|---|
| Power Consumption | Low | Very Low |
| Resume Time | Almost Instantaneous | Takes Longer |
| Memory Usage | Active Memory | Saved to Disk |
| Recovery Options | Restarts Programs | Boots from Disk |
| Protection Against Power Outages | None | Saves Progress |
| Ideal For | Short Breaks | Long Breaks |
| Advantages | Quick Recovery, Saves Power | Safe Power-Off, Resume Later |
So, if you need a quick break, take a nap with Sleep. But if you need a nice long rest, Hibernate is the way to go. Just make sure you set your alarm so you don’t miss anything important!
How to Enable and Use Hibernate
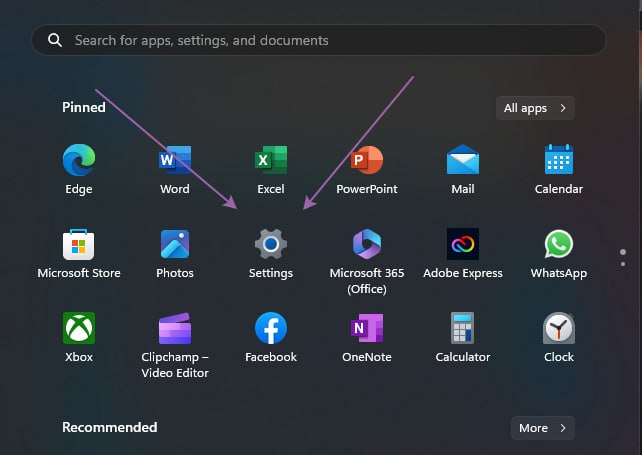
Step 1: Click on the Windows logo

To start, click on the Windows logo located in the bottom left corner of your screen.
Step 2: Select Settings from the menu
Next, select Settings from the pop-up menu. It’s the gear-shaped icon.
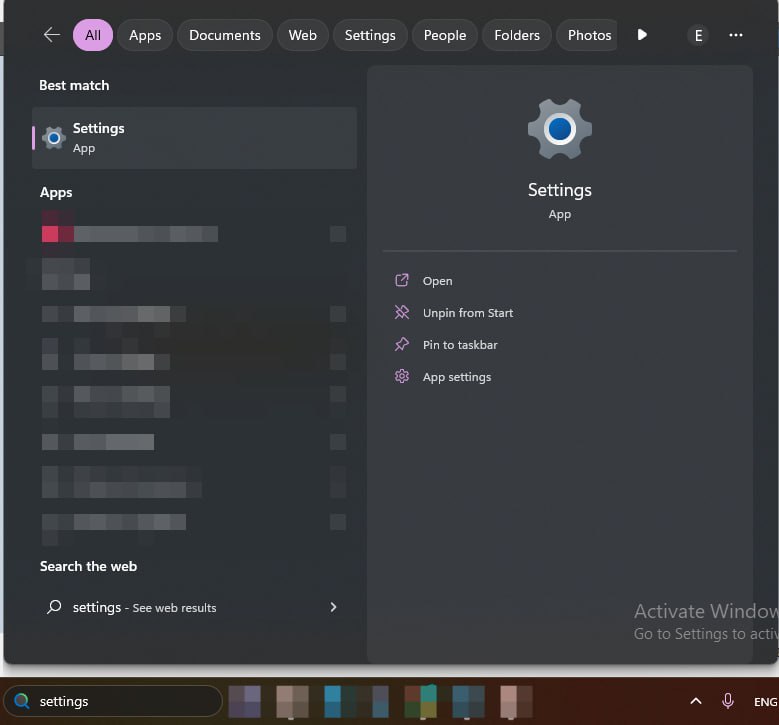
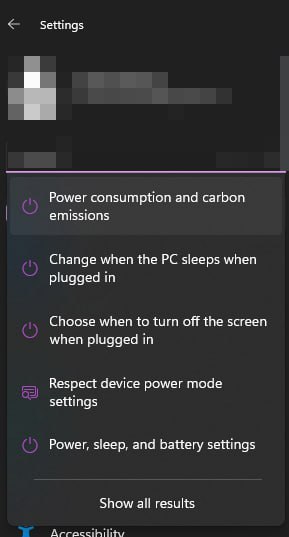
Step 3: Search for Power & Battery Settings
Type “Power & Battery Settings” into the search bar. It should be the first option that appears. Click on it.
Step 4: Select Additional Power Settings
Scroll down until you see the “Related Settings” section. Click on “Additional Power Settings.”
Step 5: Choose what the power button does
On the left-hand side of the window, you’ll see a list of options. Click on “Choose what the power button does.”
Step 6: Select “Change settings that are currently unavailable”
You’ll now see the option to change settings that are currently unavailable. Click on it.
Step 7: Enable Hibernate
Scroll down until you see the “Shutdown settings” section. Here you’ll find the option to enable hibernation. Check the box next to “Hibernate” and then click “Save changes.”
Step 8: Troubleshooting
If you have any issues enabling hibernation, you may need to troubleshoot your power settings. You can do this by typing “powercfg /h on” into the command prompt. This will turn on hibernation for your computer.
Step 9: Fast-Startup
If you’ve enabled fast-startup in your power settings, you may need to turn it off to use hibernation. Fast-startup can interfere with hibernation mode, so it’s best to disable it.
Step 10: Optimization
To optimize hibernation, you can adjust the hibernation timeout. This is the amount of time your computer will wait before entering hibernation mode. You can do this by typing “powercfg /hibernate-timeout <value>” into the command prompt, replacing “<value>” with the desired time in seconds.
Congratulations, you are now a hibernation master! With these skills, you can save your work and turn off your computer like a pro.
How to Change Hibernate Settings in Windows 11
Tweaking the hibernate settings in Windows 11 is an easy way to optimize your device’s power management and battery life.
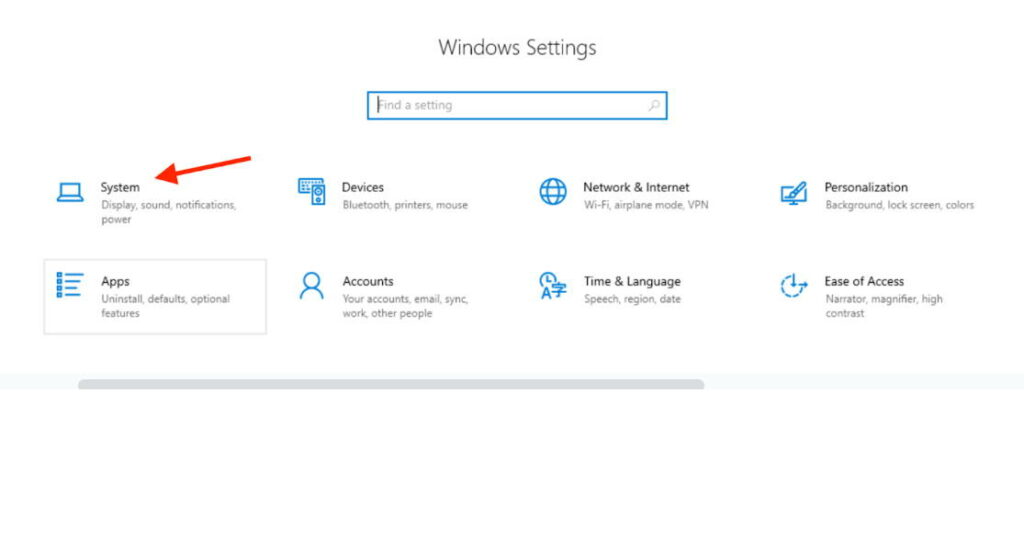
Click on the Start button and select the Settings icon. In the Settings menu, select System.
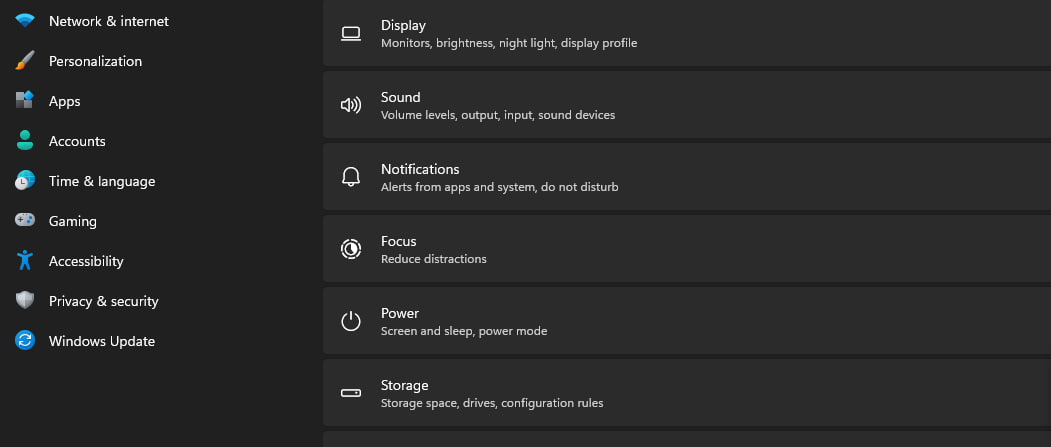
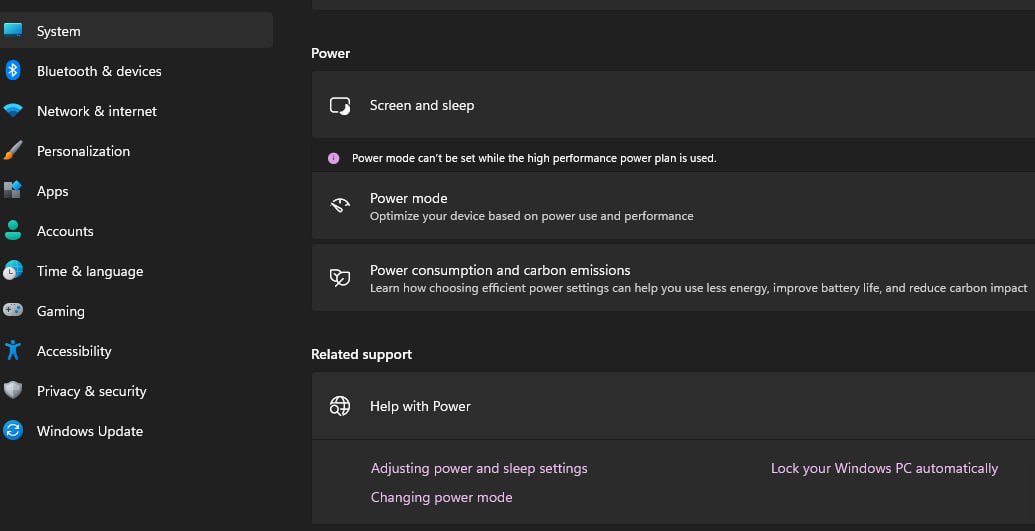
In the System menu, select Power & Battery.
Under the Power & Battery settings, click on Additional power settings.

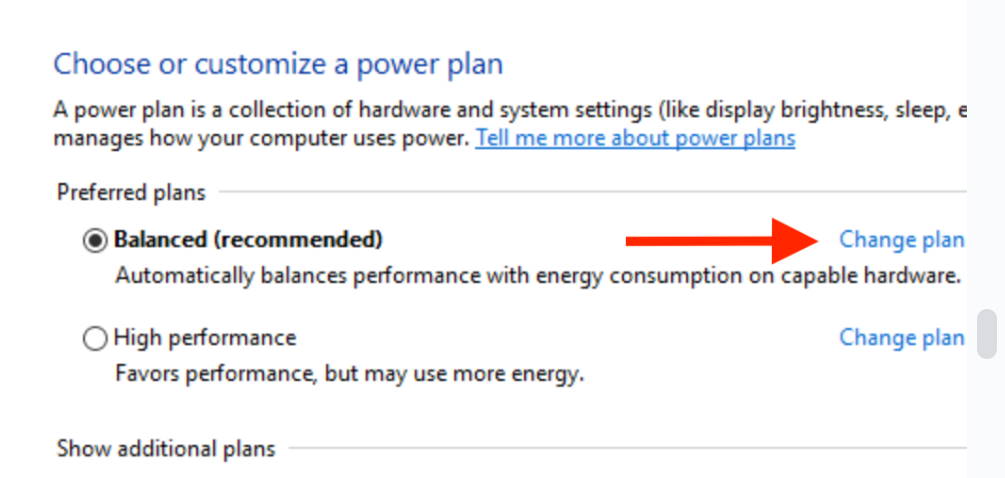
In the Power Options window, select Change plan settings next to the power plan you want to change.
In the Edit Plan Settings window, select Change advanced power settings.
In the Power Options dialog box, search for the Sleep section and click on the plus sign to expand it.
Next, click on the plus sign next to Hibernate after.
Here, you can choose the timeout value for hibernation. You can choose from a range of values, including never, 1 minute, 2 minutes, and so on. Choose the value that suits your needs.
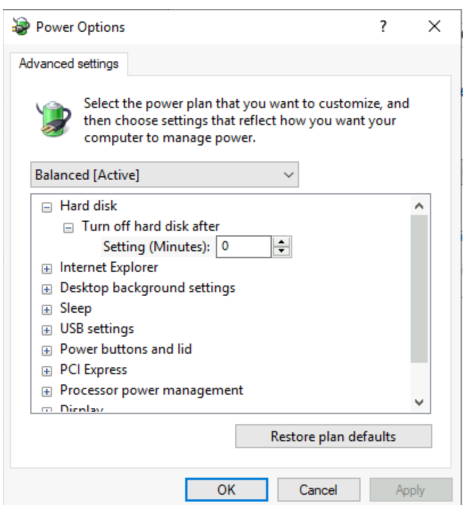
Click on Apply and then click on OK to save the changes.
That’s it! You have successfully changed the hibernate settings on your Windows 11 device. If you encounter any issues while changing the hibernate settings, you can troubleshoot the issue by using the Power Configuration tool. To access this tool, open a command prompt as an administrator and type “powercfg /?” to view the list of commands available.
Power options in Windows 11
Power options in Windows 11 let you control how your computer saves power. Whether you want to stretch your battery life or boost your performance, power options have got you covered. You can choose from pre-made plans or create your own. So, grab a drink and start optimizing!
Power options in Windows 11 are settings that control how a computer manages its power consumption. They allow you to adjust the behavior of your computer when it is running on battery power or plugged into a power source.
The power options settings in Windows 11 include options such as setting the screen brightness, configuring sleep and hibernate settings, adjusting the time it takes for the computer to turn off the display or go to sleep, and managing power plans.
Power plans are pre-configured settings that optimize your computer’s performance or battery life, depending on the plan you choose. Windows 11 comes with several pre-configured power plans, including:
- Balanced,
- Power saver, and
- High performance.
Users can also create their own power plans with customized settings, such as turning off the display after a certain amount of time, adjusting the CPU speed, and setting the screen brightness.
Overall, power options in Windows 11 provide users with a way to manage and optimize their computer’s power consumption, whether they are on-the-go or working from home.
Conclusion
In conclusion, changing the hibernate settings in Windows 11 is a simple process that can help you optimize your device’s power configuration. With the right settings, you can ensure that your device is using the appropriate power management settings, and that you’re getting the most out of your battery life.