Is your Mac experiencing any hardware problems? Is it still running in good shape? The only way to answer these questions is to check the SMART status of your internal disk storage and hard drives. But wait, what is SMART status?
SMART stands for Self-Monitoring Analysis and Reporting Technology System, it is a mechanism used to report any disk problem or disk health issue to the operating system. Though its function may seem quite simple, it’s convenient. If the SMART status on Mac says that a drive is failing or a fatal error has been encountered in the disk hardware, it only means there is an urgent need to back up all critical files and data to keep them from being corrupted. After that, the drive has to be replaced.
Now that you know that a SMART HDD’s status plays a vital role in maintaining your computer, it pays to know more about it, particularly how to check for it on a Mac. For that reason, we created this step-by-step guide for you.
How to Check SMART Status on Macs

The steps below work on all versions of macOS that have the Disk Utility application. Go over them step-by-step:
Pro Tip: Scan your Mac for performance issues, junk files, harmful apps, and security threats
that can cause system issues or slow performance.
Special offer. About Outbyte, uninstall instructions, EULA, Privacy Policy.
- Go to Applications > Utilities > Disk Utility.
- Select a disk from the list that you want to check. Make sure you choose an actual disk and not just a partition.
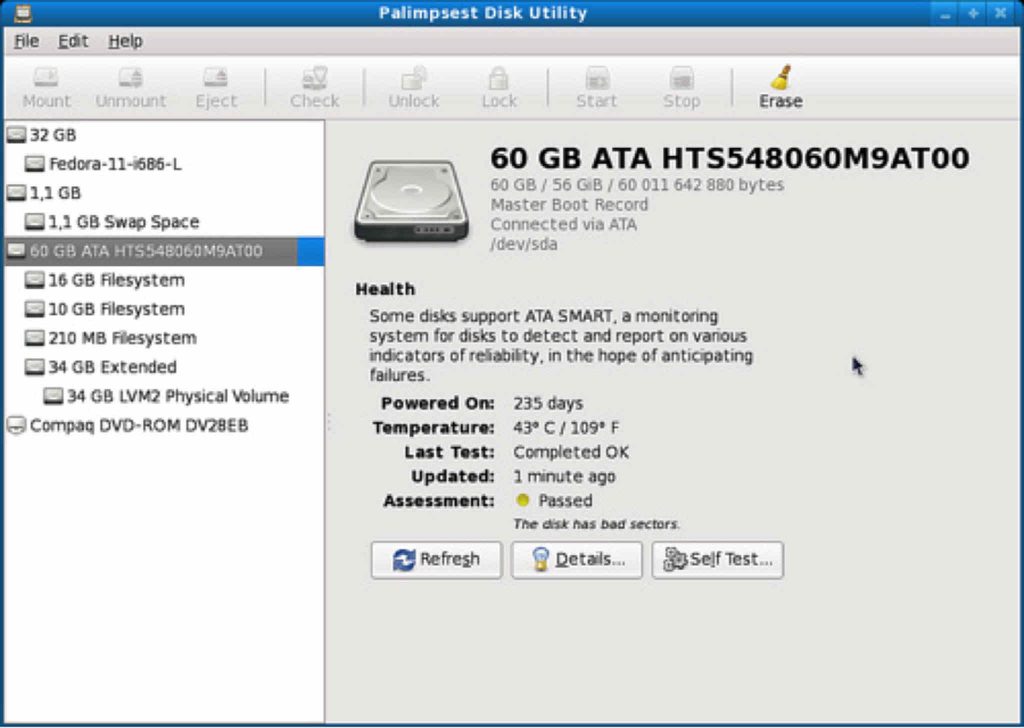
- Check for the SMART status of your hard disk. If it says “Verified,” then it means your drive is in good condition. If it says “Failing,” it only means your drive has to be backed up and replaced. And if it shows a message saying there is a fatal hardware problem, it means your hard drive is doomed to fail and may require backup and replacement ASAP.
- Once you’ve checked the status, close Disk Utility.
What to Do If Your Hard Drive is Failing
Whether your hard drive is failing or not, regularly backing up your Mac is a good thing to do. Backing up should not be a problem because there are plenty of tools and apps out there, which you can use to back up your important files regularly. Time Machine is one. You may also run First Aid on Disk Utility to repair damaged drives. However, take note that the issues that First Aid can fix are those that are not related to SMART failures nor other hardware problems.
Fixes to Other Problems
Now, if your SMART status says there are no errors, but your hard drive is still having problems, then you can try to verify and repair your disk by running Disk Utility on Recovery Mode. Just follow the steps below:
- Reboot your Mac while holding down the CMD + R buttons.
- In the boot menu, choose Recovery HD.
- Under Mac OS X Utilities, select Disk Utility.
- Select the drive or partition you want to repair.
- Go to the Repair tab.
- Click Repair Disk to start fixing the drive or partition.
If your drive is still not showing in Disk Utility, it may only mean two things. It can be the drive has already failed, or it is not physically connected.
Other Helpful Tips
While your Mac’s drive is still running efficiently, be sure you take good care of it. Check its status every now and then so you can prepare for the worst-case scenario. Better yet, back up your files regularly, so that you will still have access to them when your drives fail all of a sudden. Last but not the least, download and install tools like Mac repair app. Although installing it on your Mac won’t have a direct impact on your hard drive, it will definitely help ensure your device efficiently runs while you’re using it.
