Modern and high-end Android devices are now equipped with powerful processors and tremendous memory capacity, making them capable of doing a lot of things, some of which you probably didn’t think possible for small devices a decade ago. Most of these gadgets are also packed with bigger batteries as an answer to complaints that smartphones barely last a day. However, the battery upgrades still seem insufficient for some.
The advanced processing power and features mean we are more likely to use our phones for different purposes. Aside from playing games, listening to music, and watching videos, accomplishing tasks for work is even possible with the current mobile devices. It means that the additional battery capacity that the new devices have ended up being used to power different processes and features.
Majority of Android users would be happy to have a device that won’t die on them during the day and force them to find a power outlet while out and about. Sadly, every one of us probably found ourselves in a few-too-many situation.
While we can’t do a lot about the size of our devices’ batteries, we can do some things to make them last longer. In this article, we put together the best Android battery saver tips.
A Brief Background: How Do Android Batteries Work?
Before we go to the tips, let’s first try to understand better how Android batteries work. Today’s smart devices come with either a lithium-ion (Li-On) or lithium-polymer (Li-Po) battery. These batteries do not have a “memory,” so they can be charged any time. You don’t have to thoroughly drain them before charging or wait for them to be fully charged before plugging them off. In fact, they even benefit more from a partial charge. It’s recommended that you charge your device at 20% and unplug at somewhere around 90%.
Furthermore, many devices today don’t have removable batteries, so you can’t just remove and replace them. It also makes proper battery maintenance all the more critical, because you’ll be stuck with that battery for a while. With the Android battery tips we’ll share below; hopefully, you can make your battery last longer and maintain it better.
Turn On Your Device’s Battery Saver Feature
Many Android devices come with their battery saver feature. Samsung devices, for instance, have Ultra Power Saving mode. Meanwhile, HTC has Extreme Power Saving. Sony has STAMINA. Just take the time to explore your device’s Settings, and you’ll eventually find where you can turn on these power saving modes. Typically, it’s under Settings > Battery.
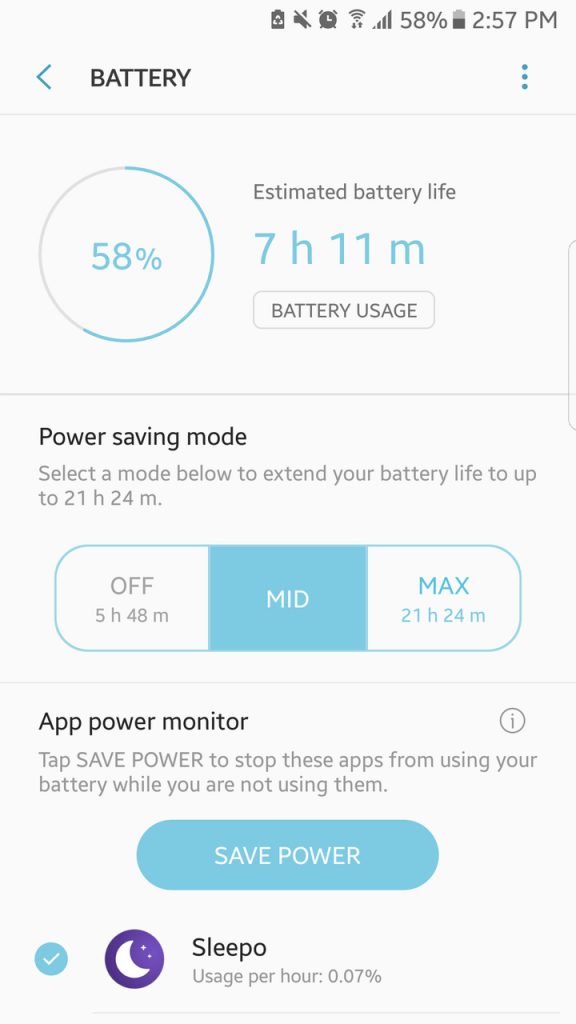
Power saving mode limits your device only to perform fundamental and primary processes and features, including making and receiving calls and texts, as well as minor web browsing. It might also disable unnecessary notifications and keep apps from automatically connecting to the Internet.
Use Rapid Charging
Some Android devices have a rapid charging feature that users probably don’t know. It lets you charge your phone fast. To take advantage of this feature, do these:
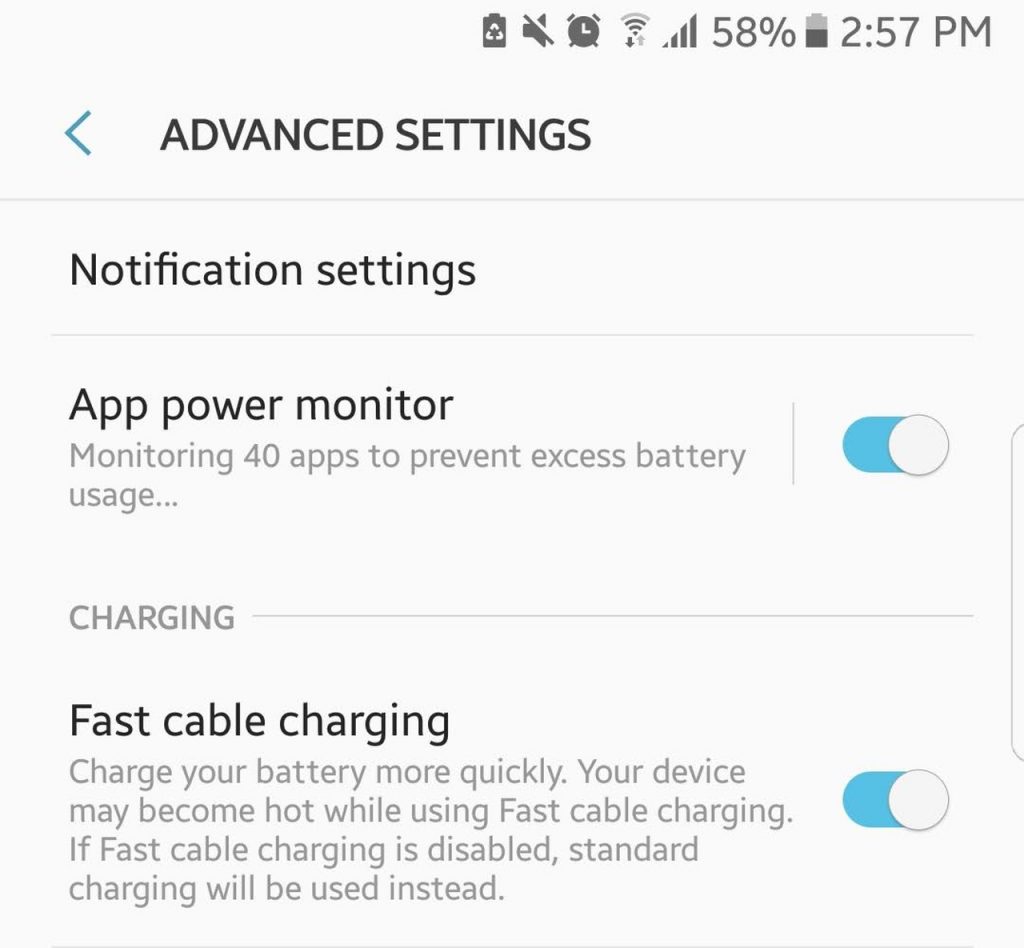
- Plug in your device.
- Go to Settings > Battery (or Battery Settings).
- Tick the box beside Rapid Charging.
Control Your Device’s Brightness
In the past few years, manufacturers have been giving us phones with bigger screens, which use more light, and thus, more power. By default, you might find that your device’s Adaptive Brightness or Auto-Brightness is enabled. This feature can be useful if you use your phone while out in the sun, as it allows you to still see your device’s content despite the bright sunlight. However, indoors, auto-brightness makes your device bright than you need.
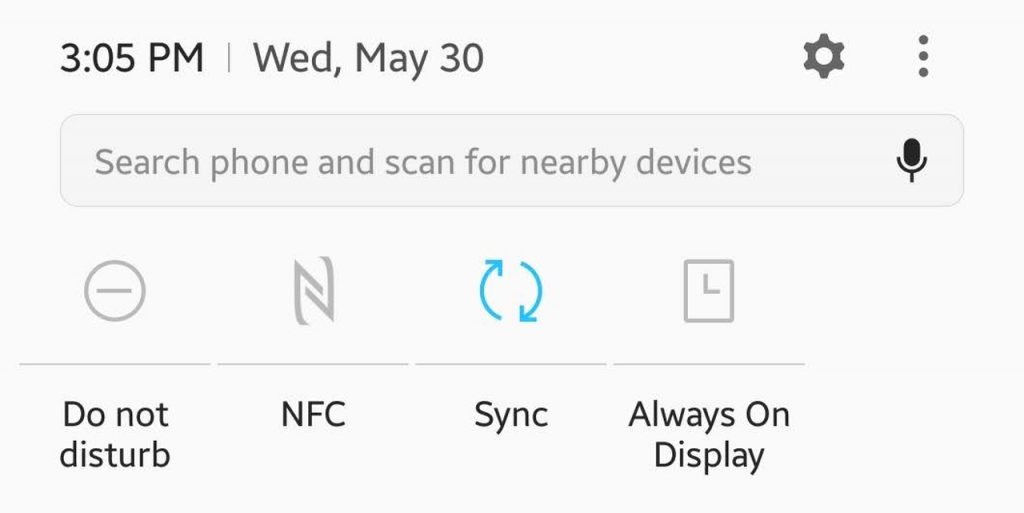
The best workaround for this is to disable auto-brightness and merely opt to adjust your device’s display brightness every once in a while to a level comfortable for you. On most Android devices, you can quickly do both by accessing Quick Settings.
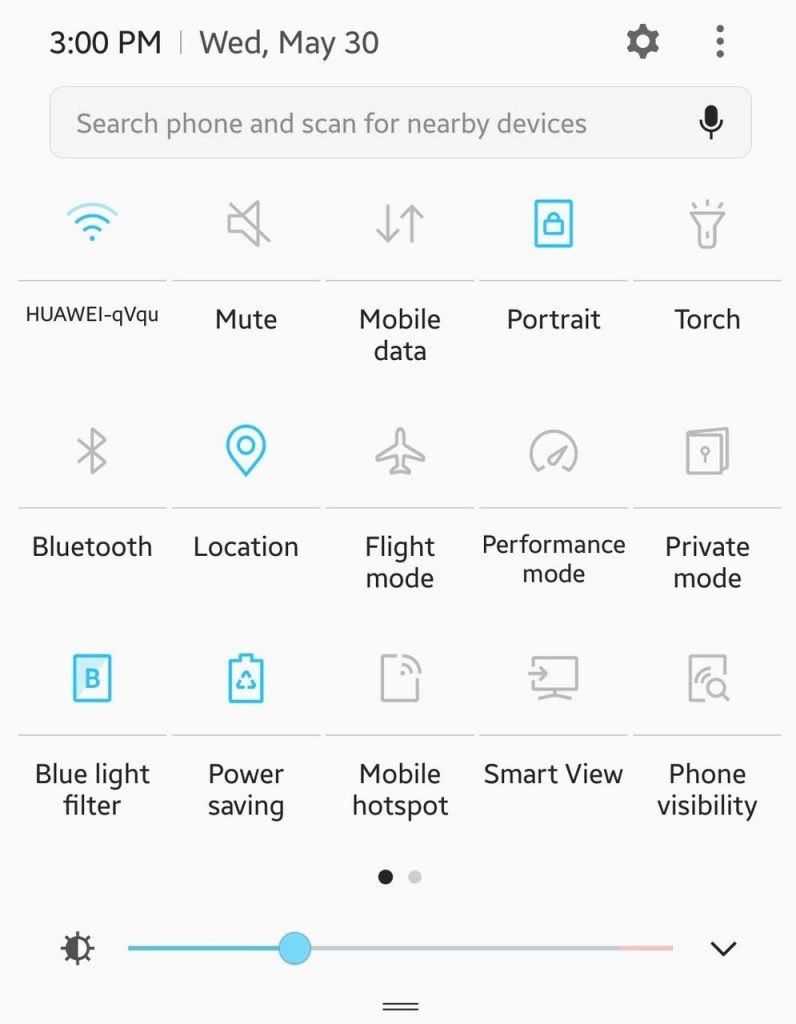
- Swipe down from the top of your screen to open Quick Settings. You should see the slider for brightness.
- Above the slider, you’ll see “Auto” with a checkbox beside it. Un-check the box if it is checked.
- Adjust the slider until you get your desired screen brightness level.
Use Dark-Colored Wallpaper
If you have a device with an AMOLED screen, you can benefit a lot from using a dark-colored wallpaper or background — a black image is the most ideal. It helps to increase the battery life as AMOLED screens only illuminate colored pixels. The more black pixels there are, the less energy is consumed.
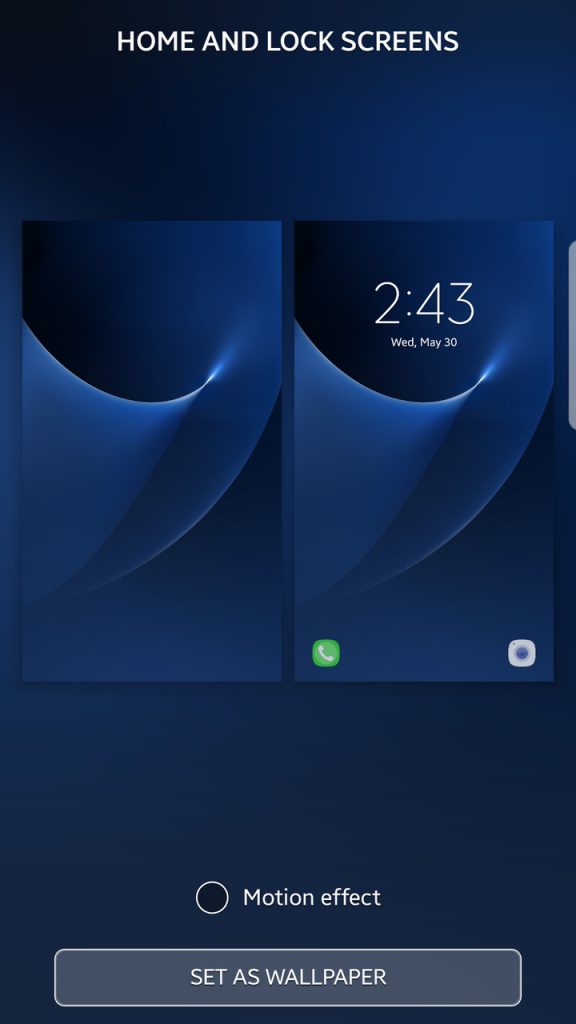
You can download any dark image of your choice (out of respect for image owners, though, choose one that is free stock) or take a photo in the dark yourself. If you want a dull image, cover the camera lens when you consider the shot. Then, go to Display Settings where you can set your new wallpaper.
Use ‘Lite’ Apps
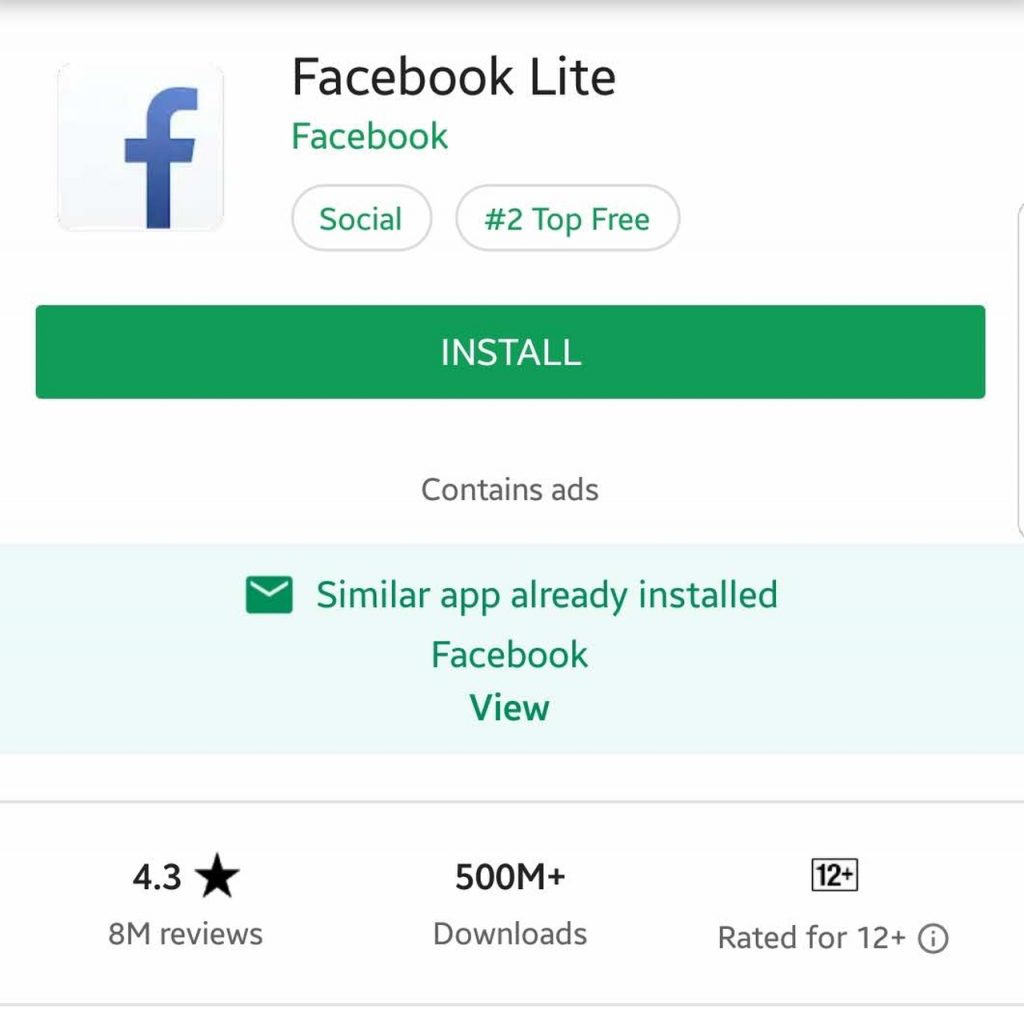
Some apps have ‘lite’ versions. These apps are stripped down to their most essential features. For instance, Facebook Messenger Lite has a more straightforward interface and only offers three tabs: Home, Contacts, and Profile. On the other hand, the full app has other tabs and features, including Games and Bots, as well as the Facebook Camera. The features and functions you find in Lite apps are so essential that they consume less processing power and data compared to their full versions. So, if any app you’re using has a Lite version and you have no use for the additional features of the full version anyway, we strongly suggest you go ‘lite.’
Turn Off Haptic Feedback and Use Vibrate Sparingly
Haptic feedback refers to the light buzzing that your device produces when you tap keys on your keyboard. Haptic feedback on touch devices is designed to represent the feeling of pressing actual buttons. When haptic feedback is turned on, you are informed that a button has been pressed and a change was made even if you don’t have your eyes glued to the screen all the time. While useful, if you always use your phone, that means haptic feedback is also being used continuously — you probably already know what that means.
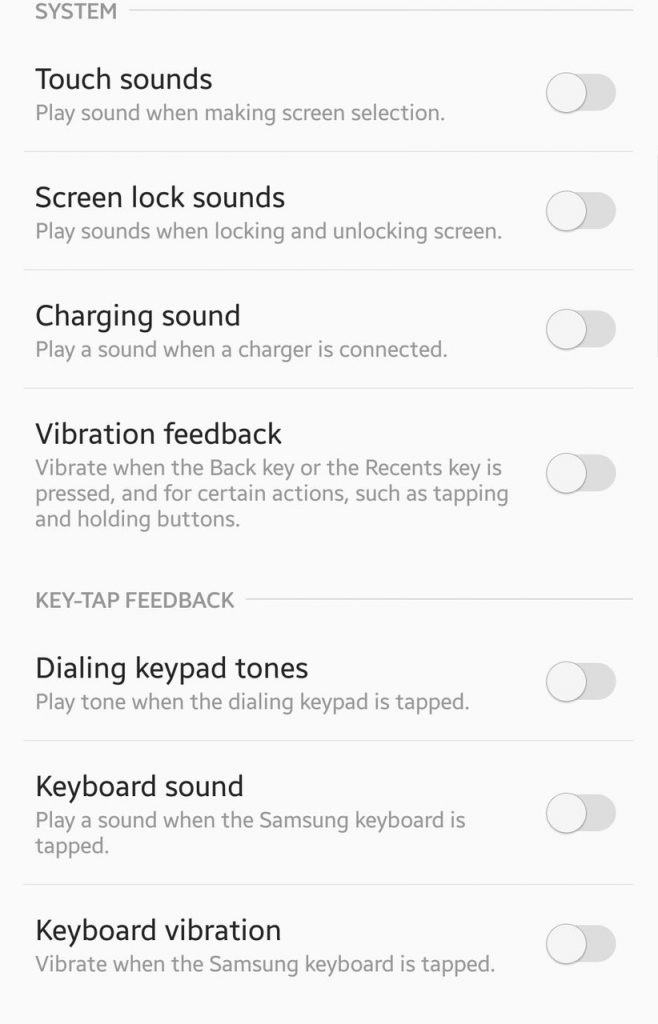
Furthermore, it’s best to turn on vibrate notification only when you need to, such as in situations where you need to keep your phone silent yet want to be kept notified of incoming calls and texts. To change your vibrate notification and haptic feedback settings, go to Settings > Sounds and notifications.
Disable Unnecessary Connections
The primary purpose of our mobile devices is to keep us connected. Some devices have all of these connectivity options: Wi-Fi, LTE, NFC, Bluetooth, and GPS. All of them are undoubtedly useful, but if you don’t need to use them all at once, turn off the ones that you’re not using.
For instance, if you keep Wi-Fi on, it will continuously search for available Wi-Fi networks. Mobile data works the same way. NFC and Bluetooth do not consume a lot of power, but if they’re activated while other connections are turned on, and you’re not using them, they turn into unnecessary power hoggers.
Understand Your Battery Consumption and Kill Some Apps Running in the Background
Some processes and apps are more power-demanding than others. While we can’t do a lot, some system processes that are required by your device to run smoothly and correctly, you can do something about apps that unnecessarily drain your battery: kill them off.
The first thing you need to do is know which to kill precisely. Navigate to Settings > Battery to see a breakdown of your device’s battery usage. Typically, the Display will be shown as the highest power consumer (which is why we have a couple of display-related battery power saver tips here). If you see stand-alone apps in the chart that seem to be drawing too much power without any justifiable reason, you can opt to quit or force-stop them.
You can also try using a task killer app. By setting one up, you can manually or automatically force-stop multiple apps faster and easier. Android cleaners or maintenance apps, such as Android cleaner tool, may also have functions that include closing background apps.
Turn Off Auto-Sync
When auto-sync is left on, your device will continuously attempt to sync your accounts every time it is connected to the Internet. Anyway, most apps that require syncing allow manual refreshing and syncing. So, whenever you need to check if you have a new email, for instance, you can directly open your email app and refresh it.
Set Do Not Disturb and Sleep Schedule
Most Android devices have a Do Not Disturb feature, which silences your phone. You can set a definite schedule to activate it and to choose which apps and features can send you a notification while DND is enabled.
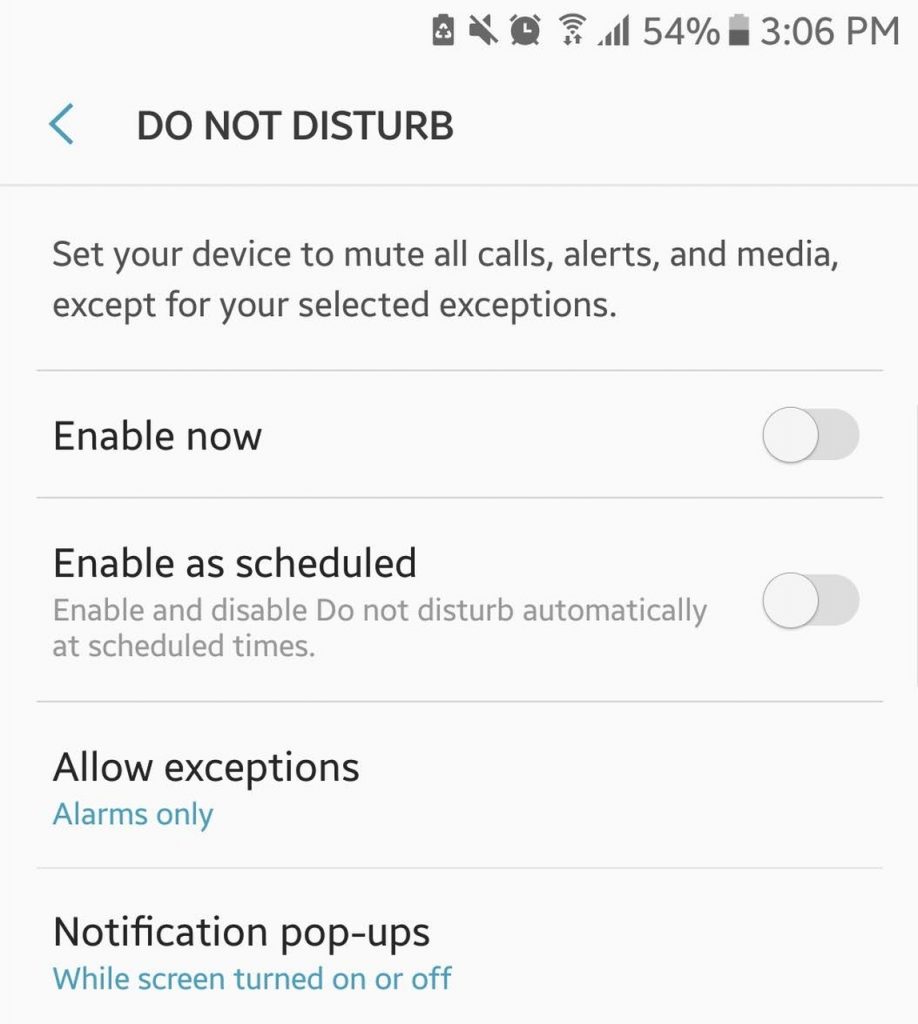
You can also set your phone to airplane mode for times when you think you have no use for a cellular network. Furthermore, you can also set your screen to lock as fast as is comfortable for you automatically.
Restrict Background Data
Some apps that are left running in the background may continuously attempt connecting to the Internet to provide you with updates and notifications. While this can be solved by killing the apps (see tip #8), you can also restrict app background data.
To do that, go to Settings > Data Usage, then select the apps that don’t necessarily need to run in the background. Then, tap “Restrict app background data.”
Activate Data Saver
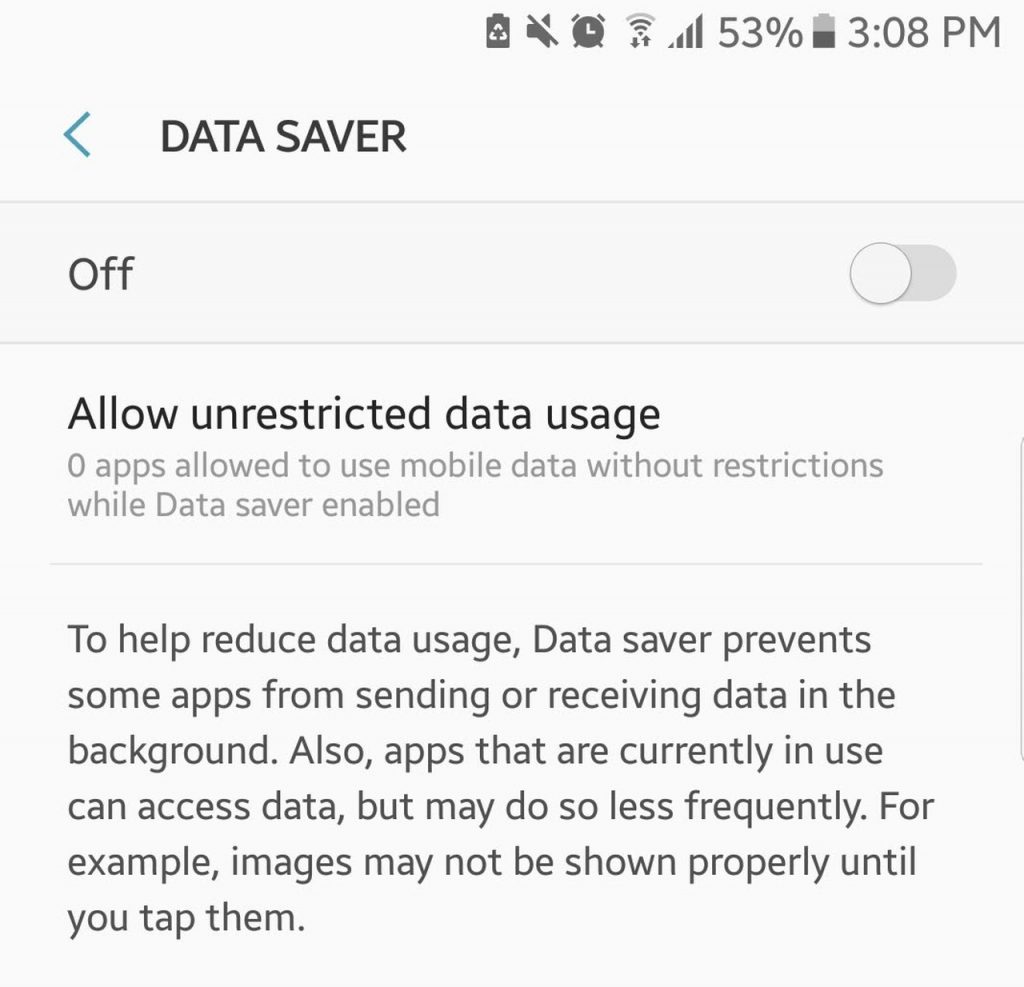
If you use Chrome as your primary browser, take advantage of its Data Saver feature. When activated, Data Saver lets you use and access only the most basic web functions and features. Web pages will also be compressed, and unnecessary items such as ads will be blocked or made unavailable. As a result, less data is consumed for your online activities, translating to less power drawn from your battery. This feature also helps block pop-up ads, so you’ll be hitting two birds with one stone.
- Open Chrome and open the sub-menu.
- Go to Settings.
- Locate Data Saver. Tap.
- Toggle the switch on.
- A chart showing data saving stats will then appear.
Keep Your Apps Updated, But Skimp on Auto-Updates
Developers roll out updates from time to time, and most of these updates are designed to fix bugs, which can make apps perform poorly and affect battery life in one way or another. So, it is highly recommended that you check if there are available updates for your apps every once in a while and install those updates — manually. Setting your apps to auto-update can increase battery consumption at times when you need your battery to last long. So generally, it’s not very ideal to activate auto-update.
So, there you have it! Some of the top tips to help you make your Android battery last longer. Got other tips? Share them with us in the comments below!