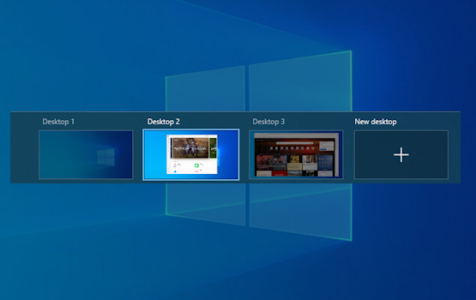
With the multiple desktops feature in Windows 10, managing your workflow and juggling various tasks has never been easier. Similar to how you can change language in Windows 10, these virtual spaces can be configured to suit your needs. This guide provides simple instructions on how to create, switch between, and manage these multiple desktops for your convenience.
Setting Up a New Virtual Desktop
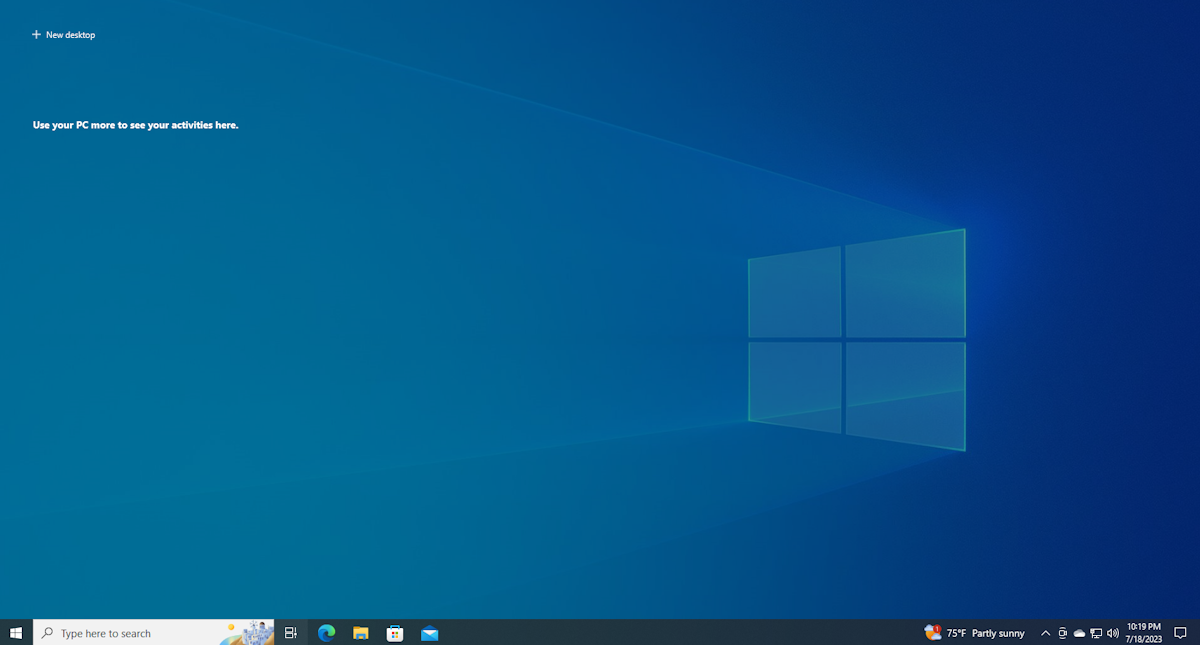
- To create a New Virtual Desctop click Task View icon on the taskbar or press Windows key + Tab.
- Once in Task View, hit ‘New desktop’.
- You can also quickly create a new desktop with the shortcut Ctrl + Windows key + D.
Jumping Between Virtual Desktops
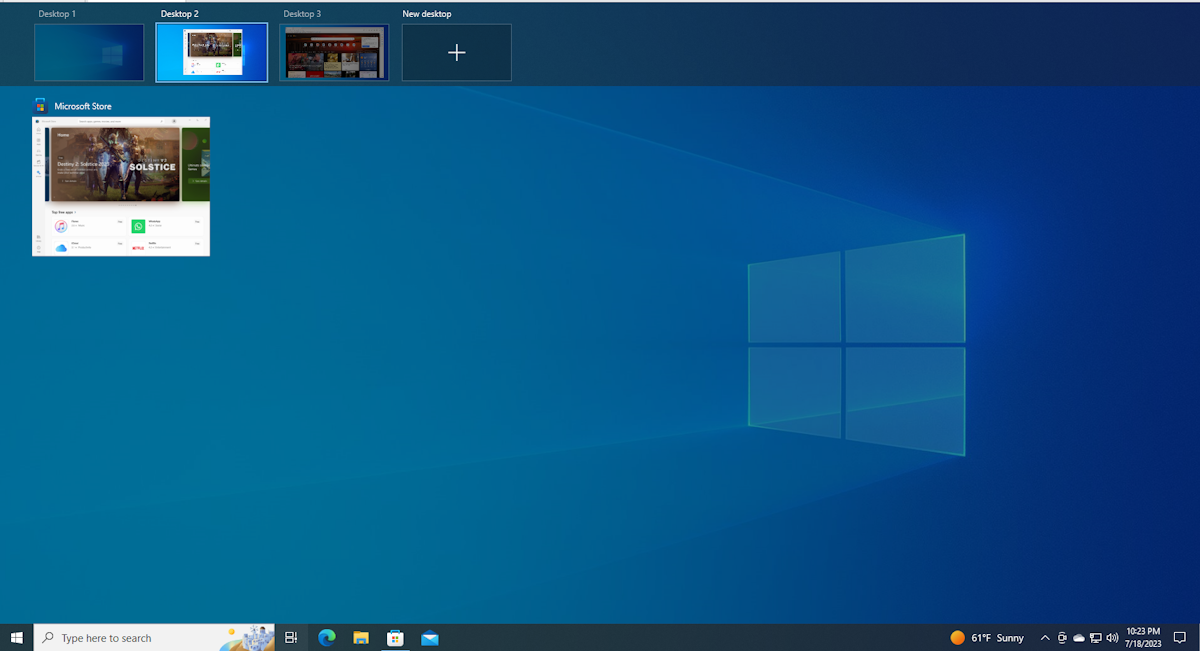
To switch to another virtual desktop, either hit Task View or use Windows+Tab. Alternatively, you can use Ctrl + Windows key along with the Left or Right arrow key. If your device has a touchpad, a four-finger swipe to the left or right will also change the current active virtual desktop.
Expert Tip: For smoother PC performance, consider using a PC optimization tool. It handles junk files, incorrect settings, and harmful apps. Make sure it's right for your system, and always check the EULA and Privacy Policy.
Special offer. About Outbyte, uninstall instructions, EULA, Privacy Policy.
Transferring Windows Between Virtual Desktops
To move the current window, you can either click and drag the window or right-click on it and choose a different desktop from the menu.
Shutting Down Virtual Desktops
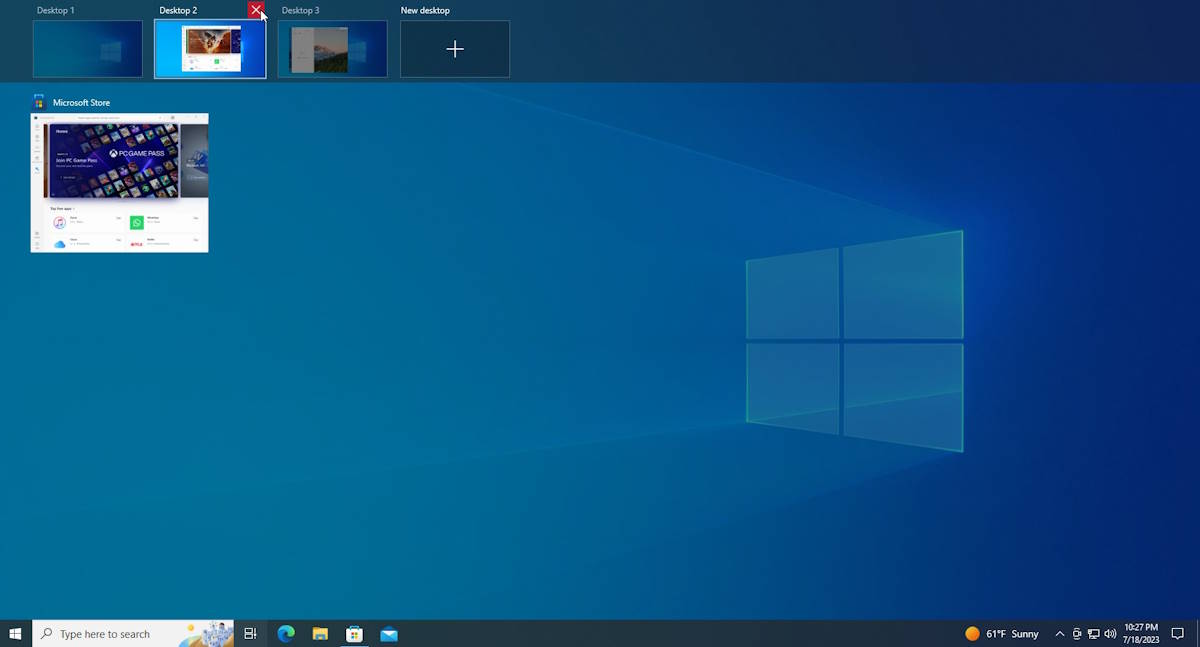
When you’re done with a virtual desktop, you can close it with the shortcut Ctrl + Windows key + F4. This will close your active virtual desktop, and any open apps will revert to your original desktop.
Tailoring Your Virtual Desktops
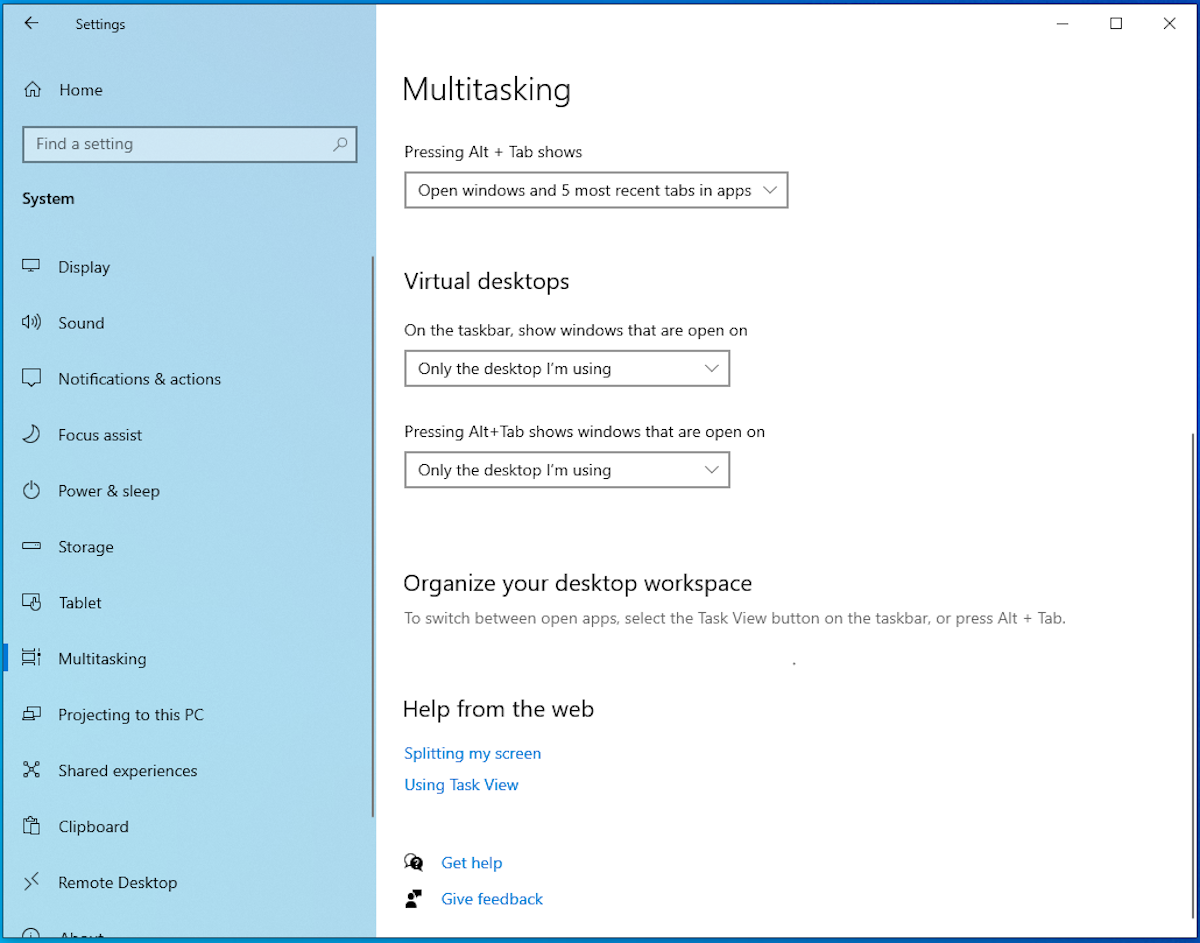
Windows 10 might not allow different wallpapers, color schemes, or personalized taskbars for each desktop, but you can name your virtual desktops for better organization. To do this, go to System settings (Settings > System > Multitasking > Virtual Desktops). You can tweak settings here to control how your virtual desktops manage open windows and to view your Task View Timeline, which shows your task history across desktops.
While it’s possible to create as many desktops as needed, maintaining a manageable number is advisable for efficient organization. Additional desktops should be removed when no longer needed to reduce the workload on your device.
The virtual desktops feature in Windows 10 proves to be a valuable tool for workspace organization and task management, offering a powerful way to segregate work and personal applications, manage multiple screens without a multi-display setup, and handle several complex projects simultaneously. It’s not only efficient for multitasking but also boosts productivity.
For companies and power users, Microsoft’s Azure Virtual Desktops offer advanced, cloud-based technology, separating your operating system, data, and apps from local machines and putting them on a remote server instead.
Best Practices and Troubleshooting
To make the most out of virtual desktops, dedicate each desktop to a specific task or application type. Be aware of potential confusions or overwhelming situations that can arise from juggling multiple desktops. If you encounter problems with your virtual desktops, remember the solutions are often a few clicks away within your System settings.
Note: While the instructions above are mainly for Windows 10, Windows 11 also offers similar features, with additional options like changing the background of each desktop to distinguish between workspaces. The transition to Windows 11 should be smooth, with minor differences in the virtual desktop features.
