System Restore is a useful tool for fixing common Windows errors by reverting your system to a previous error-free state. However, it can encounter issues like error code 0x800700b7, preventing it from functioning properly.
While performing a System Restore, you may encounter the error message “An unspecified error occurred during system restore 0x800700b7.” In some cases, you may also see the error message “App container profile failed with error 0x800700b7.”
What is the System Restore error 0x800700b7 all about? How can it be resolved? To better understand this error and apply effective solutions, you should first familiarize yourself with this tool.
System Restore: A Quick Overview
As mentioned above, System Restore is a recovery tool for the Windows environment. It allows you to revert certain changes that you’ve made to the operating system.
Expert Tip: For smoother PC performance, consider using a PC optimization tool. It handles junk files, incorrect settings, and harmful apps. Make sure it's right for your system, and always check the EULA and Privacy Policy.
Special offer. About Outbyte, uninstall instructions, EULA, Privacy Policy.
When used, System Restore returns all your important settings or files, such as installed applications, system files, device drivers, and registry keys, to the previous settings or versions. Think of it as an undo button for the Windows operating system.
So, when strange things are happening on your device after installing an update, for instance, you may restore your system to a state preceding the update. System Restore will undo the installation of the Windows update.
And because System Restore does not have any effect on your personal documents and files, you can use it without any doubt.
It is worth noting, though, that System Restore does not restore any personal files. Therefore, you cannot use it as a recovery solution for your files. Once you delete a folder full of your essential files, you cannot recover it with System Restore.
What Does the System Restore 0x800700b7 Error Mean?
Often accompanied by the error message “Provisioning failure 0x800700b7,” this error is a clear indication that your system is unable to find the drive where you originally installed your game. At times, it may also suggest that there is insufficient storage space on your Windows device to install a heavy game.
What Causes the Error 0x800700b7 on Windows 10/11?
In case you are wondering what triggers the error 0x800700b7 to appear on Windows, we’ve listed some of the most common culprits below:
- Corrupted Windows Registry Files – Sometimes, files in the Registry get corrupted if you mess with the database. This may also happen after a malware infection or if disk issues are prevalent.
- Problems with the Windows File System – This may occur because of bad sectors, disk integrity corruption, or other issues related to the storage sector.
- No Internet Access – There are many scenarios that may result in this. Your router could be outdated, or there may be an outage in your area. It could also be the case of a glitch or a problematic cable.
- Issues with the Windows Update Service – The Windows Update service may be experiencing issues, which results in the error 0x800700b7. To resolve this, you may have to uninstall any third-party security program, run the Windows Update Troubleshooter, or free up some disk space.
- File Corruption – File corruption may happen even on the latest Windows system with a reliable antivirus in place. Usually, this occurs because an app encountered a problem while saving a file. It could also be because you failed to shut down your device properly.
- Antivirus or Security Program Issues – The error 0x800700b7 may be caused by a security program that prevents the System Restore tool from working properly.
How to Resolve the Error Code 0x800700b7 on Windows
There are instances when the error code can be resolved by simply performing a system restart. So, before you try any complicated fix, power off your device first and boot Windows as you normally would. Check if the error is gone. Otherwise, proceed with the solutions below.
Scenario 1: Windows Starts Normally
If you are able to start Windows normally, then these are the solutions you can try:
Solution #1: Perform a System Restore While in Safe Mode
To perform a System Restore in Safe Mode, follow these steps:
- Press the Win + R shortcut to open the Run utility.
- Input msconfig into the text field and hit Enter.

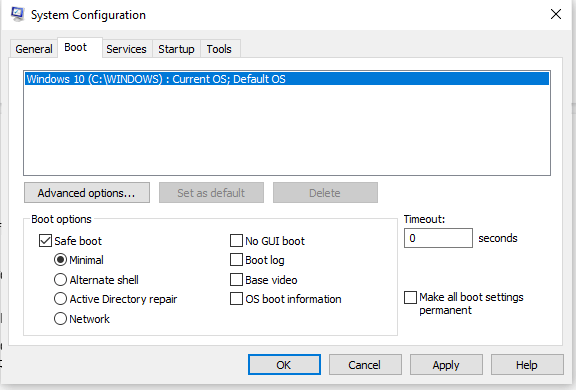
- Next, navigate to the Boot tab and tick the Safe Boot option.
- Click OK and restart your computer.
- Once done, open the System Configuration utility and untick the Safe Boot option. This will allow Windows to start normally.
- After that, press Win + R to launch the Run utility.
- Into the text field, type rstrui and click OK. This will launch System Restore.
- Click Next and choose a restore point.
- See if the error persists.
Solution #2: Disable or Uninstall Any Antivirus Program
If the first solution did not work, the next method you can try is to disable your antivirus program before running System Restore.
Here’s how to disable your antivirus program:
- Go to the Start menu and select Settings.
- Click Update and Security and choose Windows Security.
- Navigate to the Virus and Threat Protection section and click Manage Settings.
- Next, set the Real-time protection option to Off.
Now, if disabling your antivirus program doesn’t work, consider uninstalling it temporarily. Here’s how:
- Go to the Start menu and select Control Panel.
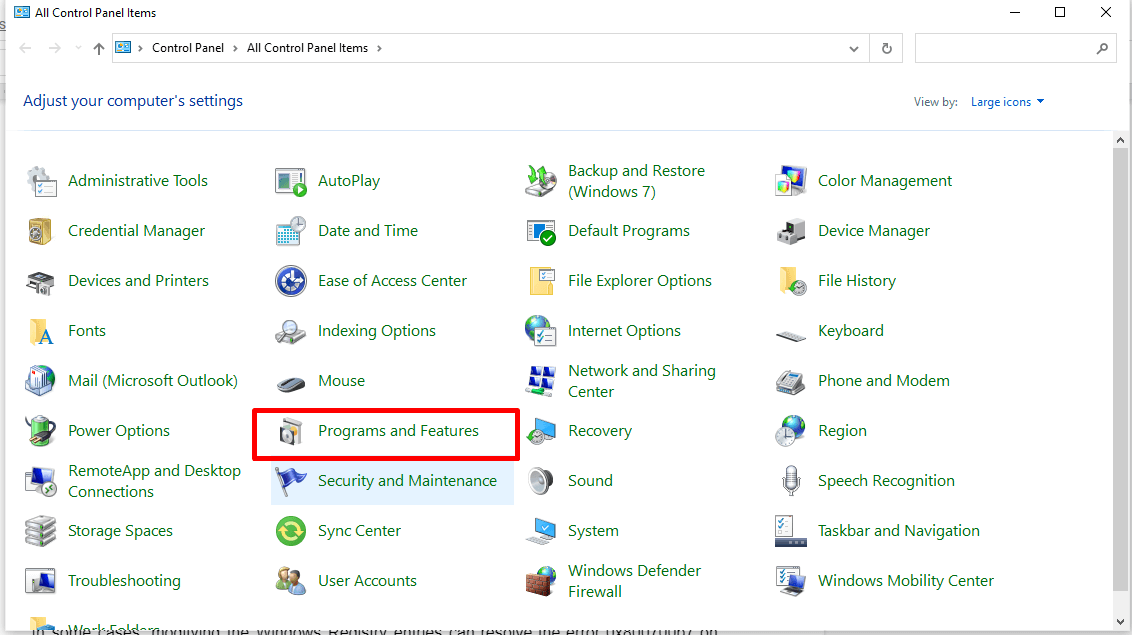
- Choose Programs and Features.

- Select the antivirus program you wish to remove and click the Uninstall/Change option.
- Restart your computer.
Solution #3: Repair Your Damaged System Files
As mentioned, the 0x800700b7 error may be caused by corrupted or damaged system files. To fix them, do the following:
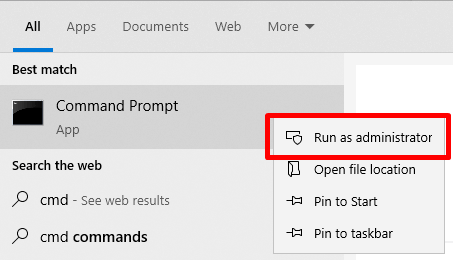
- Launch the Command Prompt utility by typing cmd into the Search field and right-clicking on the top result. Select Run as Administrator.
- Once the Command Prompt window opens, input the sfc /scannow command and hit Enter.
- At this point, Windows will start scanning your system for damaged system files. It will then repair the corrupted ones.
- After that, restart your computer and try using the System Restore function again.
Solution #4: Modify the Windows Registry
In some cases, modifying the Windows Registry can resolve the error 0x800700b7 on Windows. Here’s what you should do:
- Press the Win + R shortcut to launch the Run utility.
- Input regedit and hit Enter.
- Navigate to this location:
- HKEY_LOCAL_MACHINE\SOFTWARE\Microsoft\Windows NT\CurrentVersion\Schedule\TaskCache\Tree\Microsoft
- Right-click on the Windows folder and choose Export. This will create a backup of the key contents in the event that anything happens in the process.
- Rename the backup and save it on your desktop.
- Right-click on the Windows key once again, and this time, select Delete.
- Exit the Registry Editor and restart your device.
- Upon reboot, run the System Restore utility. Check if the error persists. If it does, double-click on the registry backup file that you created to restore it.
Solution #5: Run the CHKDSK Command
Some users found success in resolving the System Restore error 0x800700b7 by using the CHKDSK command. Here’s a guide on how to do it:
- Press Win + S and type cmd into the text field.
- Right-click on the top result and select Run as Administrator to launch Command Prompt with admin privileges.

- Type the chkdsk /r command and hit Enter to execute it.
- The Check Disk utility will now start fixing any corrupt entries it finds. It may take a while to check for disk errors and fix them. Wait until the process finishes.
- Lastly, restart your computer.
Solution #6: Use a PC Repair Tool
At times, the error may be caused by insufficient disk space. And to address this problem, all you have to do is use a trustworthy PC repair tool that allows you to identify space hogs on your disk and remove them.
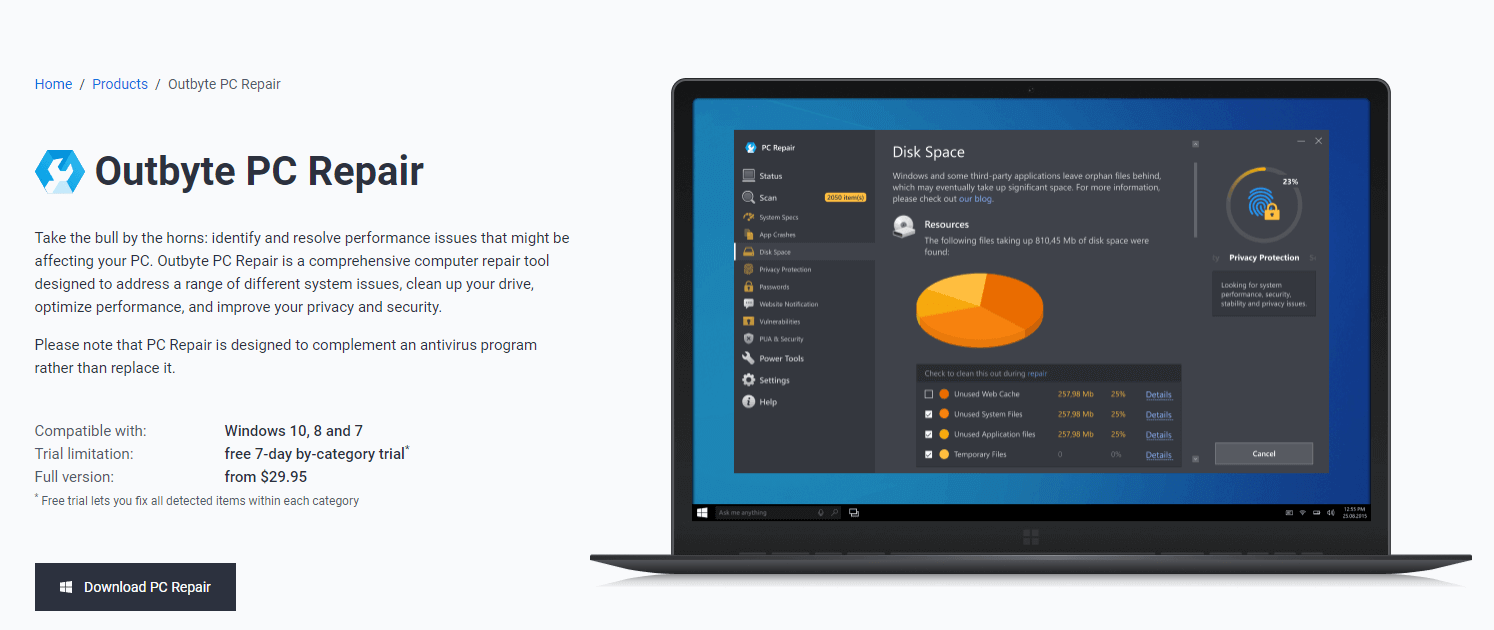
If you don’t have one installed, we suggest that you use Outbyte PC Repair. It’s a proven and tested tool that can identify temporary files that eat up a huge chunk of your disk space. It also helps you keep your Windows device running smoothly and efficiently.
Scenario 2: Windows Cannot Restart
If your Windows device does not boot normally, then you may need to boot from installation media to troubleshoot problems with the System Restore utility. Then, proceed with any of these solutions:
Solution #1: Run System Restore from the Windows Recovery Environment
Some affected users were able to resolve the error by running the System Restore utility from the Windows Recovery Environment. While the process seems complicated, it’s actually not. Just follow these instructions:
- Boot Windows from your installation media.
- In the Windows Language Setup window, hit the Shift + F10 shortcut. This will let you launch the Command Prompt.
- Click Next and select “Repair your computer”.
- Now, choose Troubleshoot and click Advanced Options.
- Next, select Command Prompt.
- In the Command Prompt window, type the rstrui command to open the System Restore utility.
- Wait for Windows to restore your system.
Solution #2: Repair Damaged System Files from the Windows Recovery Environment
Because you are unable to launch Windows normally, you may need to repair corrupted or damaged system files from the Windows Recovery Environment as well. Here’s how:
- Boot Windows from your installation media.
- In the Windows Language Setup window, press Shift + F10. This will open the Command Prompt window.
- Next, input these commands: diskpart, list volume
- Now, take note of the drive letter of your Windows volume. It is where Windows is installed and usually the largest volume in terms of size.
- And then, type exit to clear the screen.
- After that, type the sfc /SCANNOW /OFFBOOTDIR=D:\ /OFFWINDIR=D:\windows command. Replace the value of “D” with the actual volume where Windows is installed.
- Once the scan is complete, restart your computer and relaunch System Restore.
Solution #3: Rename the WindowsApps Folder
Take note that this solution only works if you are running a Windows 10/11 operating system. To proceed, follow these steps:
- Launch the Command Prompt utility in the Windows Recovery Environment. Refer to the steps above to do so.
- Navigate to the Windows drive by typing the drive’s letter. Hit Enter.
- Next, type the cd Program Files command and hit Enter. This takes you to the Program Files folder.
- And then, enter the attrib -h WindowsApps command to unhide the Windows Apps folder.
- Now, type the ren WindowsApps WindowsApps.BAK command.
- Finally, input the rstrui command to open System Restore and restore your system.
Summary
The error code 0x800700b7 may surface at any time during the System Restore process. It may be caused by a problematic antivirus software program, corrupted system files, or invalid registry entries. But regardless of what’s causing it, it can be resolved quickly. Above are some solutions you can apply. They are easy to understand and have worked for many affected users. If you follow all the steps carefully, the error should be resolved in no time.
Once you have resolved the error code 0x800700b7, we suggest that you schedule regular scans to ensure your Windows 10/11 device performs efficiently and remains error-free. You may also want to keep your antivirus suite up and running in the background to ensure real-time protection against threats that trigger error codes to appear.
What solution has worked for you? Let us know in the comments.


