Printing on a Mac computer is usually easy and fuss-free unless you are trying to connect a large format printer. But sometimes it doesn’t work, and you would have to navigate connecting printers and troubleshooting printing failures of various kinds.
This kind of problem may make you think you no longer know how to print on Macbook or how to connect printer to Mac.
One recurring issue is VPN printing issues via macOS. Imagine this: you have an iMac with a VPN connection set up to a remote Windows computer. While the VPN connection is fine and you’re able to connect to and use the Microsoft Remote Desktop app to control the remote machine, issues crop up once you try to print something through your local printer. It simply won’t work via Mac.
You may have networked printer in your home network, along with a working VPN setup to connect to that home network while you’re on the go. Whenever you open the VPN tunnel, you can address all devices on the network without a hitch – except you cannot print over the tunnel.
Here’s a closer look at the problem and potential workarounds you can try.
Help! Can’t Print to Network Printer Over VPN
Many computer users use virtual private networks (VPNs) to remotely connect to a distant network as well as use the resources on that network like they are local. Printing across a VPN or printing to a local printer while connected to one can come with a roster of challenges, since the VPN reconfigures your computer’s network connection.
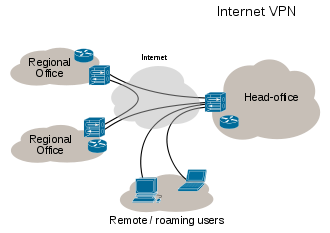
Here’s how it works. When you connect to a VPN, specialized VPN software establishes a tunnel or a dedicated connection to a point of presence (POP) in the remote network. This POP device serves as a virtual presence that permits your computer to reroute data that would otherwise traverse your local network.
Certain difficulties in printing to devices on the local network can surface because the VPN software intercepts traffic on the local network, rerouting it to the remote network.
A Few Solutions You Can Try
Here are a number of quick solutions if you are encountering VPN printing issues using your Mac computer:
- Cover the Basics – When troubleshooting a Mac computer with printing woes, check first if the printer is ready to print, has paper and the right supplies, and has no error message. If the printer is connected through USB, you can also disconnect the printer’s USB cable and reconnect it.
- Have the Proper Printer Drivers Installed on the Local Computer – This is a must in order to use remote printers. Take note, though, that printing issues may still ensure even with the proper drivers, in which case it’s best to contact a server administrator to ensure that servers in the remote network have the necessary printer drivers installed. The administrator may need to adjust the server configuration, too, in order to make remote printing possible.
- Disable ‘Enable Local LAN Access’ Setting – To print remotely, make sure that this setting is disabled in the VPN software.
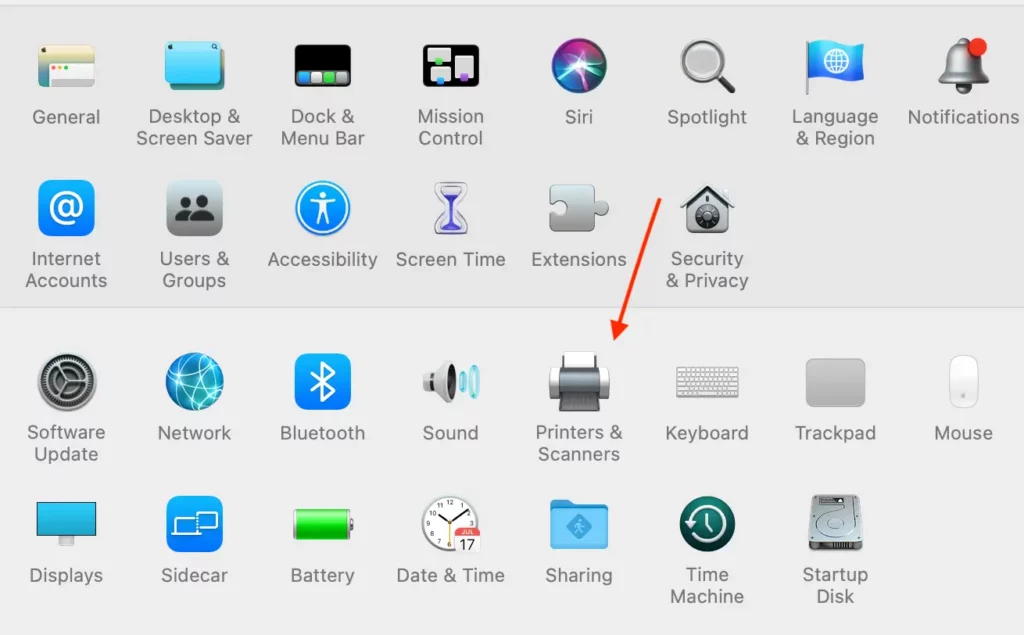
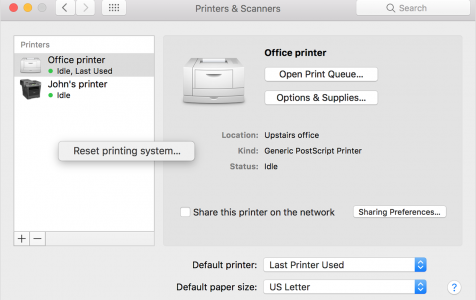
- Set the Right Printer as the Default – Make sure you’re sending the printing job automatically to the correct printer. Do this by opening System Preferences > Printers & Scanners, and then making sure the printer chosen within the Default printer drop-down menu is the device you seek to use. Assuming there aren’t physical issues with the printer, you can remove the problematic device and install it anew.
- Is Split Tunneling Enabled? – If yes, then experts advise making sure printer mapping on your home machine is directly done to the IP address, not via netbios or DNS names. If that still doesn’t work, then make sure that split tunneling is disabled on the client side.
Other Troubleshooting Steps that You can Follow
If the basic troubleshooting methods don’t resolve the problem, you can try the following potential solutions. While you may be connected to a VPN, the issue may not be VPN related. So, try these methods to find a fix.
Confirm that You’re on the Right Network
Connecting a Mac to a network printer is an option most people use these days, especially at work. But as it turns out, issues may occur when trying to print over a network connection.
So, double-check to confirm that the printer and your mac are still on the same network if you print over a network connection. Also, make sure you’re choosing the right printer if there are multiple printers on the same network.
If your macOS version is below 10.5, you won’t be able to print using a shared printer connected to another Mac. so, update your operating system if that is the case.
Create a New Printer Queue by Adding the Printer Again
The printer may be malfunctioning because it’s not properly added or has been removed. The printer software could also be stuck, which could be another reason why Mac won’t print. And if the printer is not connected, Mac won’t be able to execute print commands.
So, here’s how to print on Mac by adding the printer again:
If you’re using a USB printer, your Mac should recognize and add it automatically once the printer is plugged in. If that doesn’t happen, consider installing the latest macOS version by updating your operating system.
You can also try adding the printer manually. Follow these steps:
- Connect the printer via USB and head to System Preferences.
- Click on Printers & Scanners.

- Once you get to Printers & Scanners, click the plus button.
- Identify the printer with “USB” attached to its name. Select the printer and click on Add.
- You’ll see the printer in the left sidebar once it’s connected.
Follow these steps to connect a Bluetooth printer:
- Update your macOS to the latest version.
- Turn on the printer you want to connect.
- Next, head to System Preferences > Printers & Scanners and click the plus button next to the Bluetooth printer.
- Now, you’ll have to click on the Bluetooth icon on Mac, select Bluetooth Preferences, then pair your printer whenever you want to print.
Follow these steps to add the printer using its IP address:
Note: You need the printer’s IP address to apply this setting.
- Turn on your printer and navigate to System Preferences on your Mac.
- Select Printers & Scanners.
- Click on the plus button once you see the Printers & Scanners page.

- Next, click on the web icon to switch to the IP tab.
- Enter the printer’s host name or IP address.
- Choose your connection Protocol (IPP, AirPrint, LPD, etc.)
- Enter your printer name.
- Enter the location of the printer in the pop-up menu.
- Go to “Use” to download the printer driver. However, you can use the “Select Printer Software” option if it’s available.
- Now, click on the Add button to connect the printer.
Summary

While printing on a Mac computer can be fairly easy to do, there are a couple of printing troubles that can come up from time to time. These include issues printing over VPN connection. One or more of the basic solutions we outlined above hopefully do the trick.
You’ll no longer have to ask the question, “Why does it say my printer is not connected on Mac?”
It’s important to have all the right print drivers and software requirements installed and available to get the printing job done, as well as get a high-quality VPN service to secure your internet experience across all your devices at all times.
Got questions or workarounds that you’ve tried and worked successfully? Share them with our readers below!

