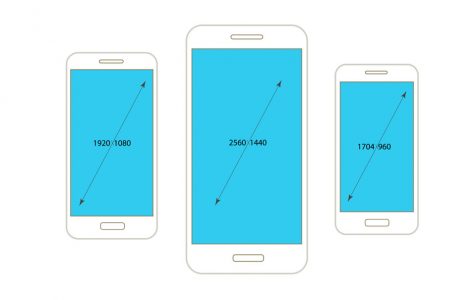
Do you have eyesight problem that requires a larger screen resolution for you to be able to see and read what’s on the screen? Or do you want to see everything on the screen at the same time? If you’re using an Android device, then you’re in luck. Some Android devices have a built-in feature that lets users switch from normal mode to other modes like tablet or phablet mode. You can change Android screen resolution without rooting your device. All you need to do is choose what Android display screen you want, after which your device will reboot, and you’ll see a different screen resolution after restarting. To change Android screen resolution, follow these steps:
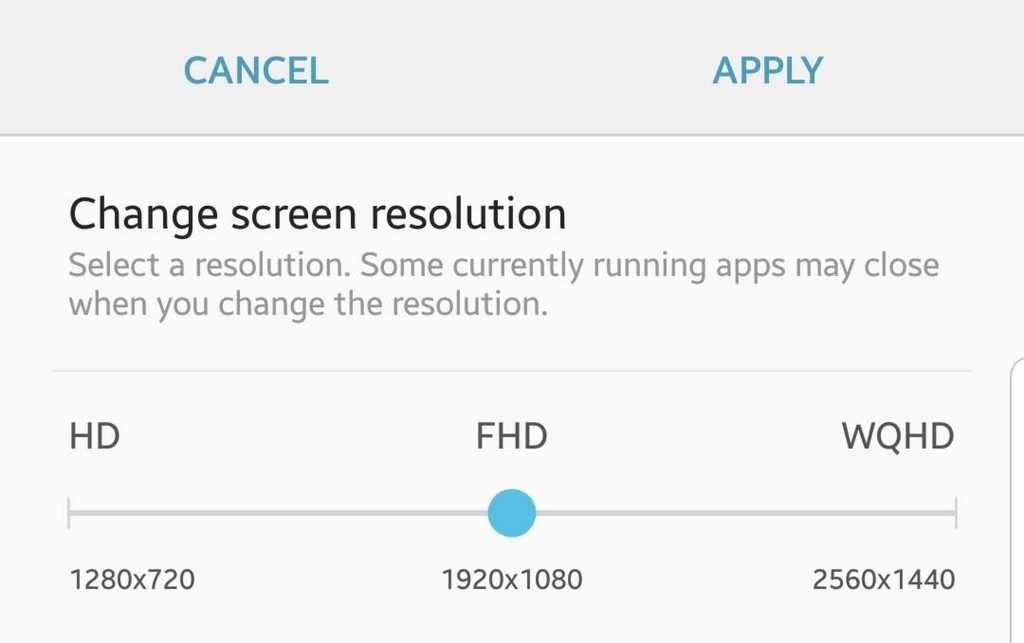
- Go to your device’s Settings menu.
- Tap Display.
- Tap Change screen resolution.
- Choose the resolution that you want – HD (1280×720), FHD (1920×1080), or WQHD (2560×1440)
- Tap Apply.
However, some Android devices don’t have this option. If you can’t automatically change Android screen resolution under your phone’s Settings, you’ll have to take a long way.
How to Change Android Screen Resolution Without Rooting
This method may not be as straightforward as the method discussed above, but the result is the same. This tweak will allow you to switch between modes or change your Android display screen without the need to root your phone.
This process is straightforward and can be completed in a jiffy. However, you’ll need a computer for this procedure and you need to have ADB, or Android Debug Bridge installed on it. If you don’t have ADB installed yet, check out this quick tutorial. These are the steps to change your Android screen resolution using your computer:
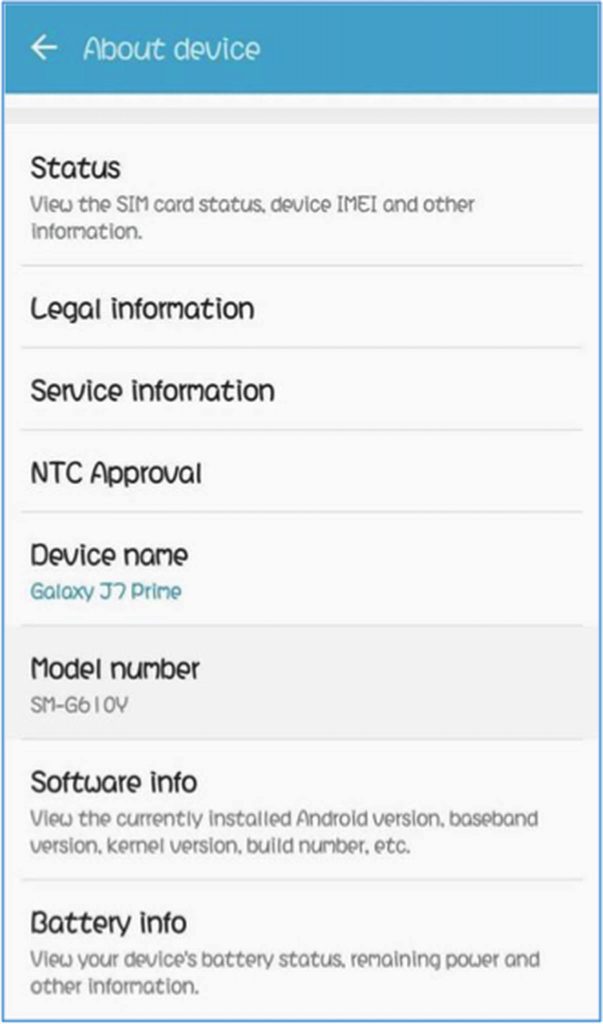
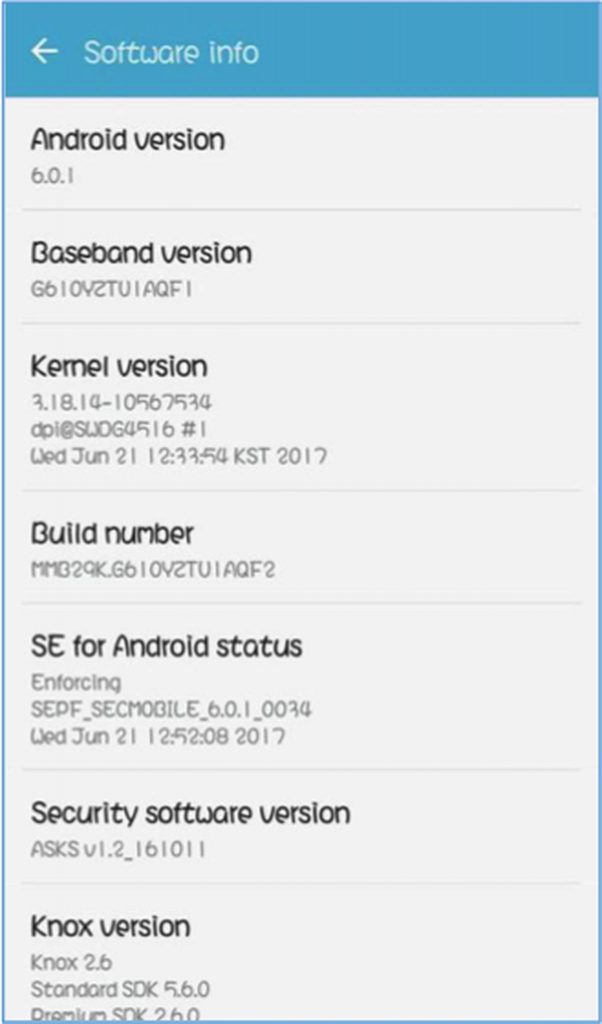
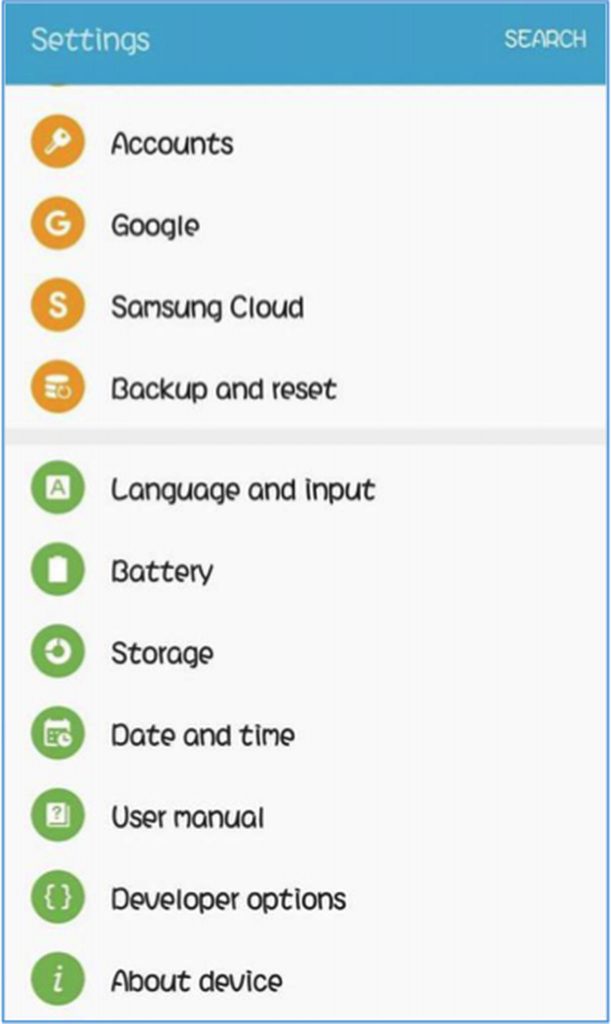
- Enable USB Debugging on your device. To do this, navigate to Settings > About Device > Build number. If you don’t see Build number under About Device, tap Software Information. Tap Build number seven times until you see a message that tells you that Developer options have been enabled.
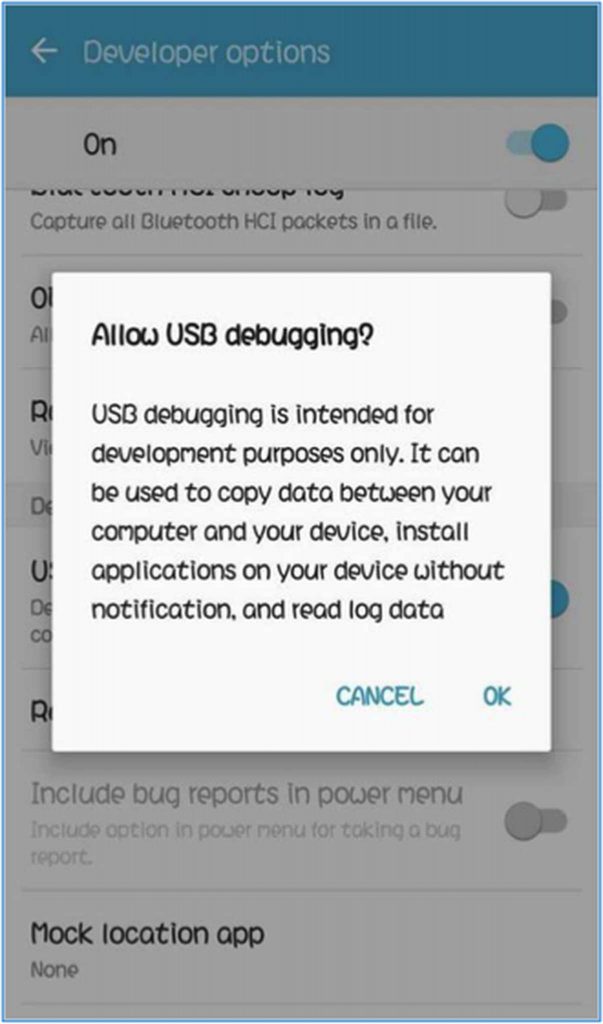
- Next, go back to Settings and scroll down to Developer Options. Toggle USB debugging on and a confirmation will pop up. Just click OK to turn on USB debugging mode.
- Connect your Android device to your computer using a USB cable. You should see a confirmation message whenever you connect your phone to the computer. If the message does not appear, try rebooting your device first.
- Once your phone has been successfully connected to your computer, open Command Prompt and type the following command: adb shell
- Wait for a few seconds before typing or copying the next command:
dumpsys display | grep mBaseDisplayInfo- Look for the density value. Take note of the existing DPI value because you need to replace it later.
- Change the DPI value. Android’s DPI values play between 120 and 640, depending on your device and screen size. Choose a DPI value that goes well with your phone size. The higher the DPI value, the bigger the things will appear on your screen. For example, if you put in a value of 500 or 600 DPI for a 4-inch phone, you can expect bigger icons, text, etc. The opposite is true if you put in smaller DPI values. You can change the DPI value by typing in the command below:
- wm density [DPI] && adb reboot
- This command will reboot your device, and you will see a different screen resolution after.
This process works well for most Android phones. You can test out different DPI values first to find the perfect one for you. For some Android phones, the change in the screen resolution applies instantly even without rebooting, so you can immediately see whether it is too small or too significant for your phone.
Here’s an extra tip: Maximize your Android display screen by removing clutter like unused apps and shortcuts on your phone. You can use an app such as Android cleaning tool to get rid of junk from your device.
