A lot of things can happen to your phone or tablet that would make you want to back up your data. There’s always the possibility of your phone getting lost, stolen, or dropped in water. If any of these scenarios happen, that means you might lose everything you have on your phone. Fortunately, there are many ways to back up Android data, ensuring that you don’t lose access to your essential information even if you lose or damage your phone. But before you back up your data, make sure you clean out all junk files first using tools such as android cleaning app so that you don’t include unnecessary files in your backup.
This article will show you several methods on how to backup Android phone or any Android device. No need to worry about those old photos or other important files getting lost.
1. Backup With Google
The easiest way to backup Android data is through Google. Android is closely linked to Google, in that most of the apps need a Google account to work. The drawback with Google is that it is not a one-stop backup method where you have to dump everything in it, and all are saved. You need to go through each app one by one and back up each of your data. But keep in mind that not all of your data will be saved. Things like SMS and app settings are usually not backed up, but there are other ways to keep them. Here’s how to back up your Android device using Google:
Photos and Videos
Every Android device is pre-installed with Google Photos. It is the best way to automatically back up pictures and videos on your phone or tablet. Google Photos backs up your photos and videos to the cloud, so you don’t have to save them again and again manually.
If you don’t have Google Photos on your device or you disabled it for some reason, you can re-download the updates to enable it again. Then, log in to your Gmail account to automatically back up your files. Next, follow these steps to make an Android backup of your photos and videos:
- Open Google Photos and go to Settings.
- Tap Backup & sync.
- Make sure it is turned on.
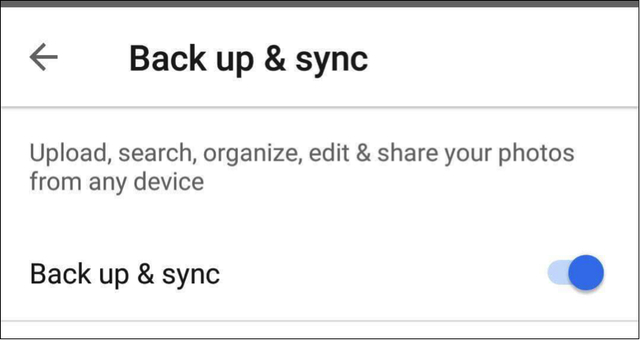
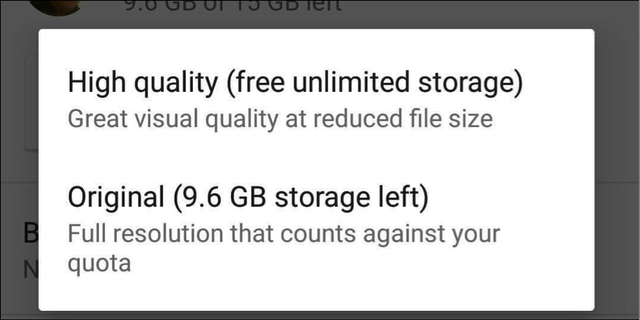
One of the benefits of using Google Photos is that it’s free and you can upload as many photos as you want. The maximum quality you can upload is 1080 pixels for the free storage option. If you don’t take many pictures on your phone or tablet, then the free storage option is enough to back up your photos and videos. However, if you want to upload your photos with better quality, it is possible, but not advisable, because it will eat up a lot of storage space. Once your free storage is used up, you have the option to expand your storage space for a minimal fee.
If you want to check the quality of the photos you upload on Google Photos, just go to Settings > Backup & sync > Upload size. Then, choose from the two options presented.
Other Files
For all the other files on your Android device, the best way to back them up is using Google Drive. Using Google Drive makes it easier for you to back up and retrieve your data from the drive. However, you need to manually upload the files that you want to back up to Google Drive. To upload folders and files, follow these steps:
- Download and install the Google Drive app.
- Open the app and tap the + button.
- Tap Upload and select the files you want to back up.
Settings and apps
It is possible to back up your device’s settings and apps using Android Backup Service. This service backs up your critical app data to remote cloud storage. When Android Backup Service is switched on, your data is automatically backed up every 24 hours when your phone or tablet is plugged in, idle or connected to a Wi-Fi network.
So if your phone gets lost, stolen or damaged, all you need to do is sign into your Google account on a new device, and Google will load all of the data that have been saved using Android Backup Service. Follow these instructions to turn on Android Backup Service on your device:
- Open your device’s Settings app.
- Tap Backup & reset.
- Tap Backup account and choose the Gmail account you want to back up (add the account if it’s not there yet).
For most people, it is enough to use Google to backup Android data. But if you don’t want to use Google, you can choose any of the alternative methods below.
2. Use Third-Party Backup Options
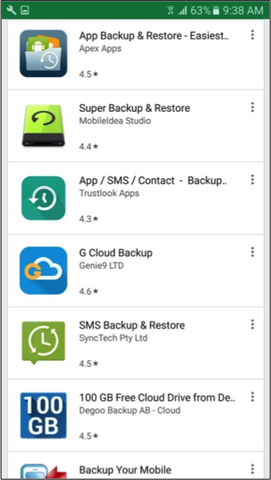
Google’s built-in services are excellent because they are easy to use and free. But if you’re looking for a comprehensive backup solution for your Android device, consider using a third-party app. There are many different third-party apps on Google Play Store that helps back up your files in one go, but these apps come with various features, requirements, and pricing.
Unrooted phone
One of the most popular apps available in the market for backing up your data is Easy Backup & Restore. It is a simple and easy-to-use backup application that backs up your apps and all the other stuff on your device, including SMS, contacts, call logs, and bookmarks.
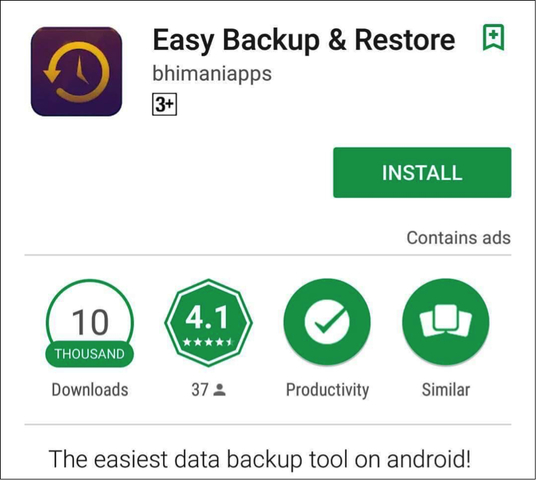
With Easy Backup & Restore, you can choose from several backup locations such as Dropbox, Google Drive, OneDrive, Box.com, or even on your device or microSD card. To back up your data using Easy Backup & Restore, follow these steps:
- Download and install Easy Backup & Restore.
- Tap Yes when asked if you’d like to create a backup.
- Select the files and items you want to back up.
- Select the location where you want to save the files.
- Enter a name for your backup.
- Wait while the app is saving your data.
- Tap OK.
Very easy, right?
Rooted phones
If you are looking for a more sophisticated backup solution, then you need to root your phone and use a third-party app like Titanium Backup. There are a free version and a paid version of this app, but the only difference is the method of restoring your data (it is way easier and faster for the Pro version). But anyway, both versions are powerful enough to back up most of the stuff that regular backup apps don’t include. To back up your rooted device, follow these steps:
- Download and install the app.
- Open the app and click the menu button, then select Batch actions.
- Choose everything you want to back up. If it’s the first time you’re backing up the device using Titanium Backup, select ‘backup all user apps’ and ‘backup all system data.’
- Choose the location where you want to save your backup. You can choose Dropbox or Google Drive.
- Wait for the app to finish saving your data.


Using a third-party app seems practical if you want an all-in-one backup solution for your device. All you need to do is to open the app, choose which items you want to back up, and voila – your backup is complete!
3. Backup Your Android Device on Your Computer
If you hate installing apps or tinkering with your device’s Settings app, the next option is to back up your files on your computer manually. It is straightforward to do, and the process is almost the same for both Mac and PC. The only difference is that Mac users need to install an Android File Transfer app first before copying the files. To create a backup of your Android device on your computer, follow these steps:
- Connect your device to your computer via USB cable.
- On Windows, open My Computer and choose your device’s storage. If you’re using Mac, open the Android File Transfer app.
- Drag the files you want to back up to a folder on your Mac or PC.
With the tips and steps we provided in this article, you won’t need to worry again about losing access to your data if you lose or damage your Android device.
