Fix SSvagent.exe Error While Starting Up Internet Explorer
With the introduction of the Chromium-based Edge browser, the majority of users have transitioned away from Internet Explorer (IE). The new Edge browser offers modern features that fulfill the expectations of former IE users. However, it’s important to note that Microsoft has not completely abandoned Internet Explorer, as it continues to ship as the default browser in Windows 10/11.
Recently, a number of IE users have raised concerns about a pop-up message asking to install the ssvagent.exe file. This article will address the nature of this file and help you determine whether or not it’s safe to keep in your system.
What Is Ssvagent.exe?
The Ssvagent.exe file is an executable file that falls under the Java 7 Update 72 64-bit program category. Developed by Oracle Corporation, it serves as a third-party addition to the system.
In general, executable files are to be handled with care as they can damage or alter system configurations. To decide if you’re dealing with a virus or a legitimate ssvagent.exe file, there are several characteristics that must be checked. It is possible for the file to be a legitimate system file, a virus, or a Trojan horse. Therefore, one needs to be well-informed before making the decision of keeping or removing it.
Expert Tip: For smoother PC performance, consider using a PC optimization tool. It handles junk files, incorrect settings, and harmful apps. Make sure it's right for your system, and always check the EULA and Privacy Policy.
Special offer. About Outbyte, uninstall instructions, EULA, Privacy Policy.
Is SSvagent Safe or Malware?
The location of the executable file is the first indicator if you’re dealing with a legitimate system process or a virus. For instance, a legitimate executable file (such as ssvagent.exe) should be located in C:\Program Files\java\jre7\bin\javaws.exe. If found elsewhere, there is a chance that you’re dealing with a virus.
To confirm the location of this file, access the Task Manager and click View. Choose Columns, then click on Image Path Name. This will add the location column to the Task Manager. If a suspicious directory is found here, conduct further investigation.
You can also identify bad system processes using MS Process Explorer. The program does not require installation. To launch it, double-click on it, and then enable Check Legends under the Options category. Access View, then choose Columns. Next, add Verified Signer. If for some reason the process is unable to verify, you must conduct a further investigation because even the good system processes may lack a Verified Signature label. All bad processes don’t have a Verified Signature label as well.
Here is brief information pertaining the ssvagent.exe file:
- Location – C:\Program Files\java\jre7
- Developer – Oracle Corporation
- Path – C:\Program Files\java\jre7\bin\javaws.exe
- Developer URL – java.com
If the characteristics of the file in your system contradict with the listed information above, then your system might be infected with a virus. In this case, act immediately and remove it from the system. To remove a malicious ssvagent.exe file, you must install a trusted security software tool with the prowess to detect and quarantine any malware. Not all security software tools have the ability to detect all kinds of malware. Therefore, we advise cleaning your system using various top anti-malware tools to ensure removal of the malicious file and its associated programs.
Also, it is possible for the virus to hinder the removal of malicious ssvagent.exe files. In such cases, it is recommended to activate Safe Mode with Networking. This will disable most of the processes excluding necessary services and drivers. Once in Safe Mode with Networking, you can run your preferred security software tool and remove the malicious file and its associated programs.
Is It Safe to Remove Ssvagent.exe?
A safe executable file must not be deleted without a sound reason since it plays a vital role in the performance of the associated applications. To avoid problems caused by corrupted files, we advise keeping all of your software programs updated. Update your drivers as well to avoid issues from occurring.
Based on our research, removing the ssvagent.exe file may be harmless. However, it is highly recommended to check its trustworthiness before deciding to get rid of it. You can run a full system diagnosis to check if the file will be flagged as a malicious program or not.
After conducting a thorough investigation and figuring out if it is legitimate but you still want to remove it for some reason, simply uninstall Java 7 Updater 72 64-bit. You can use its uninstaller found at MsiExec.exe /X{26A24AE4-039D-4CA4-87B4-2F06417072FF}. If you can’t find this location, uninstall Java 7 Update 72 64-bit completely. Utilize the Add/Remove program feature under the Control Panel.
Here is how to uninstall Java 7 Update 72 64-bit:
- Access the Control Panel by searching for it in the Windows search field.
- Click on it to open. Locate Programs and Features.
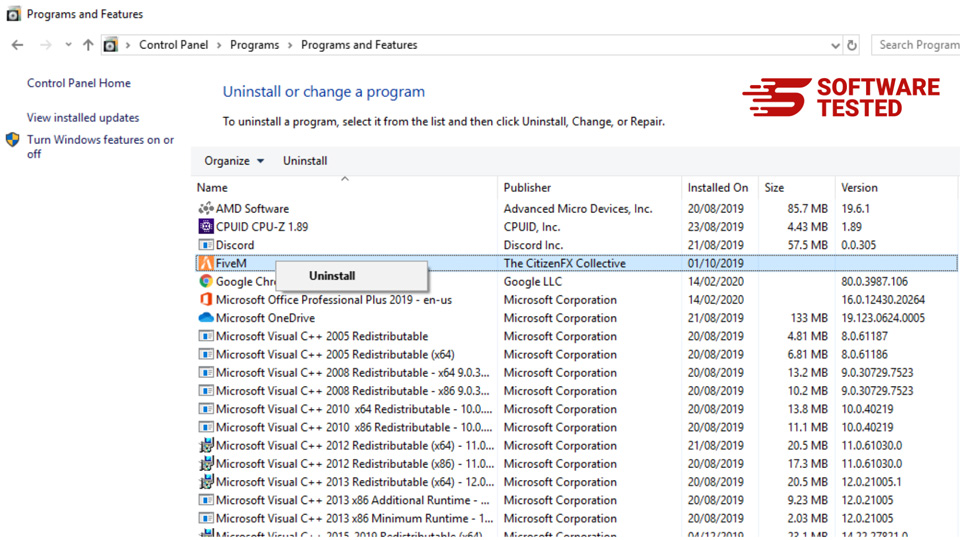
- On the list of Programs, find Java 7 Update 72 64-bit. Click to highlight it and look for the Uninstall button at the top.
- Alternatively, you can right-click on it to bring up the floating menu with an option to Uninstall or Repair the program. Click on Uninstall and confirm the action by selecting Yes.
SSvagent.exe Error on Internet Explorer Fix
Keeping your PC neat and tidy is one way of avoiding problems related to Java 7 Update 72 64-bit. To ensure your system is free of clutter, conduct periodical storage drive cleaning sessions, full system scans, as well as registry cleaning and repair. An automatic Windows update can also help keep your system updated and compatible with the latest applications. Make regular backups or determine system recovery points. If your system starts acting up, always check the last action you have made prior to the issue. Before you rush to reinstall the entire operating system, attempt to perform a repair installation to fix such kinds of issues.
If dealing with a malicious ssvagent.exe file, follow these instructions below to successfully remove it permanently:
To delete SSvagent.exe from your device, follow the steps below:
Step 1. Remove SSvagent.exe from Windows
Step 2. Delete SSvagent.exe from Mac OS X
Step 3. Get rid of SSvagent.exe from Internet Explorer
Step 4. Uninstall SSvagent.exe from Microsoft Edge
Step 5. Delete SSvagent.exe from Mozilla Firefox
Step 6. Remove SSvagent.exe from Google Chrome
Step 7. Get rid of SSvagent.exe from Safari
How to Remove SSvagent.exe from Windows
One of the common traits of SSvagent.exe is that they like to pose as legitimate programs or can be bundled with legitimate programs in order to infect your computer. The first thing you need to do when faced with the risk of a SSvagent.exe is to uninstall the program that came with it.
To remove potentially malicious and unwanted programs from Windows and get rid of the SSvagent.exe permanently, follow these instructions:
1. Uninstall malicious programs.
Click on Start, then type in Control Panel in the search box. Click Control Panel from the search results, then click on the Uninstall a program link under Program. The Control Panel looks the same for Windows 7 computers, but for Windows XP users, click on Add/Remove Programs instead.
For Windows 10/11 users, you can also uninstall programs by navigating to Start > Settings > Apps > Apps & features.
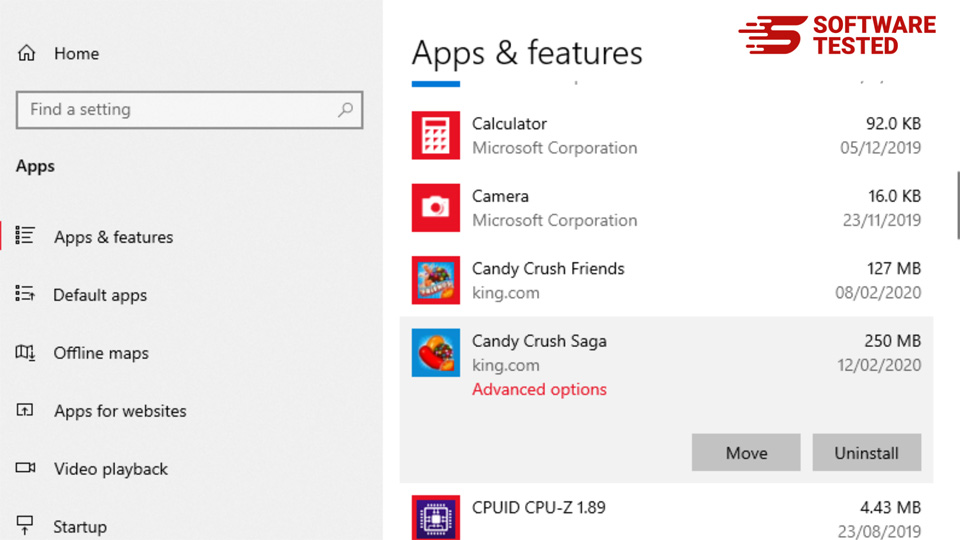
In the list of programs on your computer, look for recently installed or suspicious programs that you suspect to be malware.
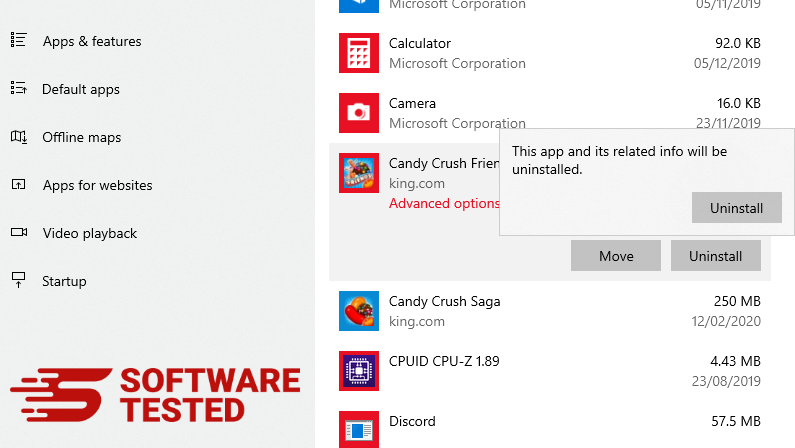
Uninstall them by clicking (or right-clicking if you’re in the Control Panel), then choose Uninstall. Click Uninstall once again to confirm the action. Wait for the uninstallation process to be completed.
3. Remove SSvagent.exe from Windows shortcuts.
To do this, right-click on the shortcut of the program you uninstalled, then select Properties.
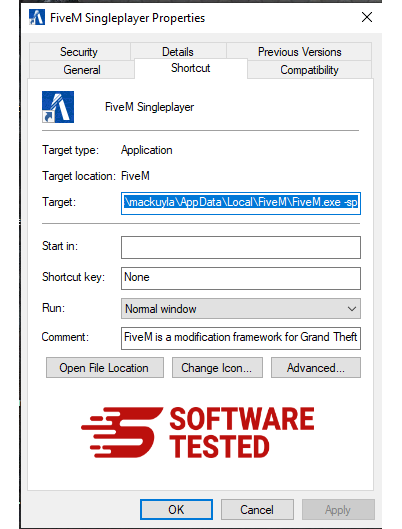
It should automatically open the Shortcut tab. Look at the Target field and delete the target URL that is related to the malware. This URL points to the installation folder of the malicious program you uninstalled.
4. Repeat all the steps listed above for all the program’s shortcuts.
Check all locations where these shortcuts might be saved, including the Desktop, Start Menu, and the Taskbar.
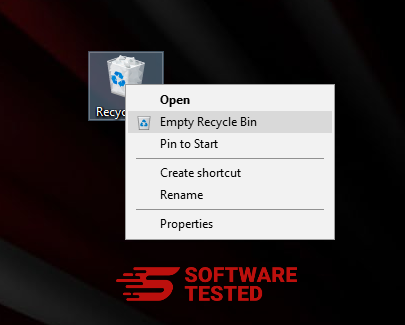
5. Empty the Recycle Bin.
Once you have deleted all the unwanted programs and files from Windows, clean up your Recycle Bin to completely get rid of the SSvagent.exe. Right-click on the Recycle Bin on your Desktop, then choose Empty Recycle Bin. Click OK to confirm.
How to Delete SSvagent.exe from macOS
macOS is more secure than Windows, but it is not impossible for malware to be present on Macs. Just like other operating systems, macOS is also vulnerable to malicious software. In fact, there have been several previous malware attacks targeting Mac users.
Deleting SSvagent.exe from a Mac is a lot easier than other OS. Here’s the complete guide:
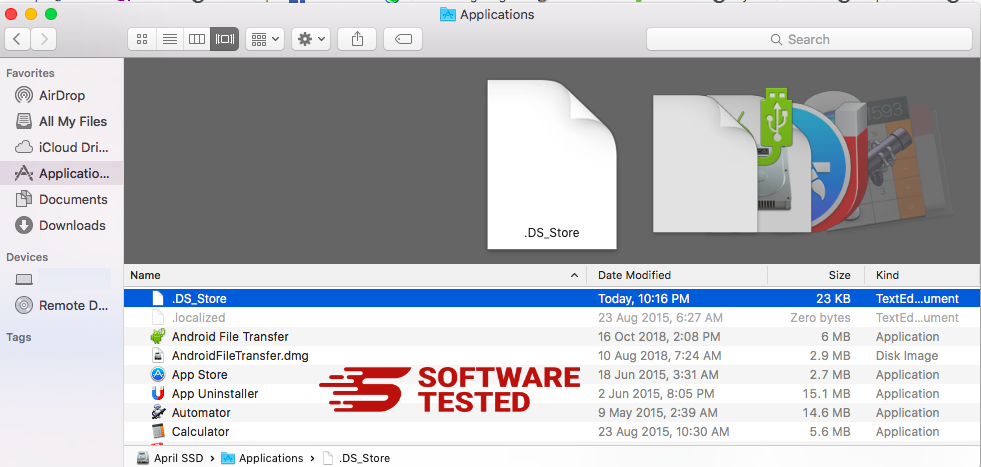
- If you suspect a recently installed software to be malicious, uninstall it immediately from your Mac. On Finder, click the Go > Applications. You should see a list of all the apps currently installed on your Mac.

- Find the app associated with SSvagent.exe or other suspicious apps you want to delete. Right-click on the app, then choose Move to Trash.
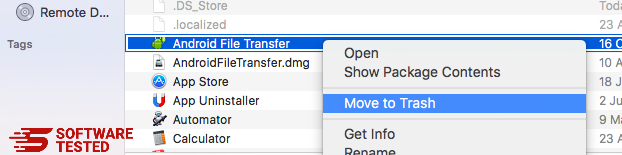
To completely get rid of SSvagent.exe, empty your Trash.
How to Get Rid of SSvagent.exe from Internet Explorer
To ensure that the malware that hacked your browser is completely gone and that all unauthorized changes are reversed on Internet Explorer, follow the steps provided below:
1. Get rid of dangerous add-ons.
When malware hijacks your browser, one of the obvious signs is when you see add-ons or toolbars that suddenly appear on Internet Explorer without your knowledge. To uninstall these add-ons, launch Internet Explorer, click on the gear icon at the top-right corner of the browser to open the menu, then choose Manage Add-ons.
When you see the Manage Add-ons window, look for (name of malware) and other suspicious plugins/add-ons. You can disable these plugins/add-ons by clicking Disable.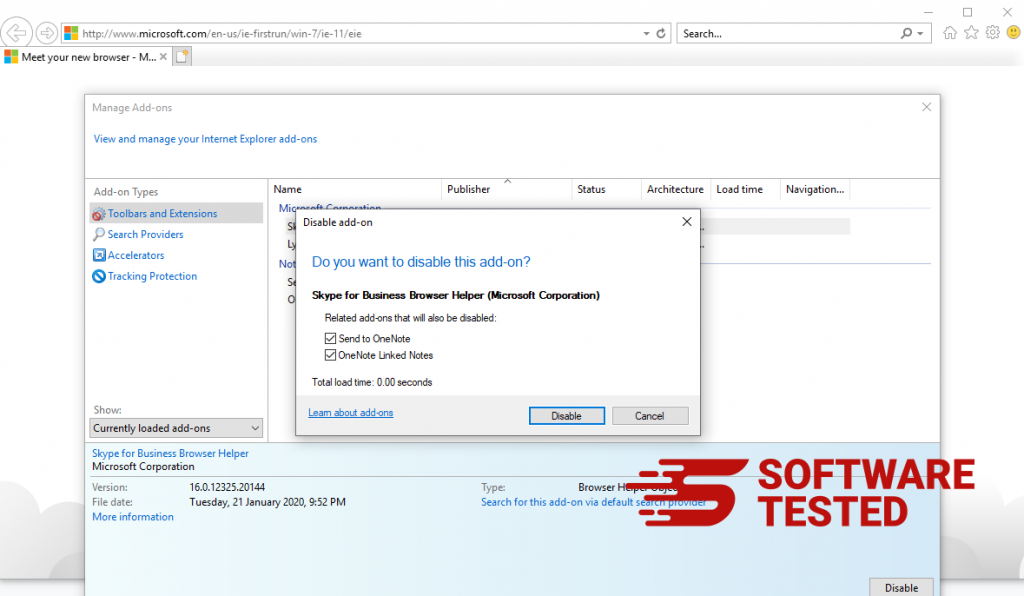
2. Reverse any changes to your homepage caused by the malware.
If you suddenly have a different start page or your default search engine has been changed, you can change it back through the Internet Explorer's settings. To do this, click on the gear icon at the upper-right corner of the browser, then choose Internet Options.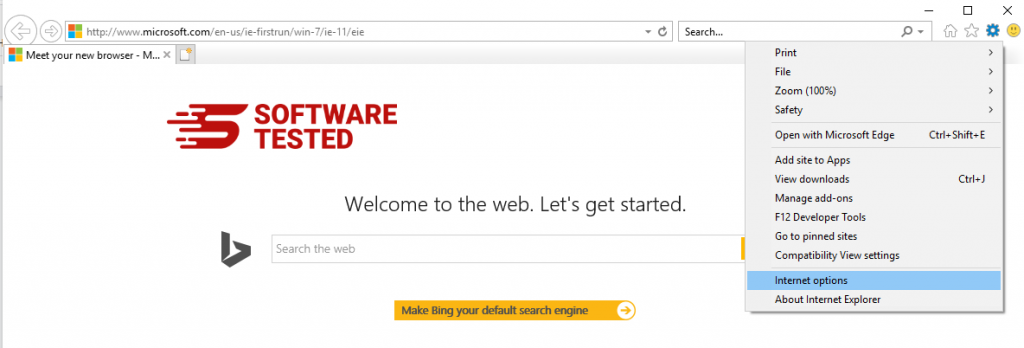
Under the General tab, delete the homepage URL and enter your preferred homepage. Click Apply to save the new settings.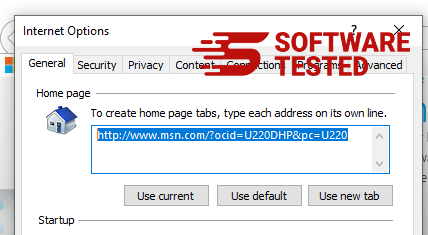
3. Reset Internet Explorer.
From the Internet Explorer menu (gear icon at the top), choose Internet Options. Click on the Advanced tab, then select Reset.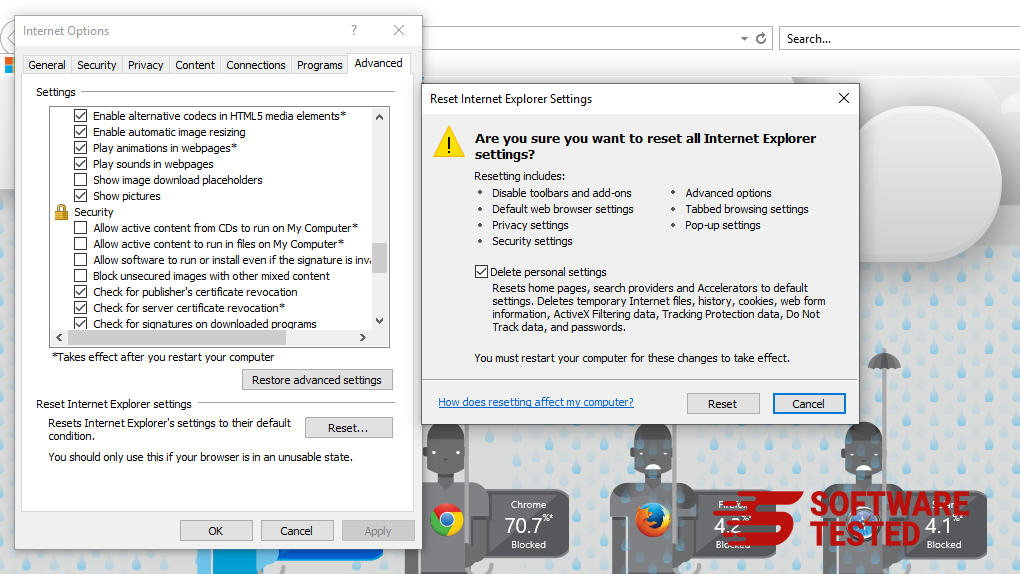
In the Reset window, tick off Delete personal settings and click the Reset button once again to confirm the action.
How to Uninstall SSvagent.exe on Microsoft Edge
If you suspect your computer to have been infected by malware and you think that your Microsoft Edge browser has been affected, the best thing to do is to reset your browser.
There are two ways to reset your Microsoft Edge settings to completely remove all the traces of malware on your computer. Refer to the instructions below for more information.
Method 1: Resetting via Edge Settings
- Open the Microsoft Edge app and click More or the three-dot menu located at the upper-right corner of the screen.
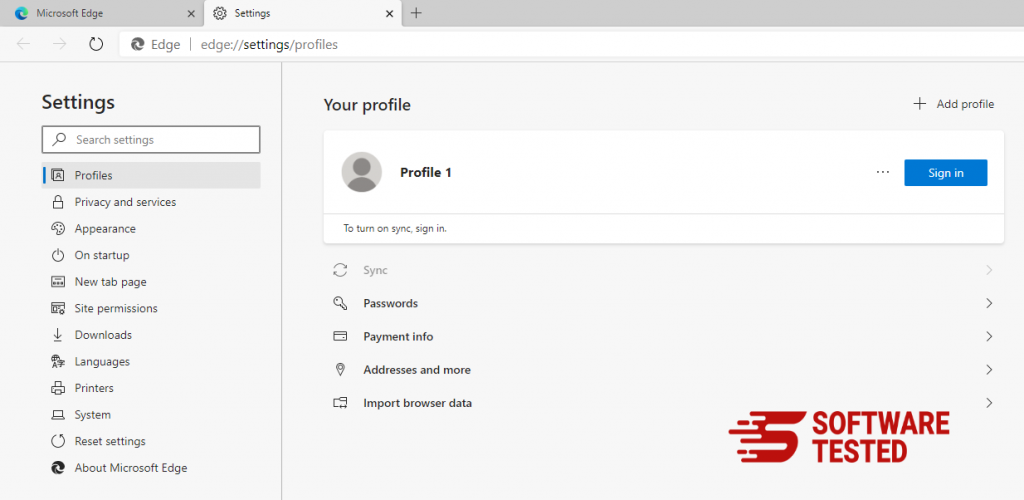
- Click Settings to reveal more options.
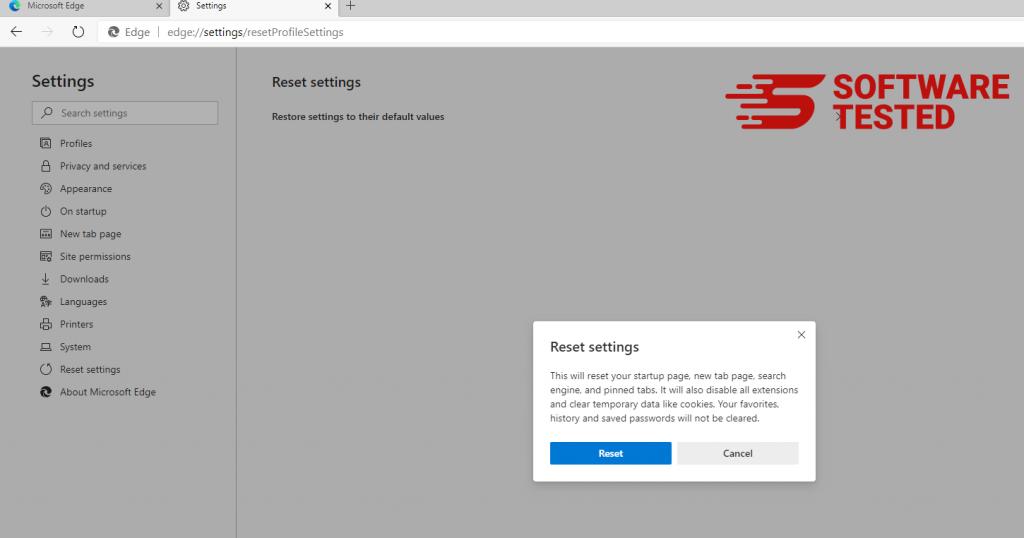
- In the Settings window, click Restore settings to their default values under Reset settings. Click the Reset button to confirm. This action will reset your browser’s startup page, the new tab page, default search engine, and pinned tabs. Your extensions will also be disabled and all temporary data like cookies will be deleted.
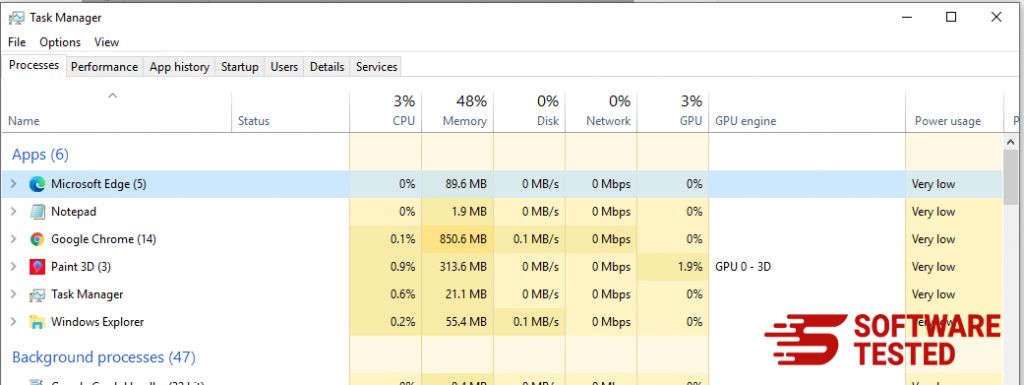
- Afterwards, right-click on the Start menu or the Windows logo, then select Task Manager.
- Click on the Processes tab and search for Microsoft Edge.
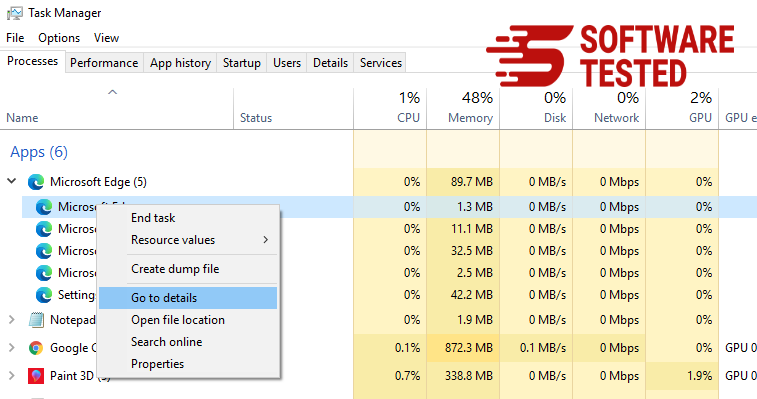
- Right-click on the Microsoft Edge process and select Go to details. If you don't see the Go to details option, click More details instead.
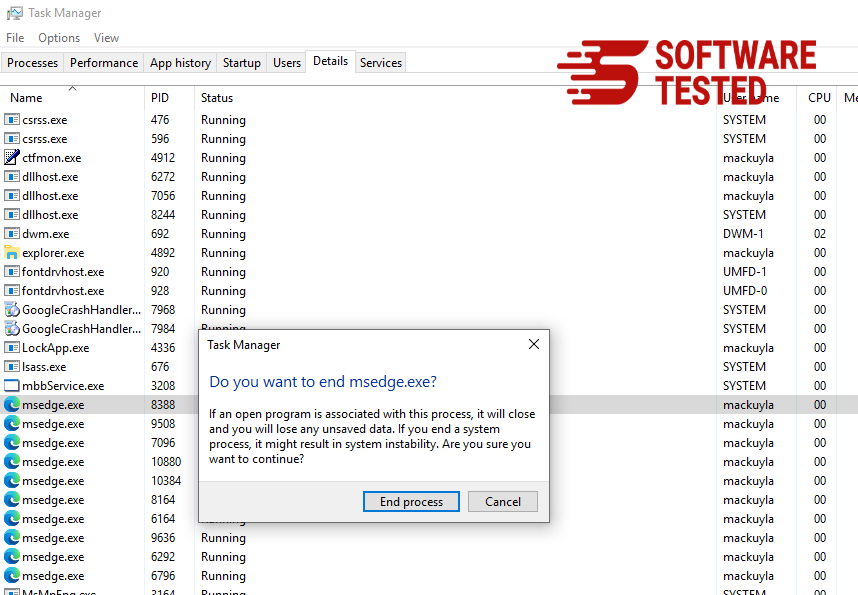
- Under the Details tab, look for all the entries with Microsoft Edge in their name. Right-click on each of these entries and choose End Task to quit those processes.
- Once you have quit all those processes, open Microsoft Edge once again and you'll notice that all the previous settings have been reset.
Method 2: Resetting via Command
Another way to reset Microsoft Edge is by using commands. This is an advanced method that is extremely useful if your Microsoft Edge app keeps crashing or won't open at all. Make sure to back up your important data before using this method.
Here are the steps to do this:
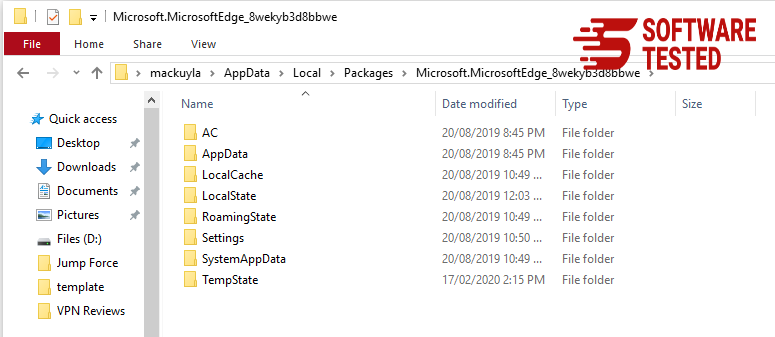
- Navigate to this folder on your computer: C:\Users\%username%\AppData\Local\Packages\Microsoft.MicrosoftEdge_8wekyb3d8bbwe.
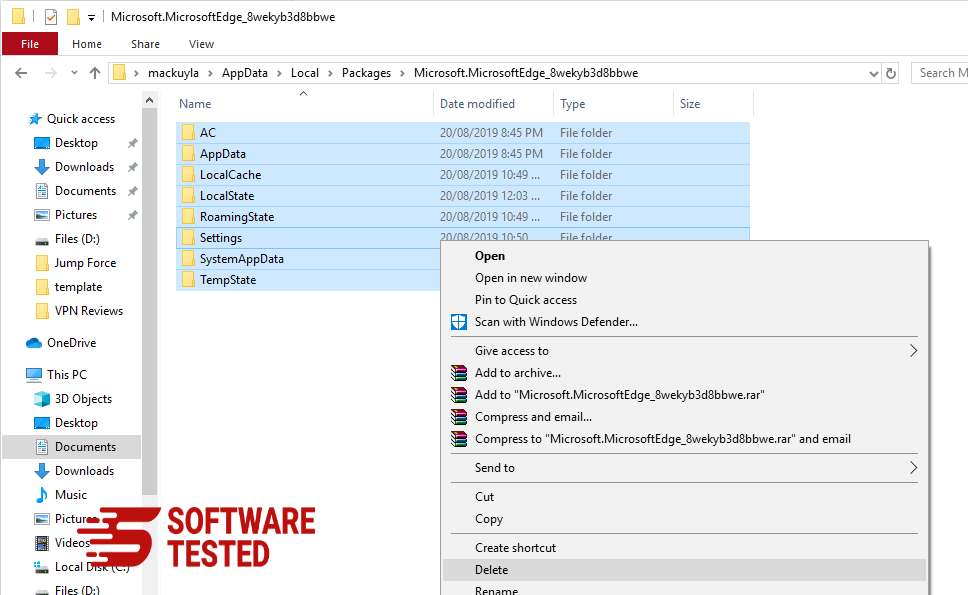
- Select everything inside the folder, right-click on the highlighted files, then click Delete from the options.
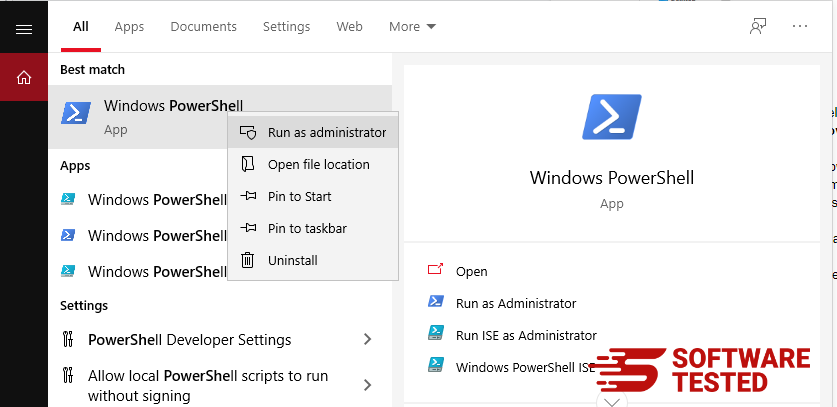
- Search for Windows PowerShell using the search box beside the Start menu.
- Right-click on the Windows PowerShell entry, then choose Run as administrator.
- In the Windows PowerShell window, type in this command:
Get-AppXPackage -AllUsers -Name Microsoft.MicrosoftEdge | Foreach {Add-AppxPackage -DisableDevelopmentMode -Register $($_.InstallLocation)\AppXManifest.xml -Verbose}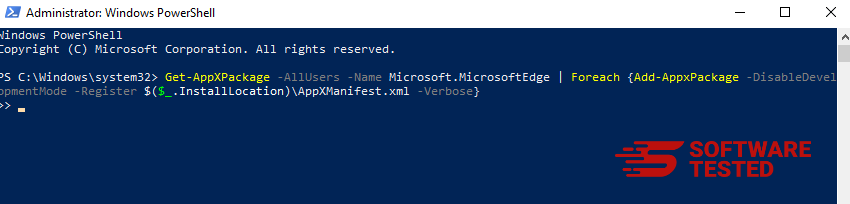
- Press Enter to execute the command.
- Once the reset process has been completed, SSvagent.exe should be completely deleted from your Microsoft Edge browser.
How to Delete SSvagent.exe from Mozilla Firefox
Just like other browsers, malware tries to change the settings of Mozilla Firefox. You need to undo these changes to remove all traces of SSvagent.exe. Follow the steps below to completely delete SSvagent.exe from Firefox:
1. Uninstall dangerous or unfamiliar extensions.
Check Firefox for any unfamiliar extensions that you don't remember installing. There is a huge chance that these extensions were installed by the malware. To do this, launch Mozilla Firefox, click on the menu icon at the top-right corner, then select Add-ons > Extensions.
In the Extensions window, choose SSvagent.exe and other suspicious plugins. Click the three-dot menu beside the extension, then choose Remove to delete these extensions.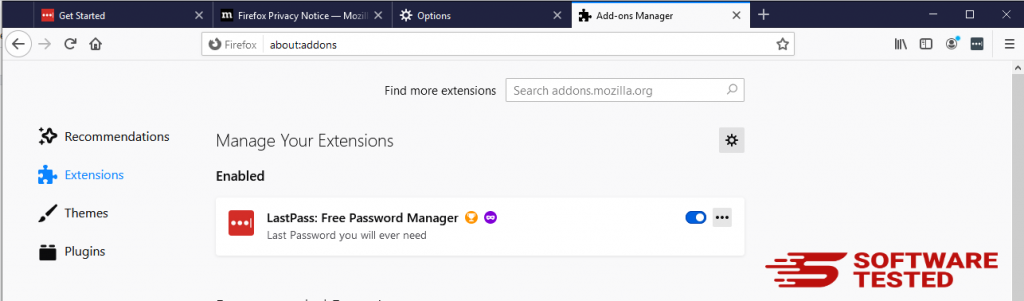
2. Change your homepage back to default if it was affected by malware.
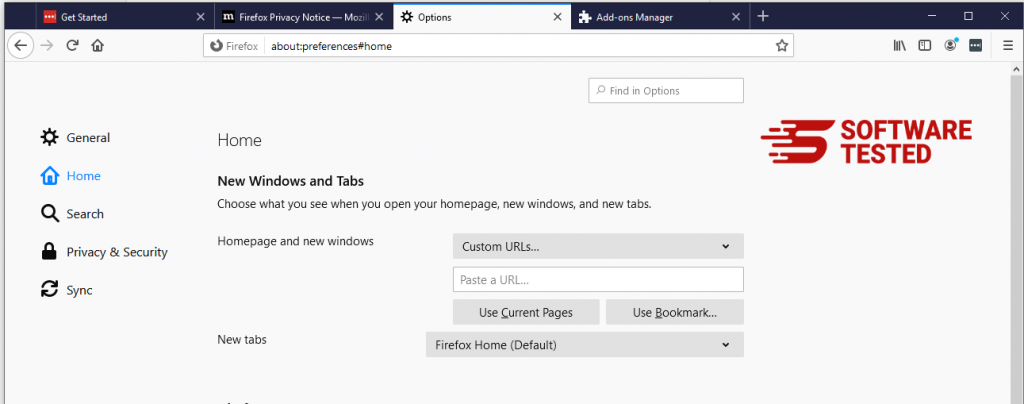
Click on the Firefox menu at the upper-right corner of the browser, then choose Options > General. Delete the malicious homepage and type in your preferred URL. Or you can click Restore to change to the default homepage. Click OK to save the new settings.
3. Reset Mozilla Firefox.
Go to the Firefox menu, then click on the question mark (Help). Choose Troubleshooting Information. Hit the Refresh Firefox button to give your browser a fresh start.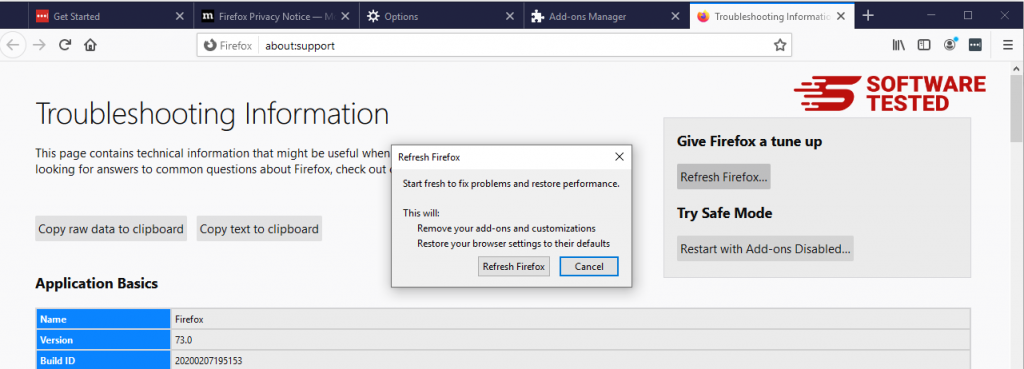
Once you’ve completed the steps above, SSvagent.exe will be completely gone from your Mozilla Firefox browser.
How to Remove SSvagent.exe from Google Chrome
To completely remove SSvagent.exe from your computer, you need to reverse all of the changes on Google Chrome, uninstall suspicious extensions, plug-ins, and add-ons that were added without your permission.
Follow the instructions below to remove SSvagent.exe from Google Chrome:
1. Delete malicious plugins.
Launch the Google Chrome app, then click on the menu icon at the upper-right corner. Choose More Tools > Extensions. Look for SSvagent.exe and other malicious extensions. Highlight these extensions you want to uninstall, then click Remove to delete them.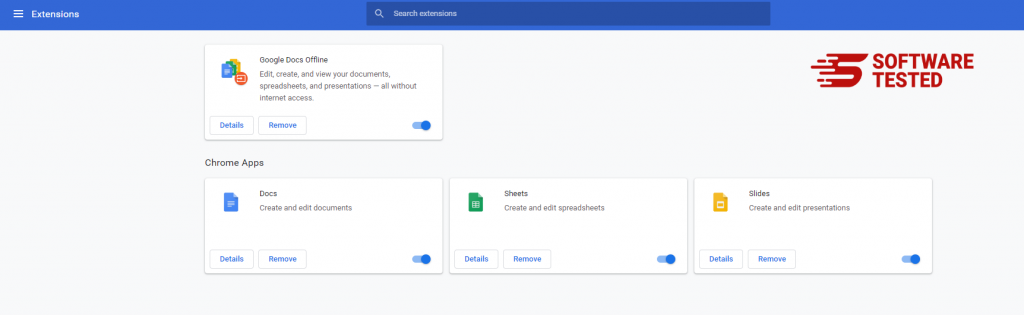
2. Revert changes to your homepage and default search engine.
Click on Chrome's menu icon and select Settings. Click On Startup, then tick off Open a specific page or set of pages. You can either set up a new page or use existing pages as your homepage.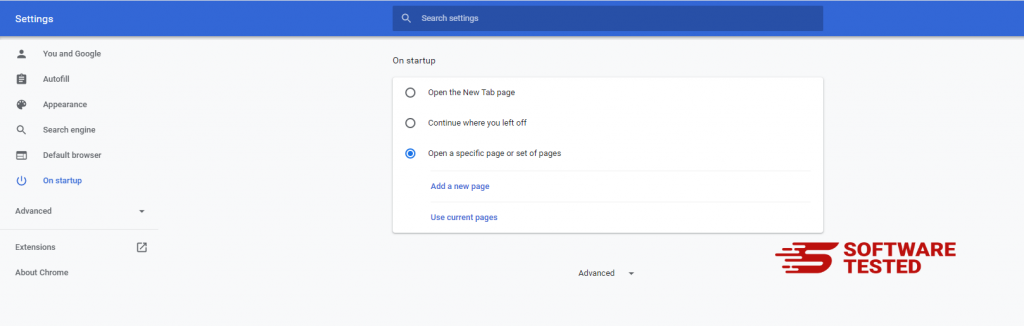
Go back to Google Chrome's menu icon and choose Settings > Search engine, then click Manage search engines. You'll see a list of default search engines that are available for Chrome. Delete any search engine that you think is suspicious. Click the three-dot menu beside the search engine and click Remove from list.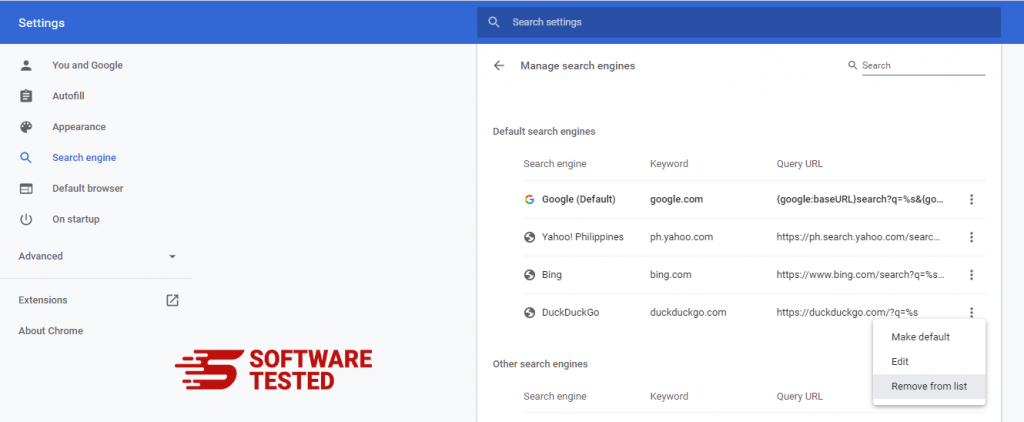
3. Reset Google Chrome.
Click on the menu icon located at the top right of your browser, and choose Settings. Scroll down to the bottom of the page, then click on Restore settings to their original defaults under Reset and clean up. Click on the Reset Settings button to confirm the action.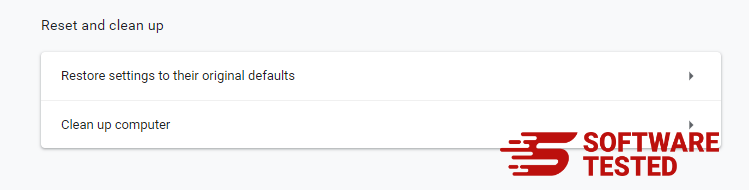
This step will reset your startup page, new tab, search engines, pinned tabs, and extensions. However, your bookmarks, browser history, and saved passwords will be saved.
How to Get Rid of SSvagent.exe from Safari
The computer’s browser is one of the major targets of malware — changing settings, adding new extensions, and changing the default search engine. So if you suspect your Safari to be infected with SSvagent.exe, these are the steps you can take:
1. Delete suspicious extensions
Launch the Safari web browser and click on Safari from the top menu. Click Preferences from the drop-down menu.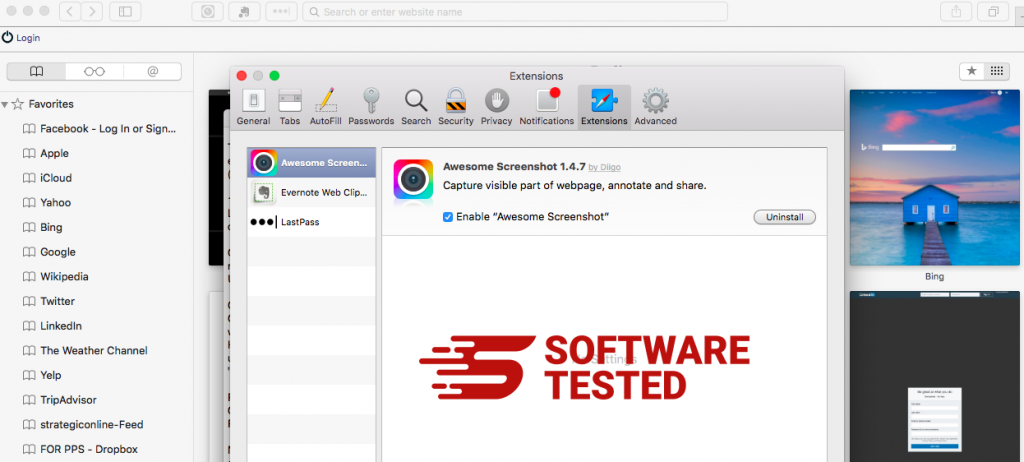
Click on the Extensions tab at the top, then view the list of currently installed extensions on the left menu. Look for SSvagent.exe or other extensions you don’t remember installing. Click the Uninstall button to remove the extension. Do this for all your suspected malicious extensions.
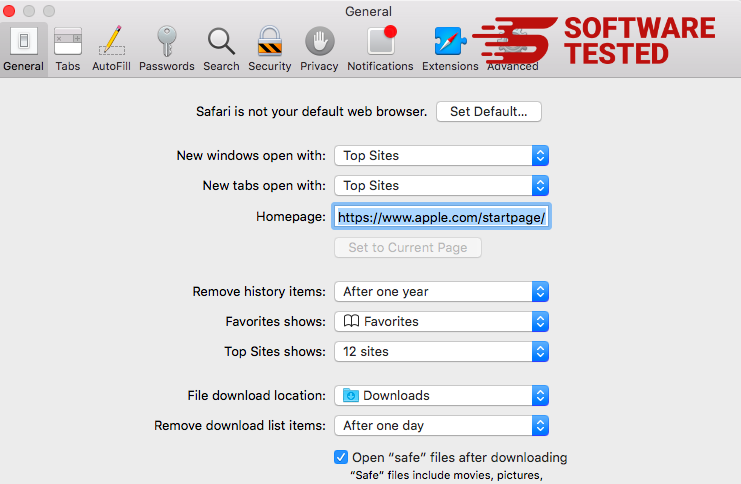
2. Revert changes to your homepage
Open Safari, then click Safari > Preferences. Click on General. Check out the Homepage field and see if this has been edited. If your homepage was changed by SSvagent.exe, delete the URL and type in the homepage you want to use. Make sure to include the http:// before the address of the webpage.
3. Reset Safari
Open the Safari app and click on Safari from the menu at the upper-left of the screen. Click on Reset Safari. A dialog window will open where you can choose which elements you want to reset. Next, click the Reset button to complete the action.