Many Windows issues stem from damaged or corrupted system files. When these crucial files become inaccessible or unreadable, it disrupts the proper functioning of Windows and results in a range of errors.
Fortunately, the Windows operating system is equipped with several built-in tools to help scan, fix, restore, and troubleshoot common errors. One of these useful tools is the DISM tool. DISM stands for Deployment Image Servicing and Management and this tool can help Windows users troubleshoot a wide range of problems, from performance issues to boot up errors.
You’ve probably read about this tool from various tutorial websites, but do you know what it actually does? Do you know what commands to run and what these commands mean? This guide will discuss in detail what the DISM tool is, what common errors you can fix with it, and what other uses this tool is good for.
What is the DISM Tool?
Deployment Image Servicing and Management (DISM) is a Windows 10/11 tool designed to help network administrators prepare, modify, restore, and repair system images, including the Windows Setup, Windows Recovery Environment, and Windows PE (WinPE). The tool can also be used to fix common issues with the hidden recovery image on your PC.
Expert Tip: For smoother PC performance, consider using a PC optimization tool. It handles junk files, incorrect settings, and harmful apps. Make sure it's right for your system, and always check the EULA and Privacy Policy.
Special offer. About Outbyte, uninstall instructions, EULA, Privacy Policy.
It is a Windows command line utility that is used to prepare and service images for the operating system. DISM.exe helps deploy the necessary images from the Deployment Imaging Servicing and Management utility, and does not cause any threat to your PC.
When your device encounters performance issues, does not boot up correctly, or when you are troubleshooting errors, the System File Checker tool should be enough to scan, repair, and replace damaged or missing system files by using the recovery image that is locally available.
But, if the replacement copies inside the Windows 10/11 recovery image are also corrupted in any way, the SFC tool will not work. In this case, you need to use the DISM tool to scan and repair the install.wim image where the replacement files are saved, then use SFC to repair your installation. In effect, the DISM tool fixes problems that the SFC tool cannot handle.
DISM uses commands to bring your computer back to its healthy working state. Although these commands are typically non-destructive, they do involve significant system changes. Therefore, it’s crucial to create a full backup of your system before proceeding with these steps.
How to Use DISM to Repair the Windows 10/11 Image
The Deployment Image Servicing and Management (DISM) command tool can be used in three ways:
- RestoreHealth
- CheckHealth
- ScanHealth
You need to run these three components in that hierarchy order for DISM to work. Aside from these three, you might also need to run additional settings for the RestoreHealth, depending on the complexity of the issue.
How to Use the RestoreHealth Option
If issues have been detected during the scan, then you can use DISM with the RestoreHealth option to repair these problems automatically.
To repair Windows 10/11 image issue with DISM, follow these steps:
- Click Start.
- Search for Command Prompt using the search bar beside the Start button.
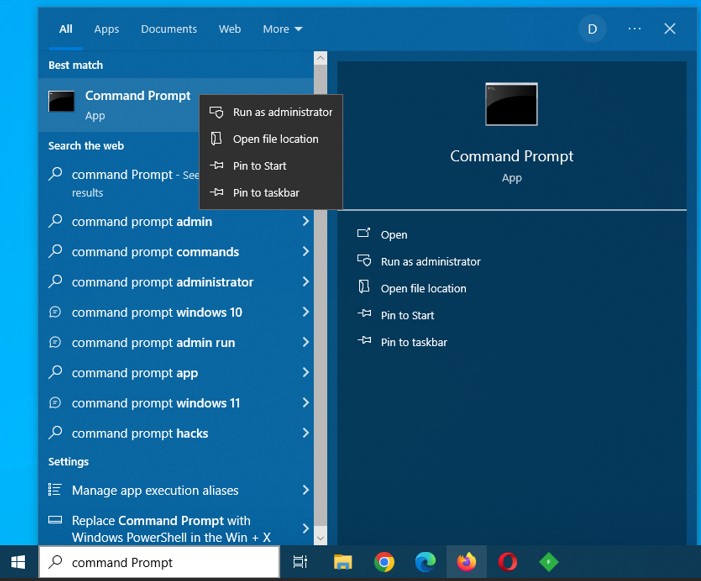
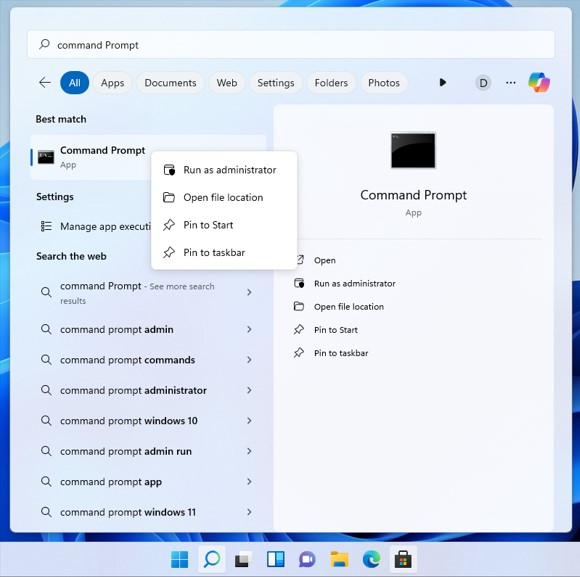
- Right-click on the top result, then select Run as administrator.
- Type in the following command into the command prompt windows to repair issues: DISM /Online /Cleanup-Image /RestoreHealth
- Press Enter.
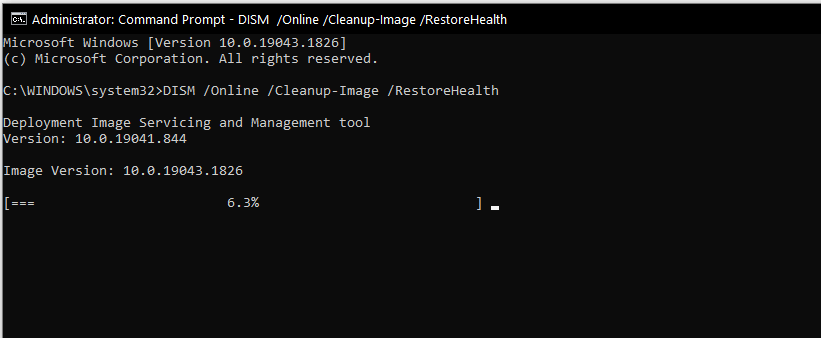
It is normal to see the process getting stuck a few times, but don’t worry. Just wait for a few minutes and the process will be completed successfully. Once the steps have been completed, the Deployment Image Servicing and Management (DISM) tool will automatically connect to the Windows Update servers to download the replacements for any damaged files in the Windows 10/11 local image as necessary.
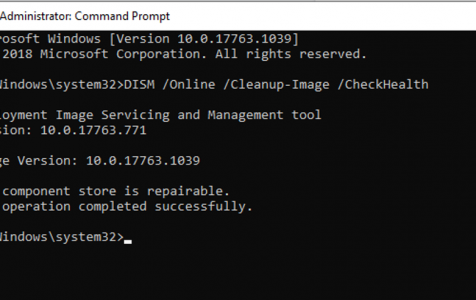
How to Use the CheckHealth Option
You can use the DISM’s CheckHealth option to quickly find out if there are any damages or corruptions inside the local image, but the tool won’t perform any repairs.
To check for problems within the recovery image using DISM, use these instructions:
- Click Start.
- Search for Command Prompt using the search bar beside the Start button.
- Right-click on the top result, then select Run as administrator.
- Type in the following command in the command prompt windows to do a quick health check: DISM /Online /Cleanup-Image /CheckHealth
- Press Enter.
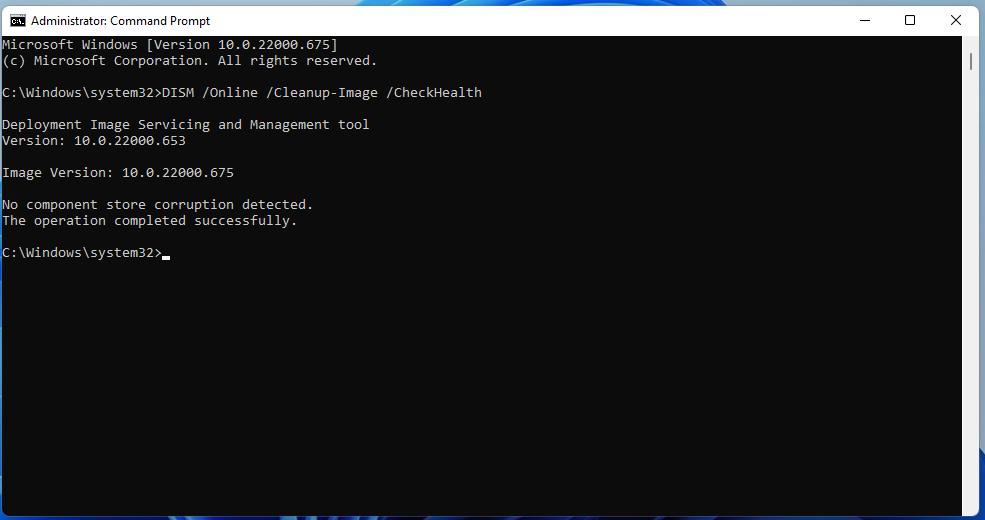
Once you have completed the steps, the command will be executed and it will verify if there is any data corruption that needs to be fixed.
How to Use the ScanHealth Option
If you need to perform a more advanced scan, you can run DISM with the ScanHealth option instead of CheckHealth. This will determine if the Windows 10/11 image has any problems.
To do an advanced scan using DISM, follow these steps:
- Click Start.
- Search for Command Prompt using the search bar beside the Start button.
- Right-click on the top result, then select Run as administrator.
- Type in the following command into the command prompt windows to do an advanced scan: DISM /Online /Cleanup-Image /ScanHealth
- Press Enter.
Once you have completed the steps, the advanced scan will begin. It will take several minutes for the advanced scan to determine if the local image needs repairing.
Comparing DISM with SFC and CHKDSK
While DISM is a powerful tool for repairing Windows images, it’s not the only utility available for maintaining Windows integrity. The System File Checker (SFC) tool, for example, scans for and replaces corrupt system files using cached copies. Unlike DISM, which operates on the system image, SFC works directly on the currently active system files, making it a first line of defense against corruption. CHKDSK, on the other hand, checks the file system and file system metadata of a volume for logical and physical errors. While SFC and CHKDSK are essential for file system integrity, DISM’s broader scope in managing and repairing system images makes it complementary to these tools rather than a direct alternative.
Fixing Issues with DISM Using WIM image
The DISM tool is easy to use and should not run into problems in most cases. But if the Windows Update is causing issues when downloading the replacement files or you don’t have a stable internet connection, you’ll need another source to repair the files. You can use another image instead of the Source option.
But before you can use a different source, you first need an install.wim or install.esd file from another working computer. You can also get it from a bootable installation media or an ISO file. Take note that the alternative source of the image should match the same version, edition, and language of Windows 10/11 that is installed on your computer.
How to Download Windows 10/11 ISO file
The best method to get a good image is to download an ISO image of Windows 10/11 using the Media Creation Tool. To do this, follow the steps below:
- Go to this Microsoft support website.
- Click on the Download tool now button.
- One the file has been downloaded, double-click on it to launch the app.
- Click Accept to agree to the terms.
- Choose Create installation media (USB flash drive, DVD, or ISO file) for another PC.
- Click the Next button twice.
- Choose the ISO file option.
- Click Next, then select the destination for the ISO file.
- Click Save.
- Click the link to open the file folder with File Explorer.
- Click Finish.
- Mount the Windows.iso file by double-clicking on it.
- In the left menu, under the This PC section, confirm the drive letter for the mounted image. You will need this information later on.
Repair Windows 10/11 Recovery Image (install.wim)
To run the DISM tool by specifying a different source (install.wim) image, follow these steps:
- Click Start.
- Search for Command Prompt using the search bar beside the Start button.
- Right-click on the top result, then select Run as administrator.
- Type in the following command into the command prompt window to repair the Windows 10/11 image: DISM /Online /Cleanup-Image /RestoreHealth /Source:D:\Sources\install.wim
- Make sure to replace the D drive for the letter that corresponds to your ISO file.
- Press Enter.
- Type in this command to limit the use of Windows Update, then press Enter: DISM /Online /Cleanup-Image /RestoreHealth /Source:D\Sources\install.wim /

Windows 11 DISM LimitAccess - If the above command did not work, use this instead: DISM /Online /Cleanup-Image /RestoreHealth /Source:wim:D:\Sources\install.wim:1 /LimitAccess
- Don’t forget to change D:\Sources for the address that corresponds to the location of your install.wim file.
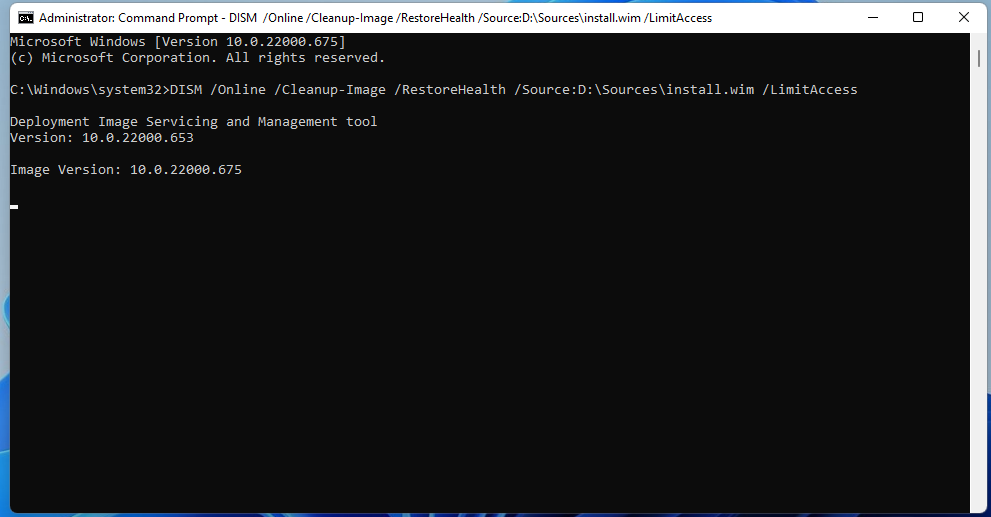
Once the steps have been completed, the DISM tool will scan and repair any file system issues using the install.wim image that you specified.
Repair Problems with DISM using ESD image
If you don’t have an install.wim image but you have an encrypted install.esd image from a previous upgrade instead, you can also use it to repair the damaged files.
To run the DISM tool by specifying a different source (install.esd) image, follow these steps:
- Click Start.
- Search for Command Prompt using the search bar beside the Start button.
- Right-click on the top result, then select Run as administrator.
- Type in the following command into the command prompt window to repair the image using an external source: DISM /Online /Cleanup-Image /RestoreHealth /Source:C:\$Windows.~BT\Sources\install.esd
- Make sure to replace the C:\$Windows.~BT\Sources for the path that corresponds to the location of the install.esd file.
- Type in the following command to limit the use of Windows Update and press Enter: DISM /Online /Cleanup-Image /RestoreHealth /Source:C:\$Windows.~BT\Sources\install.esd /LimitAccess
- If the above command did not work, use this instead: DISM /Online /Cleanup-Image /RestoreHealth /Source:esd:C:\$Windows.~BT\Sources\install.esd:1 /LimitAccess
- Type in the following command to use an install.esd file saved in another drive, then press Enter: DISM /Online /Cleanup-Image /RestoreHealth /Source:D:\Sources\install.esd
- Make sure to change D:\Sources for the path where the install.esd file is located.
After you have completed the steps, the Deployment Image Servicing and Management (DISM) command tool will scan and repair the damaged files using the files included in the install.esd image.
Summary
The DISM tool is very useful for fixing common system file errors on Windows 10/11. All you need to do is open Command Prompt and type in the appropriate command depending on what you want to do. If you’re not familiar with the commands, you can use the guide above to help you out.
Here’s a tip: Cleaning up your system regularly with a reputable PC cleaner app (for example, PC cleaner app) and running a trusted anti-malware software (for example, anti-malware software) regularly can help prevent system file errors from happening and will keep your computer in top working condition.
Great info, except if you try to print it it cuts off info toward bottom of page!
This didn’t help me at all. I was directed to the app store, and nothing relevant came up after clicking the ‘quick fix’ link, only PC games. This has nothing to do with what I needed, which was to understand why the scanner on my laptop is not working.
Can the DISM command be run on a regular basis or is this not s good idea?
My computer won’t let me open any downloads.