Videos are excellent tools for explaining processes, concepts, information, and projects. In fact, according to Curata, the top three types of video content are customer testimonials (51%), tutorial videos (50%), and demo videos (49%). Video is a very effective marketing tool that it can increase conversion rates by at least 80% and can positively affect the buying decision of consumers.
However, creating an animated video is usually complicated. You need to have the technical expertise needed to craft the video. You need to learn and master several complex animation software before you are able to create a professional-looking output.
If you want to create animated videos but don’t know how to use complicated software, using Keynote is the solution. Keynote is the Mac counterpart of Microsoft’s popular presentation app, PowerPoint. What you do is create an animated video using Keynote, then export it as a QuickTime video. You’ll be surprised at how easy it is to be a master video creator with this tool !
This article will show you the step-by-step process of creating an animation on Keynote and the best Keynote video export method to use.
Pro Tip: Scan your Mac for performance issues, junk files, harmful apps, and security threats
that can cause system issues or slow performance.
Special offer. About Outbyte, uninstall instructions, EULA, Privacy Policy.
Step 1: Create a new Keynote presentation.
To create a Keynote presentation, launch the app by searching via Spotlight or by clicking Keynote in the Applications folder. Once the app is launched, you’ll be asked to choose a theme. At the top menu, click the Wide tab. Wide presentations look better on videos compared to standard ones. Next, choose the theme you want to use for your presentation.
The next step is to customize your presentation’s dimensions so that it complies with YouTube’s high-quality resolution. To do this, follow these steps:
- Click Document from the right-side menu of Keynote.
- Click Slide Size, then select Custom Slide Size.
- Type in the ideal size, which is 1920 x 1080. Choosing this size will prevent unnecessary adjustments and other problems later on.
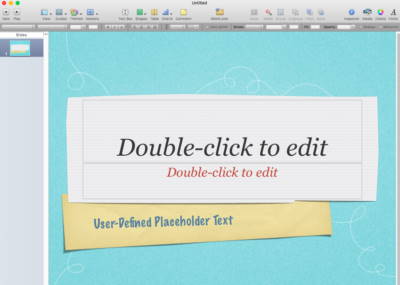
After customizing the slide size, you can start designing your slides with your brand colors and fonts. You need to edit the master slide by going to Format > Edit Master Slide to change the default colors and fonts for all of your slides. This way, you won’t have to manually change the font size, colors, and background for every slide.
With all the sizes, colors, and fonts configured, you can now proceed to adding images and text. There’s a lot you can do with Keynote and you can choose whatever shape, photo, graph, chart, GIF, or any other element you want to add.
Once you’ve added all you needed to include for each slide, here comes the fun part: adding animation! Animation brings your Keynote slide s to life and turns them into an animated video. It’s the shortcut to making fun, highly engaging, and professional-looking videos.
Choose the text or image you want to animate, then click the Animate button. It’s the overlapping diamond icon sitting between the Format and Document icons. When you click the Animate button, a submenu will appear with the Build In, Build Out, and Action options. Here’s what each of them is about:
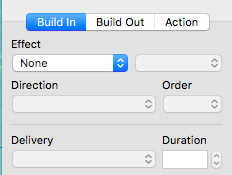
- Build In – The build in action introduces the chosen object into the slide.
- Action – The action button is used to emphasize or highlight an object that is already on the screen.
- Build Out – This action exits the object from the screen.
There are a lot of animations you can play around with. Click the preview button to see what each animation does to your slide and choose one that fits your purpose. You can make your object bounce, fly, burn, wipe away, or burst into fireworks. These animations will surely make your videos more fun and engaging.
Once you have finished animating your slides, the next step is to prepare for recording.
Step 2: Change your screen format.
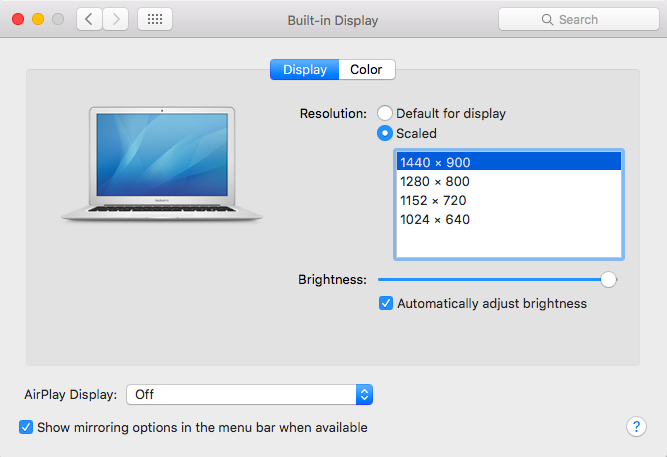
Many people encounter issues with recording because they fail to realize that their screen format is different from the format of the slides. Remember when we set the slide resolution at 1920 x 1080 in the beginning? The trick now is to match your screen resolution to that of the slides.
Mac screens offer a set number of display resolution options. To check what your screen resolution is, go to System Preferences > Displays. Default for display is usually selected. Click Scaled and you’ll see the resolution option available for your screen. The highlighted resolution is your screen’s current resolution.
You need to use third-party software to change your screen resolution to 1920 x 1080. There are many free tools you can use to change your display resolution; choose one that’s lightweight and easy to use.
Step 3: Record your slides and choose your Keynote video export method.
There are many ways to record your Keynote presentation and turn it into video, such as Keynote’s built-in recorder, Screenflow, and QuickTime. Out of the three options, QuickTime is the easiest to use and allows for flexible editing options. There are two ways to use QuickTime to turn your presentation into a video: by recording the screen and by exporting directly from Keynote.
To record your slides via QuickTime, follow these steps:
- Launch QuickTime.
- Click File > New Screen Recording.
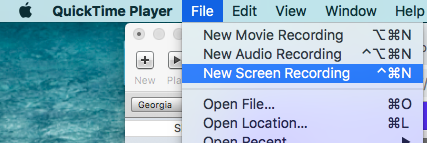
- Select the entire screen instead of cropping because the screen has already been formatted.

- Once you’ve finished playing the slides, click the record button at the top menu to stop recording.
The next step is to export your video using the correct dimensions. You can do this by clicking File > Export As > 1080. Type in the name of the video file and hit Save.
If you’re experiencing Keynote QuickTime export problems, ensure that the slide and screen resolutions match. Should problems persist, some files on your Mac might be interfering with the process. A tool like Outbyte macAries may assist in removing unwanted files, but evaluate its fit for your situation.
The second Keynote video export method is by saving the presentation as a QuickTime movie file. To do this:
- Click File in the Keynote menu, then click Export to > Movie. If you’re using an older version of Keynote, click the QuickTime option instead.
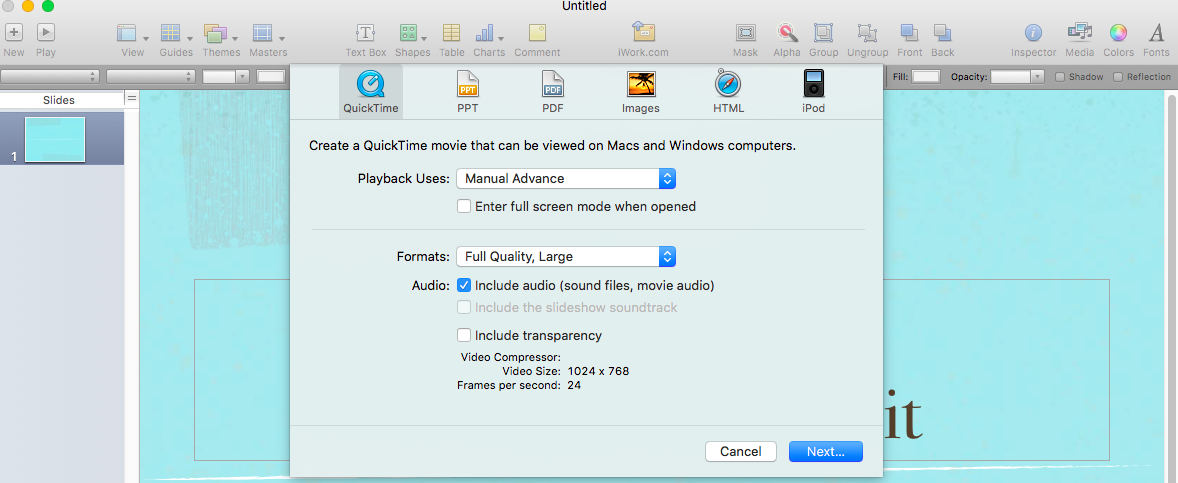
- Choose your Resolution by clicking the field next to it.
- Select 1080p if available. If not, click Custom and type in 1920 x 1080.
Once you have exported your presentation to QuickTime, you can then add the audio and edit the video using video editing software such as Adobe Premiere Pro and Apple Movie.
Once you have completed your video, the next step is to get it out there. You can upload it to YouTube, share on social media, add to your landing page, embed in emails, or add to your website.
Summary
Creating a Keynote presentation and exporting it via QuickTime seems like a complicated process, but it’s a lot easier compared to using most other video software around. You don’t need to have advanced graphic design and video editing skills to be able to create a professional and engaging video .