After the launch of High Sierra, Messages has become available for Mac. This feature automatically updates messages on all your devices that are using the same Apple ID. This has been made possible through the iCloud, so if a message comes into your phone, you will receive it on your other devices as well. The same thing happens when you remove or delete messages. And the other good thing about iCloud when it comes to messages is that you don’t have to worry about backing up your messages because they are automatically saved to the cloud. In this article, we will show you how to enable messages in iCloud using your Mac.
How to Enable Messages in iCloud on Your Mac
The basic requirements to allow iCloud message is to at least have a macOS 10.13.5 High Sierra running. For iOS devices, you need to enable iCloud messages so the feature will work across all your Apple devices.
To enable iCloud message on your Mac, you need to access the Messages app settings instead of the iCloud Settings under System Preferences. Follow these steps to turn on iCloud messages:
Pro Tip: Scan your Mac for performance issues, junk files, harmful apps, and security threats
that can cause system issues or slow performance.
Special offer. About Outbyte, uninstall instructions, EULA, Privacy Policy.
- Launch the Messages app from the Dock or using Spotlight. You can also find it in the /Applications folder.
- Open the Messages menu, then click Preferences.
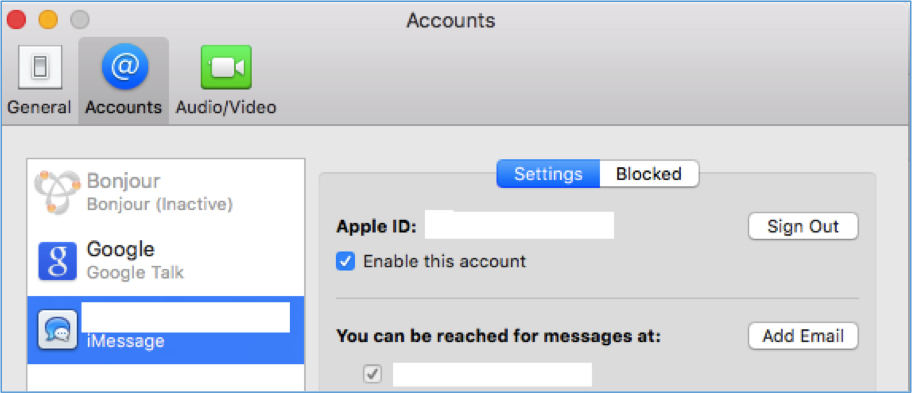
- Click the Accounts tab and choose your Apple ID account from the list.
- Make sure the box next to Enable Messages in iCloud is ticked off.
Once you have enabled iCloud messages on your Mac, your messages will now sync to iCloud, and it might take a while, depending on how many messages you have and the type of messages you received. Photos, videos, and files can take a while to sync because of the size of these files.
If for some reason, the messages do not sync automatically, you can click the Sync Now button found in the Messages Preferences on Mac to sync your messages to iCloud manually. Setting up your Messages app should trigger sync to the iCloud and all your other devices using the same Apple ID, but if it does not work, you can use the Sync Now button to troubleshoot the syncing problem.
How to Enable Messages in iCloud on Your iOS Device
Technically, you should have enabled your iMessages on your iOS device first before your Mac. But sometimes, iMessage becomes disabled for some reason, and you may not be aware. So, here’s how to make sure your Messages on iCloud is enabled on your iOS device:
- On your iPhone or iPad, go to Settings.
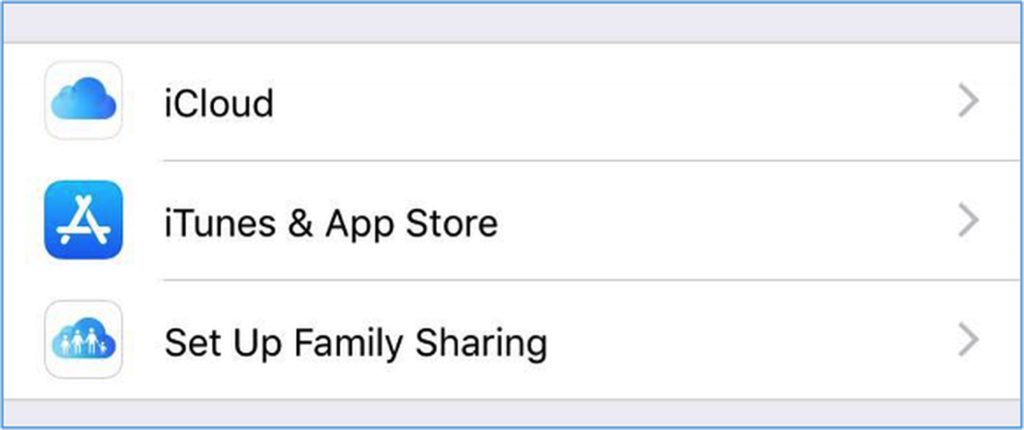
- Tap on your name at the top. It is where you can access your Apple ID, iCloud and App Store settings.
- Tap iCloud.
- Make sure that the slider for Messages is turned on.
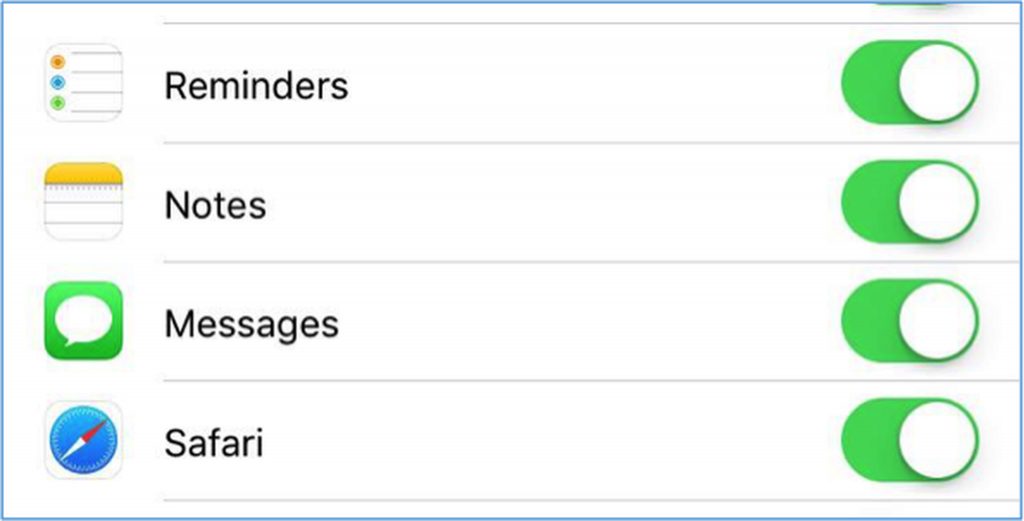
- Wait for your messages to sync.
Now that you enabled iCloud messages on your Mac and iOS devices, you can now use it to send messages to numbers or Apple IDs that have their iMessages feature enabled. but note that if you’re using multiple Macs, you have to enable messages individually
Since the feature uses the iCloud storage, you might have to subscribe for a bigger storage especially if videos and photos comprise a majority of your messages. If you reached the 5GB iCloud storage, you can download and save your files on your Mac manually. All you have to do is right-click on the photo or video and click Add to Photos Library.
One way to free up storage space on your Mac could be to automatically remove junk files. Tools like Outbyte Outbyte macAries offer this feature. Make sure to assess if this solution is right for your situation.