Ever since Android devices came into existence, the Gmail app has already been there. The only difference is that today, it has gotten more powerful with so many handy features for everyone. There’s a lot you can do with this app that it can be difficult to master them all at once. But, at least, you can be efficient at them. Now, let’s take a look at what Gmail has in store for Android users.
1. Send Emails
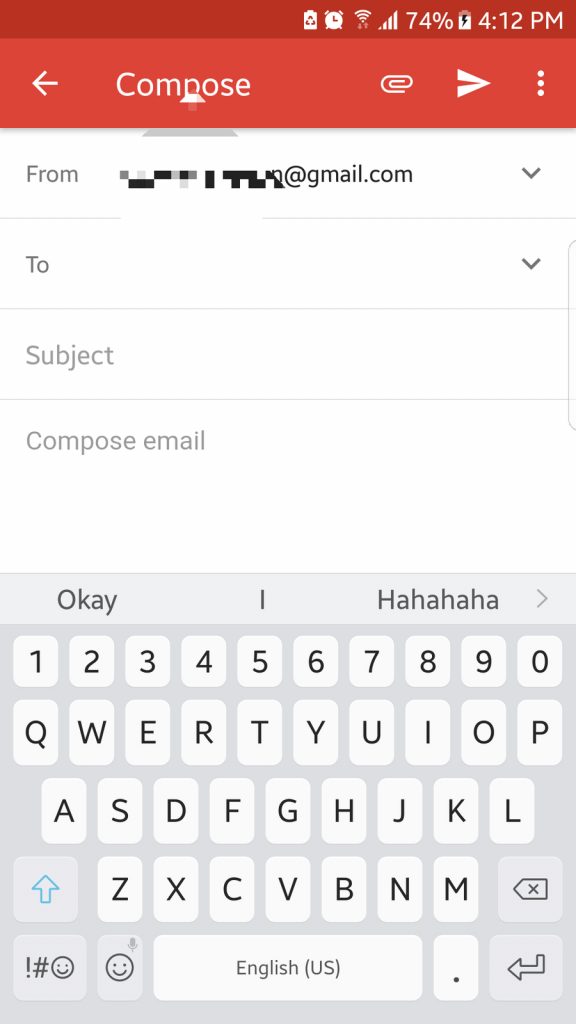
Gmail for Android has been there since 2014. To date, it has more than a billion active users. If you’re among these billions of individuals, you’ve probably used this app for sending emails. But if you are new to this, here’s how you can send an email using the Gmail app:
- From the app drawer, open Gmail.
- At the bottom-right corner of your screen, there is a floating action button with a pen icon. Tap it to compose a new mail.
- In the To field, enter the email address of the recipient. To add CC and BCC contacts, tap the arrow down symbol.
- Fill out the subject and the body.
- Press the Arrow button to send the email.
2. Formatting Emails and Adding Emojis
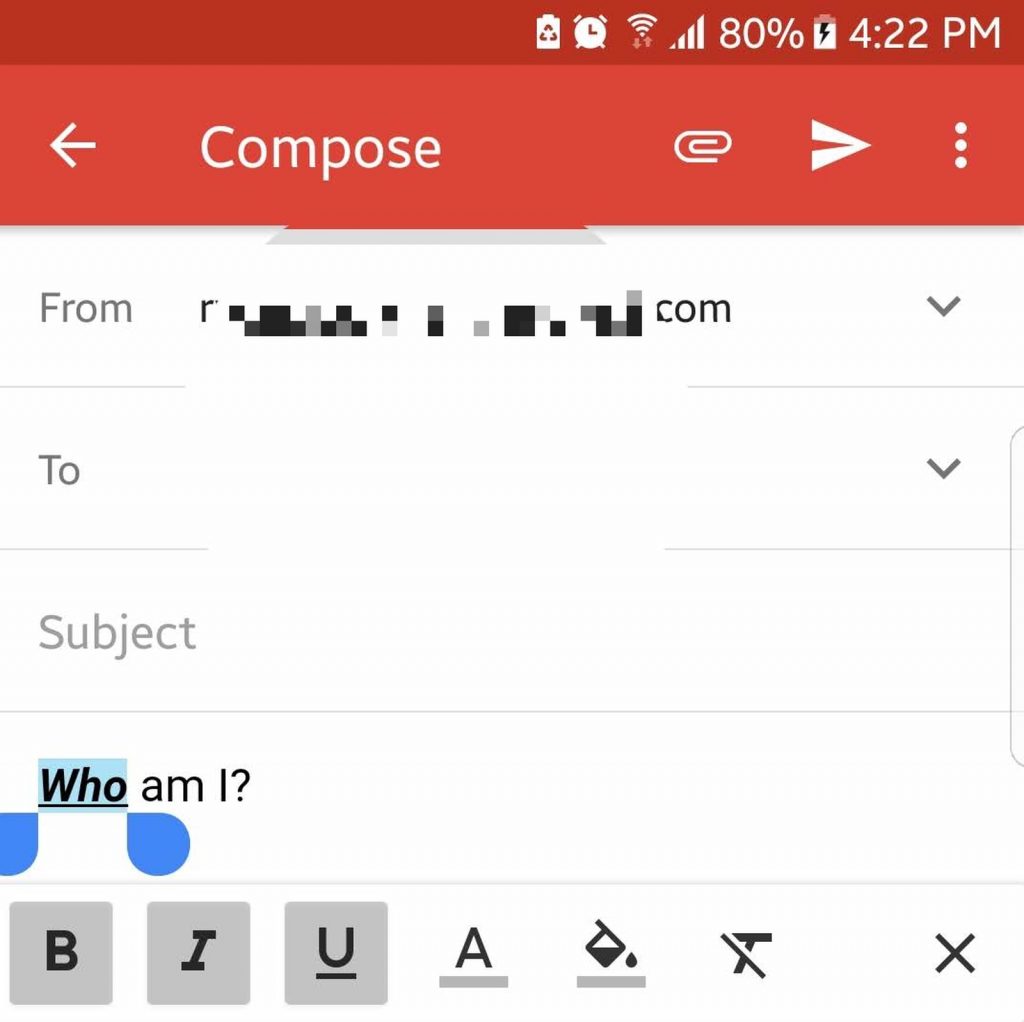
Earlier this year, Google released an update for Gmail for Android apps, adding rich text formatting. That means you can now add colors to text and change their format to bold, italicized, or underlined. You can also send emojis within an email.
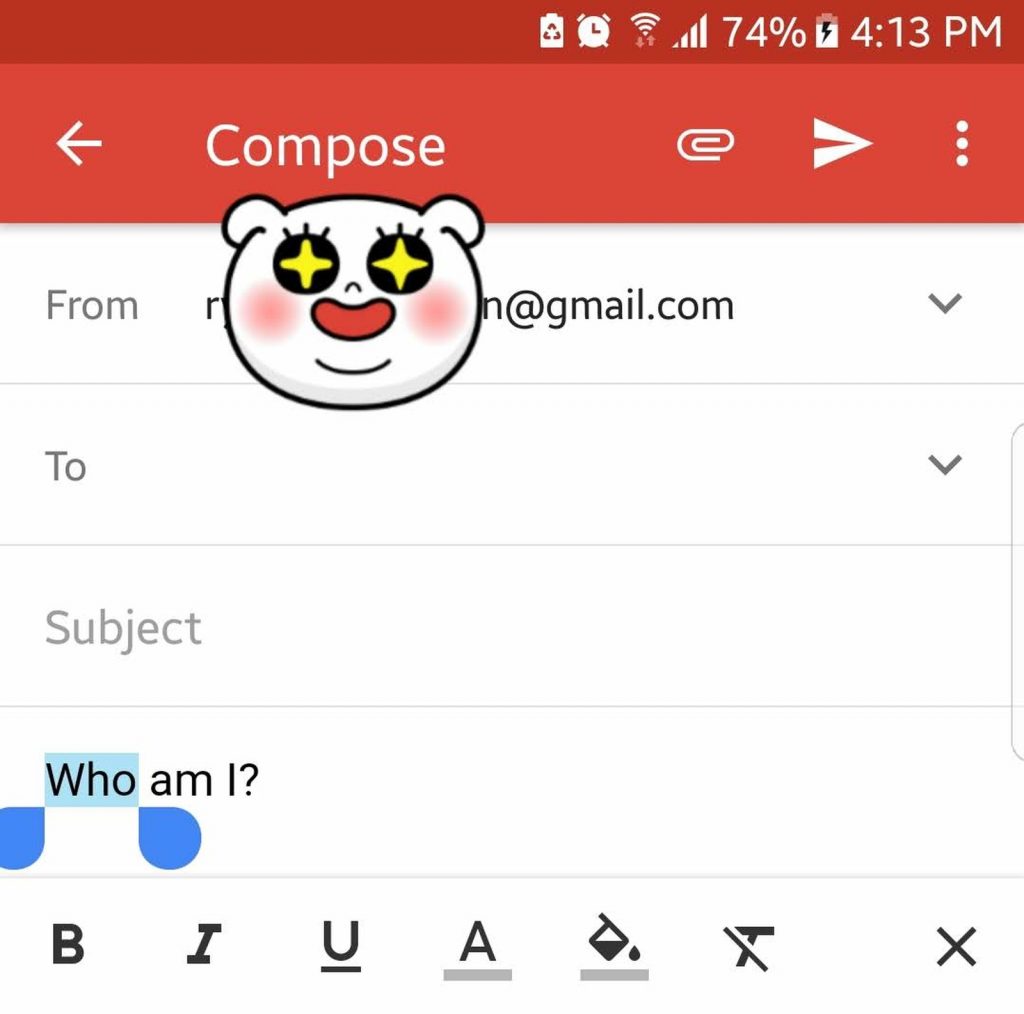
- To format text, highlight your desired text with a quick double-tap.
- From the Action menu, press the Format button.
- Choose what you want to do with the highlighted text by tapping any of the following options: bold, italics, or underline. If you want, you may also change the text color and its background.
- If you wish to add an emoji, tap the emoji button on your screen.
- Scroll down and tap your desired emoji.
3. Attach Documents, Videos, Photos, and Other Files
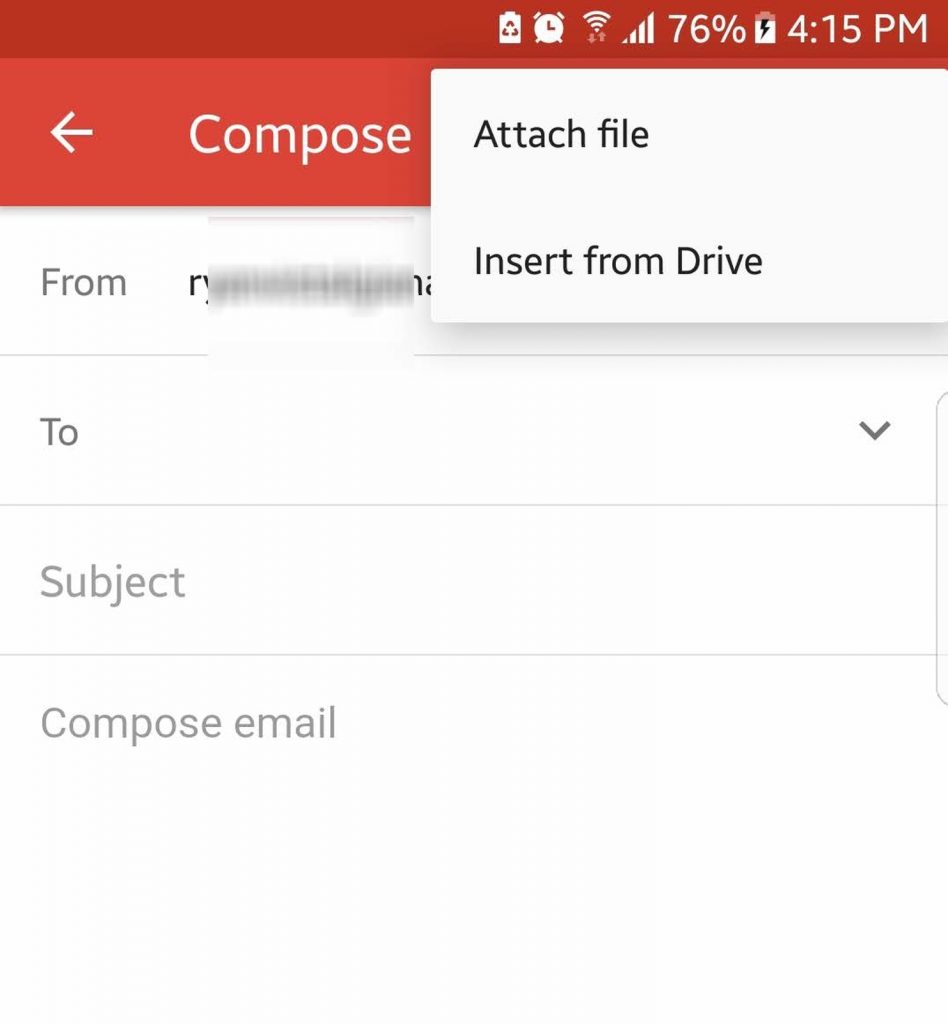
As long as you have a Gmail account, you can send out files to anyone or store them on your Google Drive. However, you are only limited to a file size of 25MB. If you insist on attaching a file that is larger than that, you will need to upload it first to your Drive.
- Tap the floating action button on your Gmail app to create a new email.
- Press the attach button located at the top of your screen to start selecting files.
- If you want to insert a file saved on your device, select Attach File. Otherwise, press Insert from Drive to attach files to your Google Drive within the email.
- Tap the file you want to attach to embed it in the email.
- Once you have successfully attached the file, it should show at the bottom of the email.
4. Add Another Gmail Account
If you’re managing more than one account, this is a hack you should not forget. Add all your Google accounts to your Gmail app. By doing this, you need not log on and off to access one account or another. It should save you time in the future.
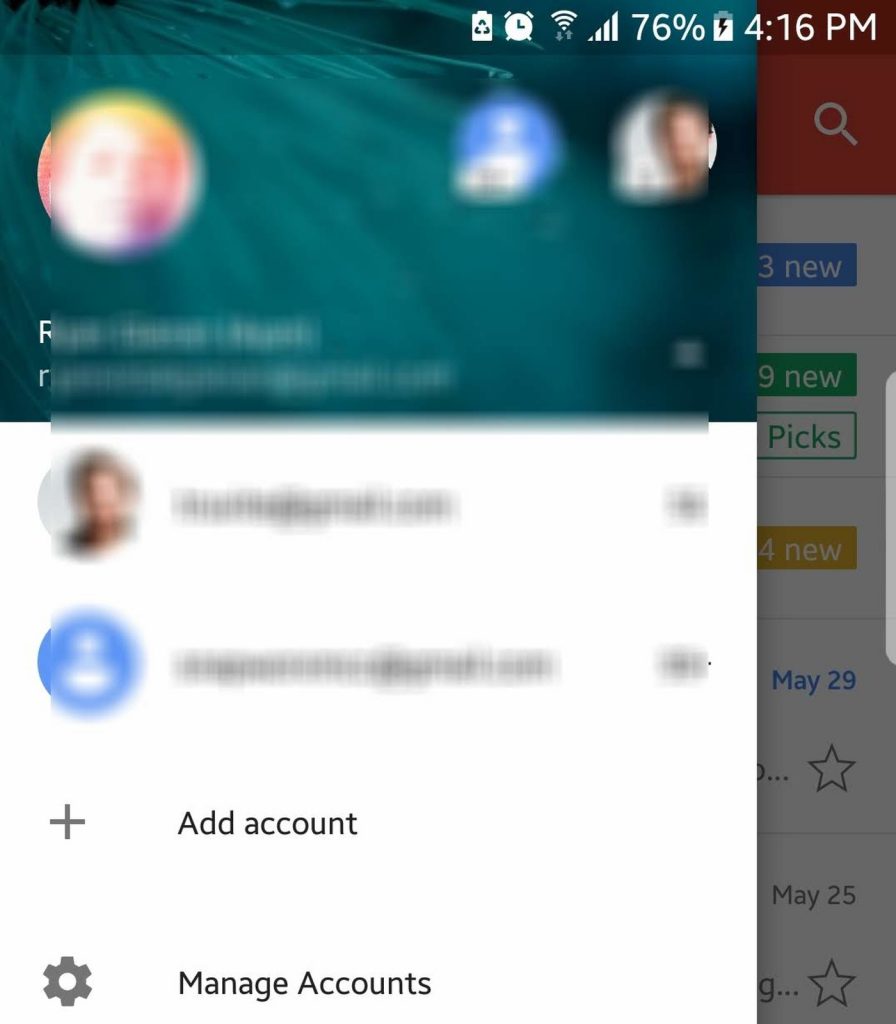
- Press the hamburger menu at the top-left of the screen.
- Tap the arrow next to your account name.
- Select Add Account -> Google.
- Enter the username and the password of your other Gmail account. If you would like to create another account, select Create a New Account.
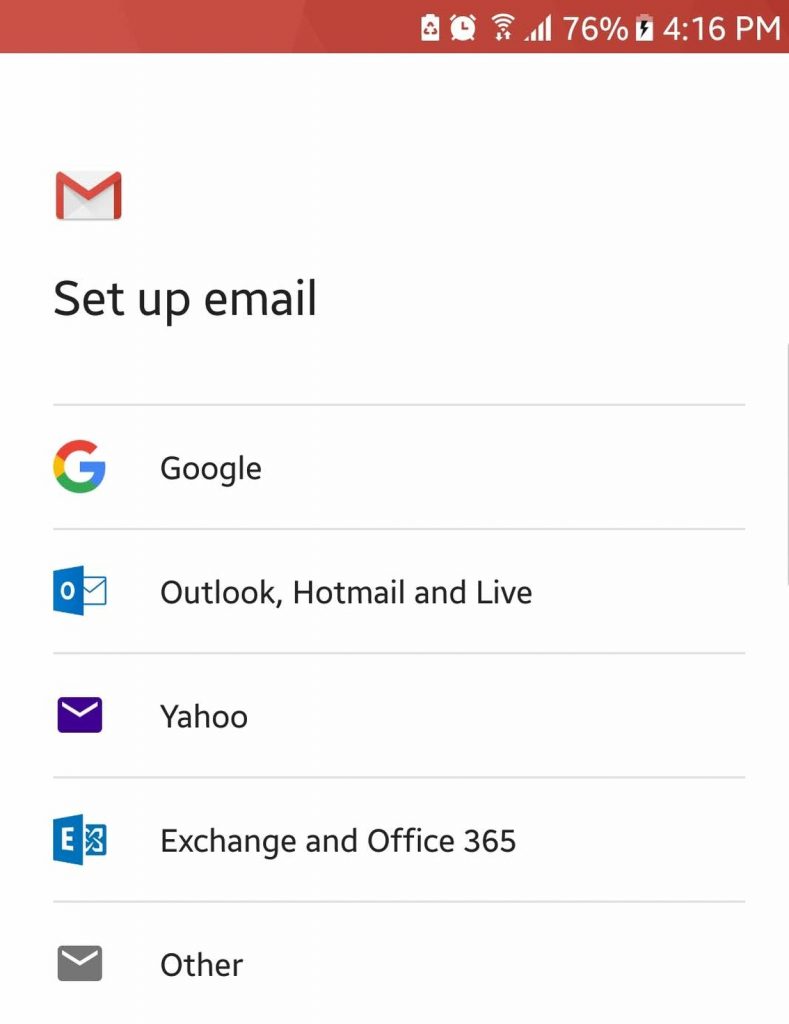
5. Add Email Accounts from Third-Party Services
With Gmail, you can add your other email accounts from third-party email services, including Yahoo Mail, Outlook, and Exchange.
- Open the hamburger menu.
- Tap the arrow beside your account name.
- Press Add Account.
- A list of third-party email services will pop up. Select one email service you want to add.
- Enter your account details.
6. Merge Gmail Inboxes
Do you have more than one Gmail account? Merge them so you can see all your emails in a single view on your device.
- Open the hamburger menu at the upper-left corner of your screen.
- Tap All Inboxes.
- All the emails that reach the inboxes of your logged-on accounts will display chronologically on your Gmail app.
7. Snooze Emails
Just this year, Google rolled out a new feature for Gmail that allows you to snooze emails. This feature is best used if you want an email to re-appear on your inbox in another time – later the same day, weekend, the next day, or on a custom date and time.

- Choose an email you want to snooze and tap the sender icon.
- Open the action menu (the three vertical dots) located at the upper-right corner.
- Press Snooze.
- Set the date and time you want the email to appear in your inbox.
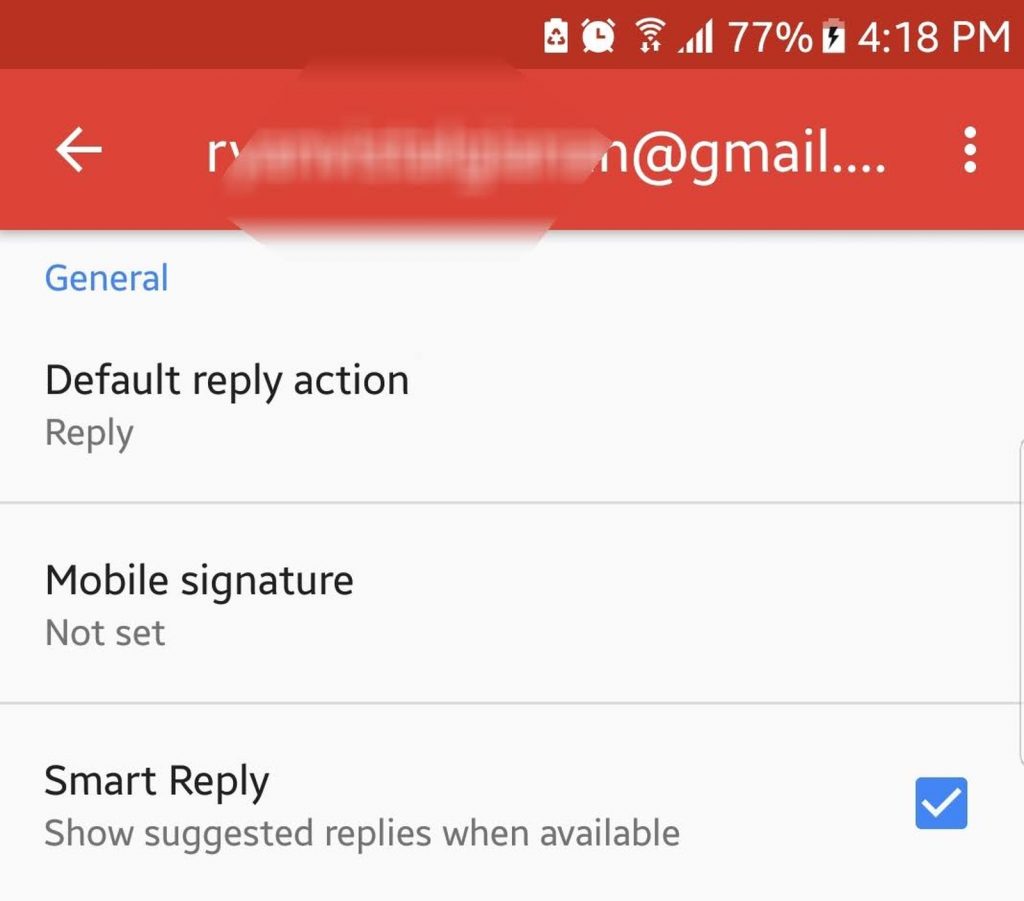
8. Disable Smart Reply
Along with the Snooze email feature, Google also introduced smart replies for Gmail this year. This feature scans the content of the email and displays a list of possible responses. Although it’s useful, especially if you are always on the go, there are some who don’t like it. To disable this feature, follow the steps below:
- Open the hamburger menu.
- Select Settings.
- Choose an email account for which you like the feature disabled.
- Scroll up and open General Account settings.
- Turn off the smart reply feature by unchecking the Smart Reply box.
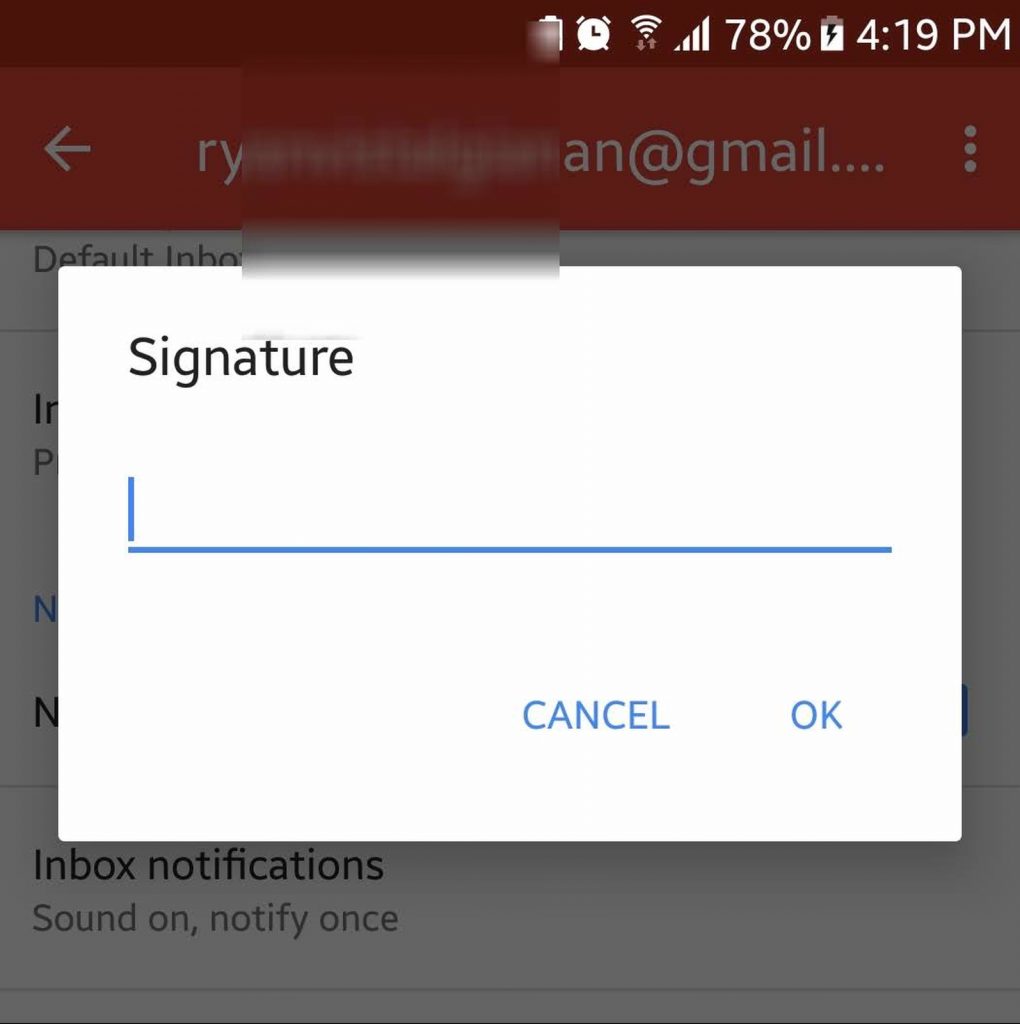
9. Add an Email Signature
To make your emails more personalized, you can add an email signature. Here’s how:
- Open the hamburger menu.
- Open Settings.
- Choose an account you want to have an email signature.
- Press the Signature field.
- Input your preferred signature text.
- Press OK.
- The next time you send an email, the signature text will be automatically added at the bottom.
10. Mute Emails
If you’ve been receiving chain emails and you want to get them out of your hands, mute the conversation, so the email thread goes to the archive. Once there are new messages in the chain, you will no longer be notified. Here’s how to mute emails:
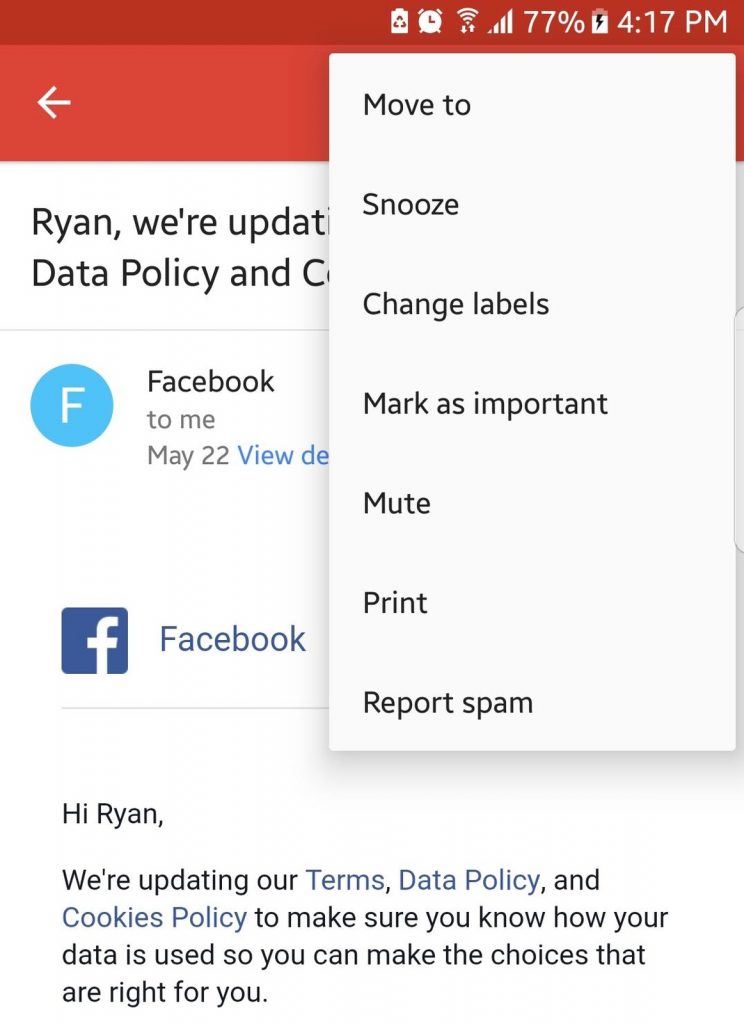
- Tap the image of the sender to open the action menu.
- Select Mute.
- The email thread will automatically be archived.
11. Perform a Search Like a Pro
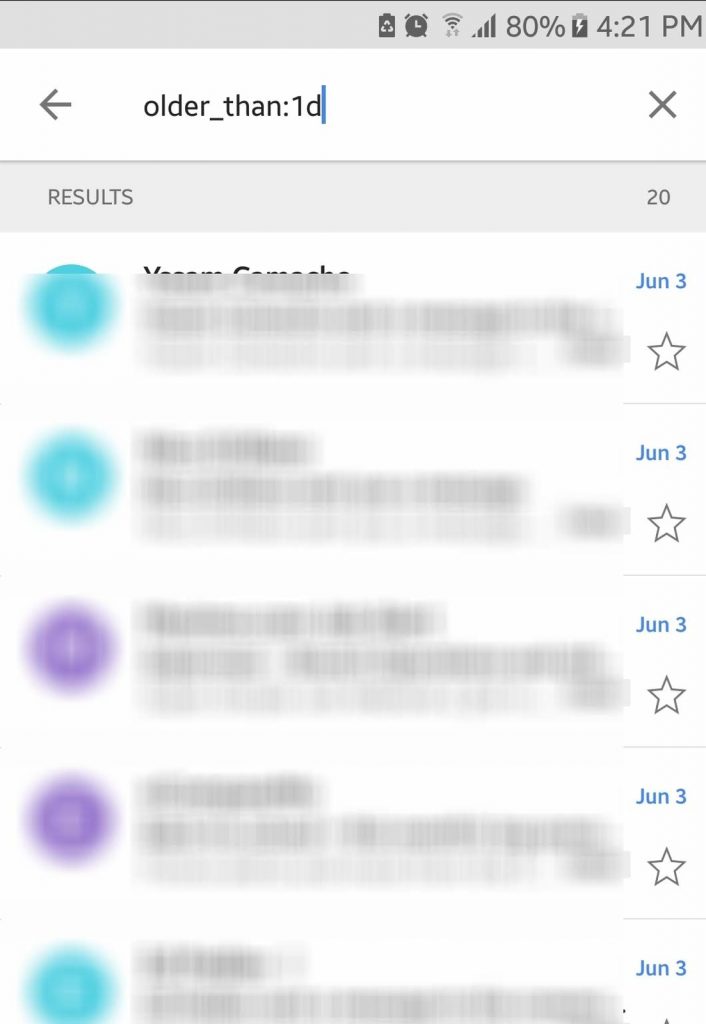
While the search box looks simple, you should not let its appearance deceive you. This feature is just as capable as Google’s web search function. For instance, if you type “older_than:1d”, all the day old messages on your Gmail account will be retrieved and showed.
12. Make Emails Look Neat and Better
There are instances when bold, italics, underlined, and colored text can help deliver more explicit messages. So, why not use them instead? To access these formatting options, highlight a particular part of the text you want to format by pressing it long. After that, all the different format options available for you will pop up.
13. Send Money Directly Through Gmail
If you owe someone money, you can pay them back using Gmail. To do this, you need to have an account with Google Wallet. Once you have an account, you can fund your wallet by making a bank deposit or using a debit card. To send money, follow the steps below:
- Compose a new email.
- Tap the Attach button.
- Press Send Money and enter your desired amount.
- If you want, you can include a note to your payment.
- The payment will show up as an email attachment.
The recipient need not open a Google Wallet account ahead to receive money. But if he or she needs to cash out, he or she can sign in with Google Wallet using a Google account.
14. Recover Deleted Emails
If you accidentally deleted an email, don’t worry. You can still recover it by navigating to the trash.

- Open the hamburger menu.
- Go to Trash.
- If you find the email, long-press it to select.
- Open the actions menu by tapping the three dots in the upper portion of the screen.
- Select Move to -> Inbox.
- The deleted email should now be back in your inbox.
15. Adjust Preview Settings
If your Android device has a limited screen, disable the sender images to see more text. Here’s how:
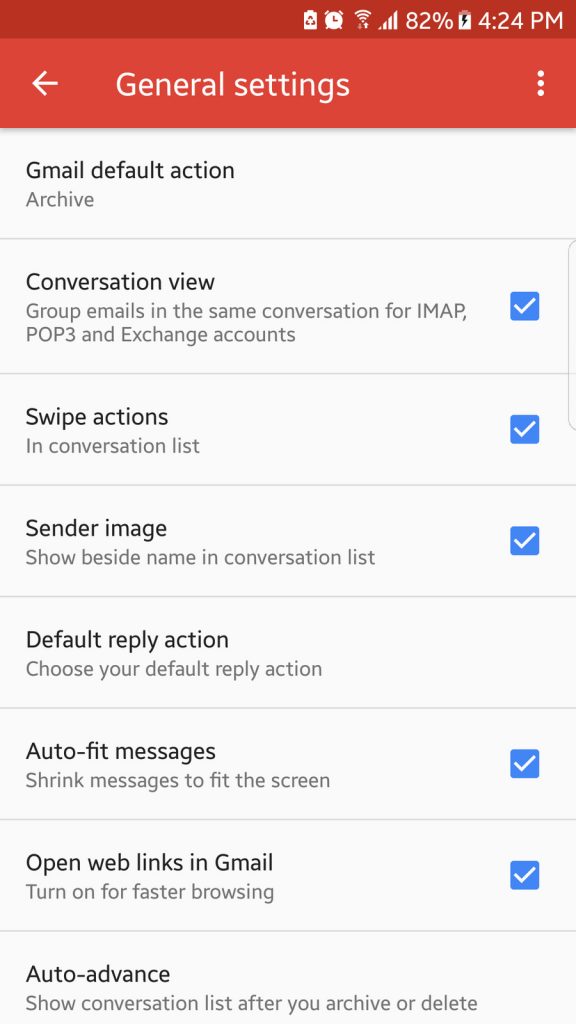
- Open the hamburger menu.
- Go to Settings -> General Settings.
- Untick the Sender Image checkbox.
- You should now see more text in your inbox.
Conclusion
Gmail is expected to get better and better. But in the meantime, you should be able to use the app well with our guide. And as a parting note, there is one tip we want to share with you. If you notice your Gmail app lagging, it’s a good idea to clear its cache to make it perform faster. Android cleaning tool can help you with that.