Congratulations, you’ve finally got your first Android phone! At this moment, you might be experiencing extreme fascination with a piece of metal and plastic that makes calls and take photos. But eventually, like everyone else, you return back to reality and find yourself in a panic thinking of all the things you need to do, from setting up to figuring out how to properly use it.
Relax. What you are currently experiencing with your newly-bought Android phone does not have to be stressful. If you’ve just purchased a new Android device, the tips we have below will keep you well-informed about the things you need to do first.
1. Inspect your device.
First off, look into the tiniest details of the device you are holding. Check the inclusions if there is a charger, a SIM ejector tool, and a headset included if your device is supposed to have them. Touch the screen to find out if it responds to touch. Inspect if there are dents in the casing. Review the warranty information, too!
If everything seems to be fine, make sure you don’t throw away your Android phone’s box. You will need it in the future for proper disposal if you need to get rid of your phone’s old battery.
2. Prepare it for data downloading.
Is your device’s battery full? If not, you might want to plug it in first to get its battery charging. You will be playing with its settings for the next few hours, and you don’t want it to die on you while you are in the midst of a necessary process.
Aside from charging the battery, you might also want to connect it to an available wireless network, unless you have an unlimited data. You need a reliable and stable Internet connection to download apps, widgets, and other files required to set up your device.
3. Sign in with your Google account.
If it is your first time turning on your Android device, you will be guided by a walk-through to ensure you perform the setup process correctly. One of the first few things you will be asked to do is to sign into your Google account.
This step is optional, but we highly recommend you do it. Logging into your Google account connects your Android device to a plethora of other services, which may allow you to customize your phone. If you don’t have a Google account, you can create one by visiting https://accounts.google.com/sigNup.
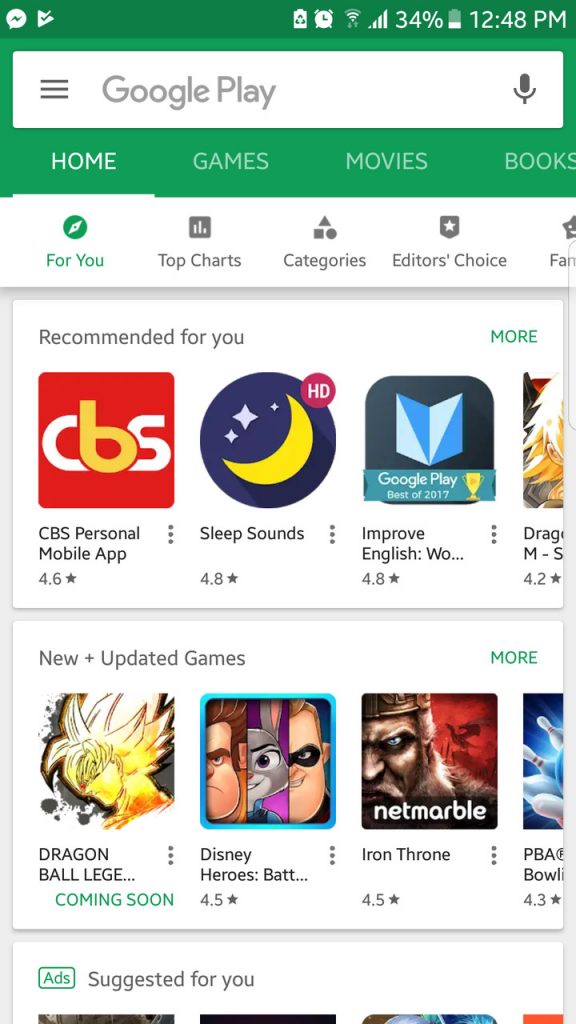
Now, if you already have an existing Google account, your device will attempt to connect to Google Play Store to retrieve all the old apps you previously had on your old or other existing Android device.
4. Disable the pre-installed apps.
Your new Android device is likely to have several pre-installed apps you don’t need and can’t remove unless you root. Unfortunately, these apps only take up space and cause your device to slow down. Although apps like Android cleaning tool can clear the cache and get rid of junk files that are slowing down your device, installing them is not always enough. Sometimes, you might need to disable the pre-installed apps manually.
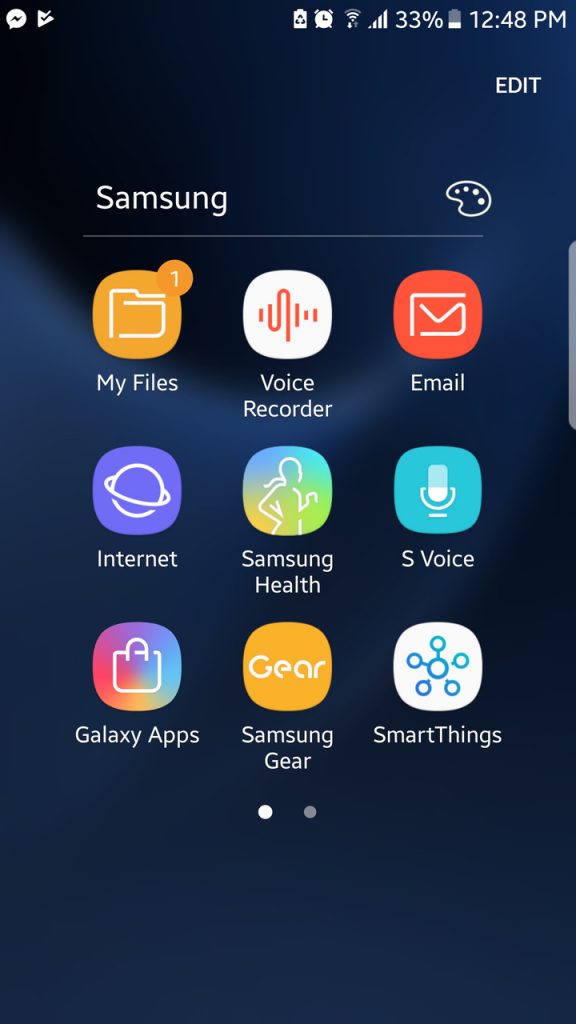
Here is a heads up. During the initial setup process, your device may ask you to download, install, and register for another malware protection service. You can always skip this offer. Once your Android device is up and running, head over to the Apps menu > Settings. Locate the apps that are pre-installed on your device. While you cannot uninstall and remove them, you can disable them or uninstall the updates.
Be careful if this is your first Android device. You might not want to disable all pre-installed apps. Make sure you know their role on your device first. Disabling the wrong app may break a vital part of your phone’s settings.
5. Check for new alternatives to your old apps.
Having a new Android device gives you the opportunity to get rid of the bad and old stuff to make your life better. Okay, what does that mean?
If we review the first few tips, there was a point where you were required to sign in with your Google account. When you did that, some of the apps you’ve saved and used in your previous Android device may have been downloaded and installed to the new one. Well, it’s time to make better app decisions.
Open Google Play Store and search for alternatives to the apps you have been using. Try out a new browser. Download some fun and new games. Get yourself a new music player.
After you have installed the new apps, it is time to customize your device. Set wallpapers and ringtones. Add widgets and app shortcuts on your home screen. Organize your quick settings. Adjust your screen’s brightness. Feel free to change your settings to make your device suit your liking.
6. Secure your Android device.
Your new Android device will be used to store a lot of crucial and sensitive information. That said, it is important that you set up some effective security measures to avoid data breach and loss and protect your identity and privacy.
Pattern lock, PIN, and fingerprint scanner are three of the most popular security options available for Android devices. Newer and high-end Android devices offer facial recognition and iris scanner. Choose which security option works best for you.
7. Update everything.
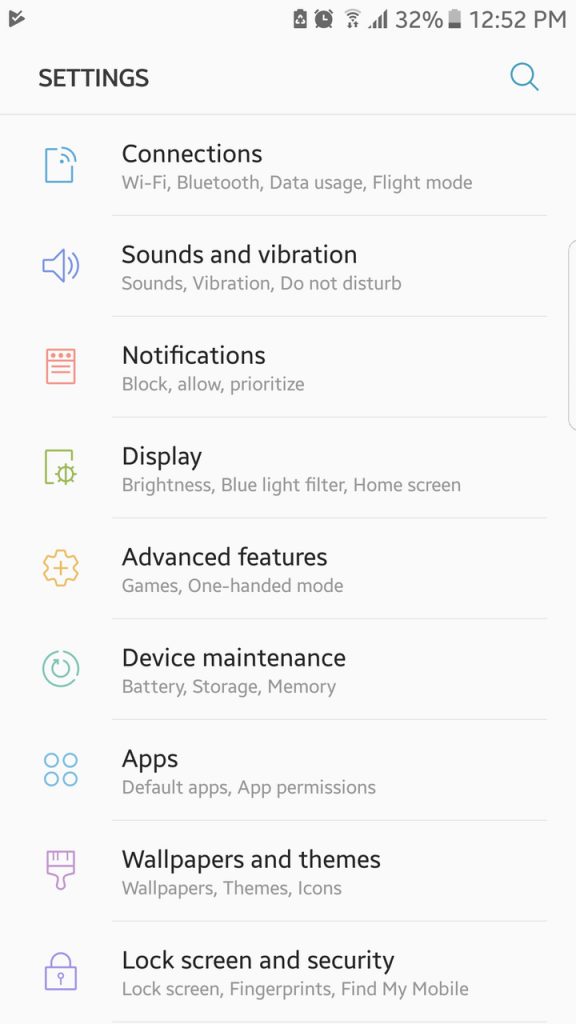
Even if it’s a new Android device, there is quite a significant chance that a few updates await you. More often than not, these updates are released to fix minor issues or improve your device’s speed. But if your new Android phone has been out on the market for a while already, these updates could be new Android versions. Go to Settings > About Phone > System Updates to see the latest updates available.
8. Activate mobile data tracking.
If you don’t have any plans to subscribe to an unlimited data plan from your mobile carrier, it is a great idea to monitor how much data you are using within a particular billing cycle. Exceeding the monthly limit might cost you extra charges.
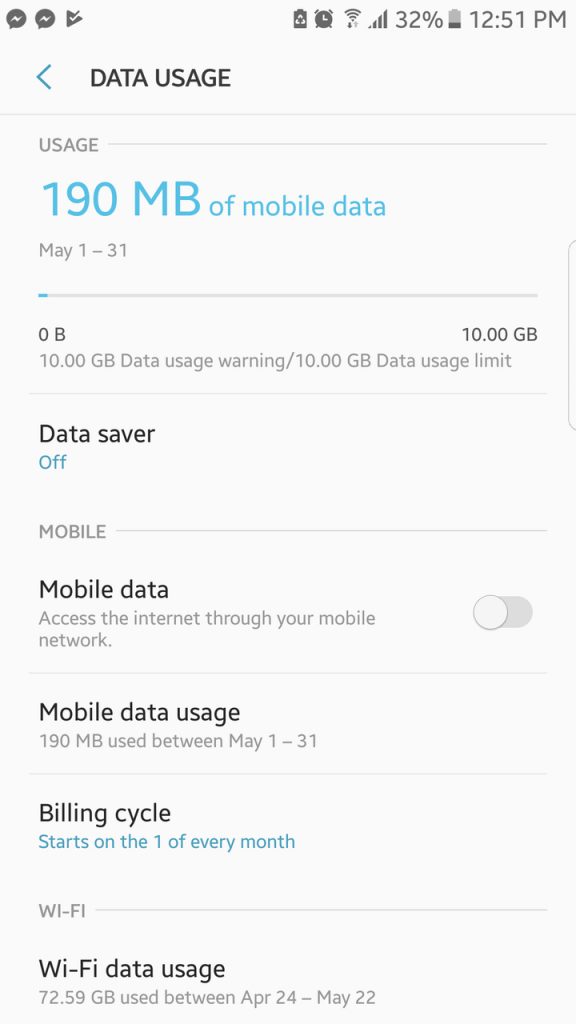
Activating mobile data tracking is easy. Go to Settings > Data Usage. Set a date for your billing cycle as well as the amount of mobile data included in your plan. Lastly, enable notifications for data limit. That way, when you are about to use up your predefined amount of mobile data, you will be notified. If the data tracking feature is not available for your Android device, don’t worry. You can download mobile data monitoring apps like My Data Manager from Google Play Store.
9. Be familiar with your device.
Take the time to inspect the settings of your Android device. Check the menus and submenus. Remember where the most important features are located. It should save you a lot of time in the future. You might even discover some hidden functions.
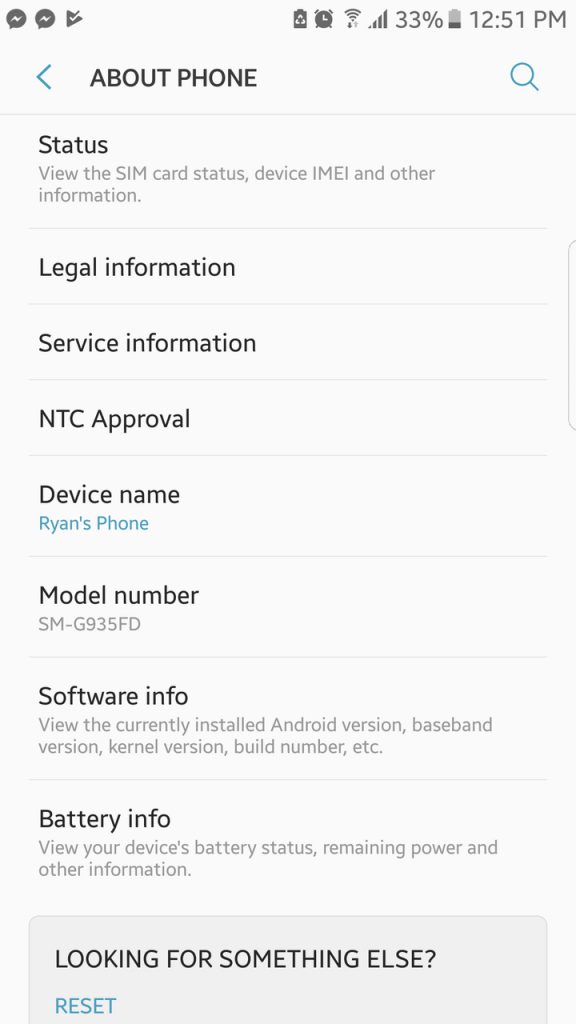
Also, you will be putting a lot of personal information on your new device. You will also probably use it for communication purposes. It only means your new device is more likely an extension of yourself. Be familiar with it.
10. Set up Device Manager.
Device Manager is Android’s equivalent of Apple’s Find My iPhone. This useful feature allows you to locate or lock a stolen or lost phone.
To check your Device Manager’s settings, go to Settings > Android Device Manager. From here, you may select which remote device manager features you would like to activate. Once you are done, save your settings and bookmark the Android Device Manager website on your computer for easy access.
Final Words
Think of setting up your new Android phone like you would be transferring residence. Do not just settle for the things you are accustomed to doing. You can bring with you some of your old furniture pieces, but make sure you hang some new photos on your wall. The same goes with your new Android: re-install some apps you’ve been using before, but be open to using new ones, too.
Yes, there might be a lot of things that need to be done when you purchase a new Android phone, but instead of being overwhelmed by these things, better get yourself engaged in the process and enjoy.
